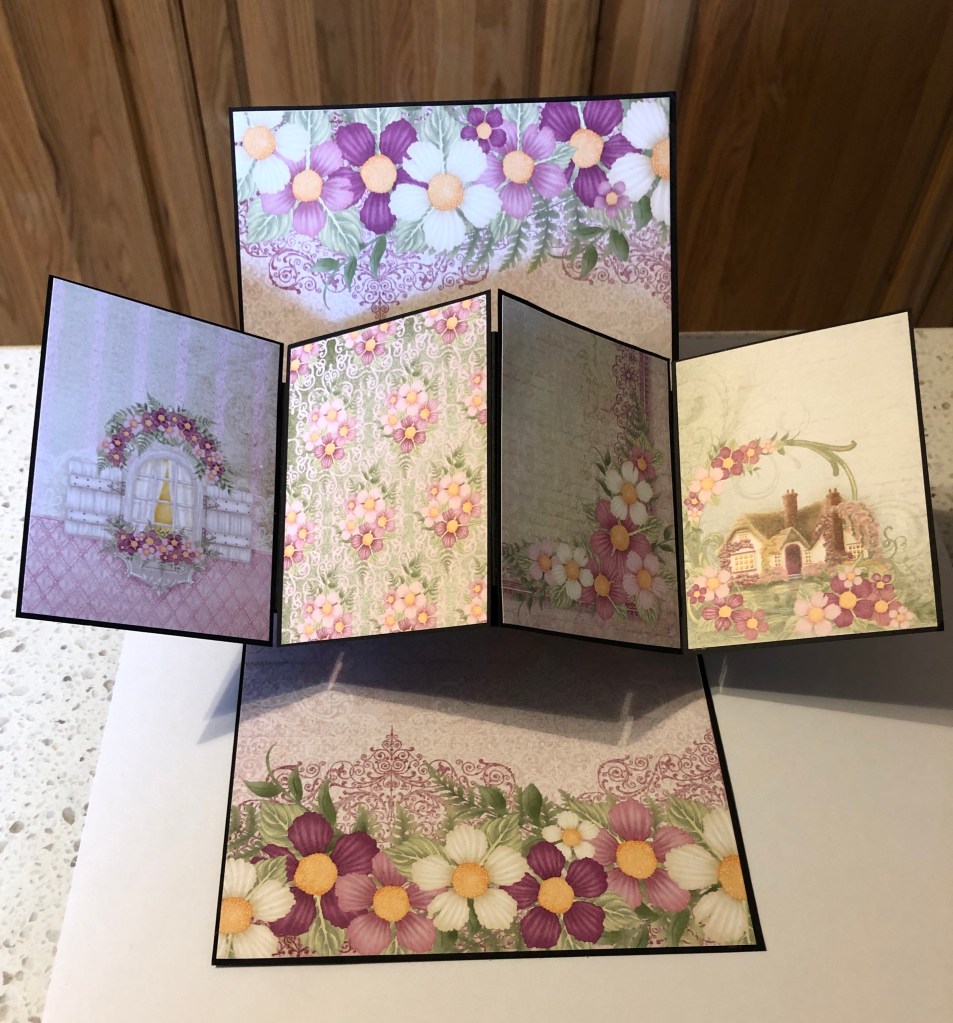
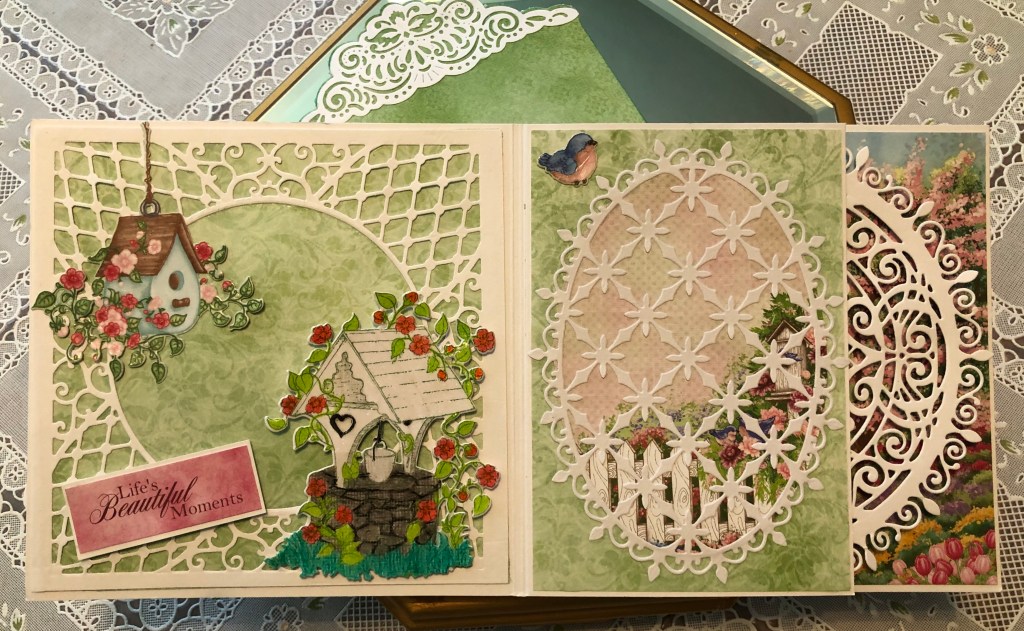
Today I’m sharing another mini album which I made last fall, I love the way the black makes the color pop! don’t you? This mini had to be patched together from others I’ve seen and made, as there wasn’t a tutorial for me to base it on (thank you Shelley Geigle for all the help you’ve given me, however!!). I love the way this album turned out so much, I wish I had bought another paper pad just for myself! This album features Heartfelt Creations Cascading Fuchsia paper.
When I decided to get back in to cake decorating last July, I decided to expand on my skills as well. I felt pretty confident about making roses – but I was frustrated that I hadn’t learned how to make an “open” rose – or even a large rose. So I spent some time searching the internet (yeah Pinterest!) for tutorials, and got a couple of new toys (bigger cutters, bigger veiners – that sort of thing) and went to work. I didn’t do so well the first few times, as old habits are very hard to break, but I think I have the knack of it now – at least for the roses.
Thanks to very helpful bloggers and YouTube videos, I feel confident enough about my open roses to even make my OWN tutorial. Not that I will, but I might include a few photos showing the steps I go through,utilizing all the techniques I’ve incorporated plus my personal twist on how to make things work.
From Kara Andretta, I’ve learned to use a lighter weight base for my roses. I was weirded out, at first, by the idea of having a non-edible base or center, but then, seriously, who is eating these anyway? I will simply inform the recipient of my cake gifts that the centers are inedible, much like the stamens and wires. Problem solved.
So, based on Kara’s instructions, I got 24 rose bases from one bag of modeling paste. If you want ONLY large roses, that’s fine, but I actually prefer multiple sizes, so shape accordingly, and seal away your extras until needed in a ziplock bag.
Then, I made my rose. Kara from “I scream for buttercream” gave a great idea for helping the rose dry the way you want it to, by have a support of some paper towels and foam to rest the flower on.
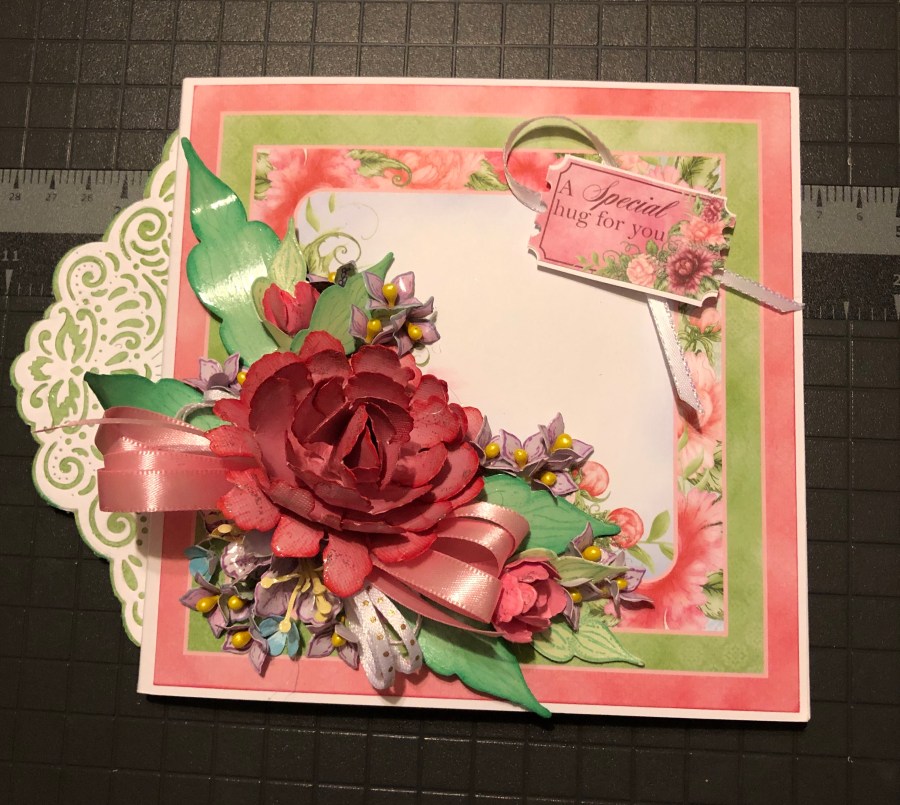
I’m loving the HFC Sweet Peony papers! Such a beautiful shade of pink, and it is so versatile, you can make cards for any occasion – from Sympathy to Anniversary! This first card has a “hidden” large tag for a little letter to the recipient.
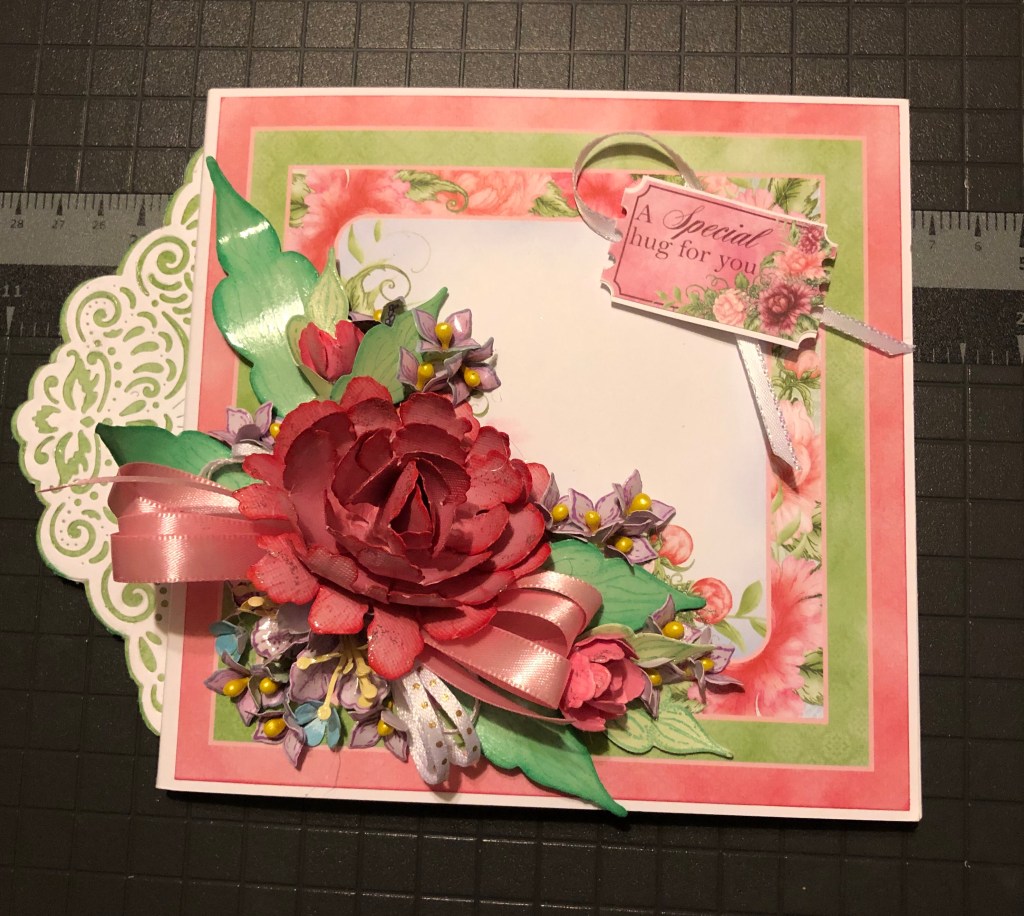
The second one has a magnet holding the flowers on to the card. it was very simple & easy to put together. The hardest part was deciding which of the beautiful papers to use!