I absolutely love stuffed green peppers, and they are naturally low carb! I think a lot of what helps make this meal perfect for keto, is the color – very appealing- and your choice of side dishes. Note that I didn’t use Green peppers, but red and yellow. Also, “my way” might be a little different from yours, as I make the meat filling & cook it before adding it to the peppers. Once the meat is done, I place my pepper halves in a microwave safe dish, laden in my meat, and top with shredded cheese. Then I microwave it for about a minute – this leaves the peppers crisp and crunchy, but also warms them.
In the first photo, we have a Spicy Arugula salad, and pickled okra (yes, I’m from the south!).
In he second photo, we have boiled zucchini, topped with Parmesan cheese, and two avocado quarters.
The recipe I use for the meat filling is very simple:
One pound ground beef
1 cup Creamed Cottage Cheese
One small Vidalia onion, diced fine
One Tbsp Worcestershire sauce
Two tsp salt (or less, depends on taste)
One EB egg
6-8 oz tomato sauce
I mix all these together and then bake in a meatloaf pan (they are slotted at the bottom to allow drainage of fat & other fluids) for about 15 minutes at 350. Then I remove from the oven, and stuff my peppers. Easy peasy! You probably could fill 3 large peppers (6 halves) with this, or maybe more. Remember to top the meat with your favorite shredded cheese before microwaving.
I wanted cake for my birthday, but didn’t want to “blow the bank”, so I modified a family favorite. It IS cake, and you COULD put candles in it, but we didn’t want to set the house on fire, so….no. Besides, the surface was kinda firm, but could’ve been potentially wobbly!
Start off with one of those cake pans that has an indentation for a filling. (Example shown above)
5 EB XL eggs 1 cup almond flour & 1/4 cup all-purpose flour, 4oz baking chocolate, melted 2/3 cup Monk Fruit 4 Tablespoons Coconut Oil 1-3/8 tsp Xanthen Gum (optional, for more dense brownie texture, omit) 1-3/8 tsp Baking Powder 3/8 tsp salt 1-1/2 tsp real vanilla extract
Mix all the dry ingredients together while melting your baking chocolate. Blend in the eggs and oil until smooth, and then add the melted baking chocolate last. Pour into well greased pan, and bake about 25 minutes at 350.
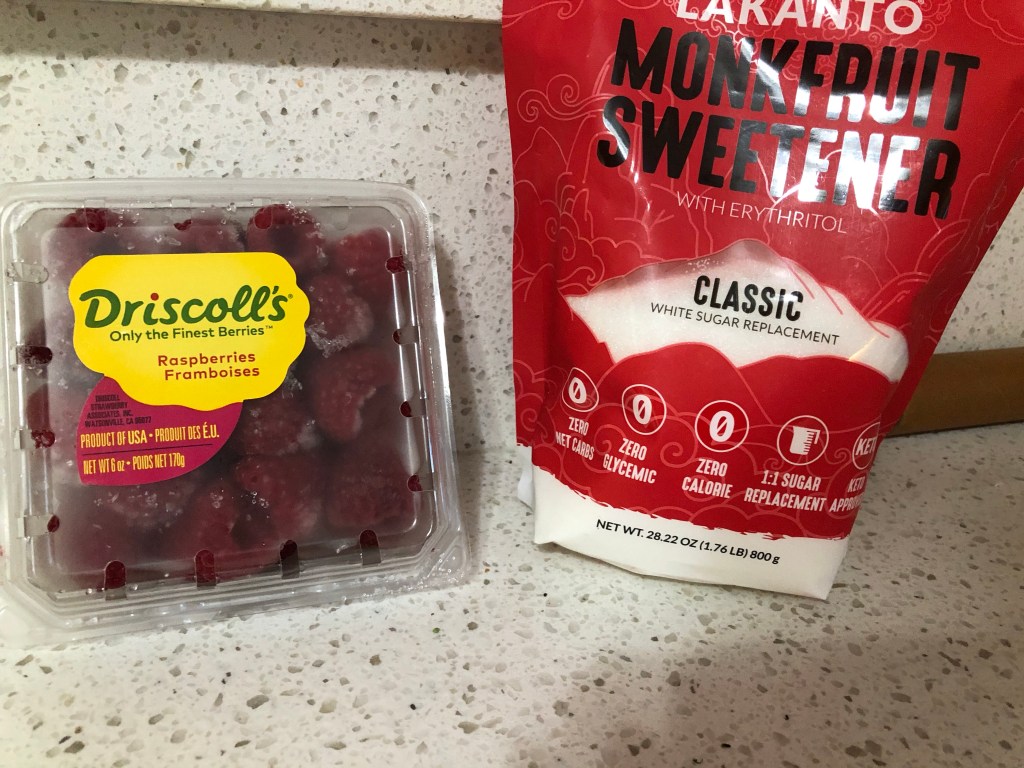
While the cake is baking, prepare the fruit topping. Two packages of fresh raspberries, or about 1-1/2 to 2 cups frozen (bring to room temperature). Place in microwave safe bowl with 1/2 cup Monk Fruit, and cook 2 minutes on high. Stir and repeat. Take about 1/2 package of Knox unflavored gelatin, and sprinkle it over a tsp of lemon juice, stir it in, and add it to the raspberries. Cook one more minute on high in the microwave, and then set it aside to cool. It sets very quickly in the refrigerator, if you would like.
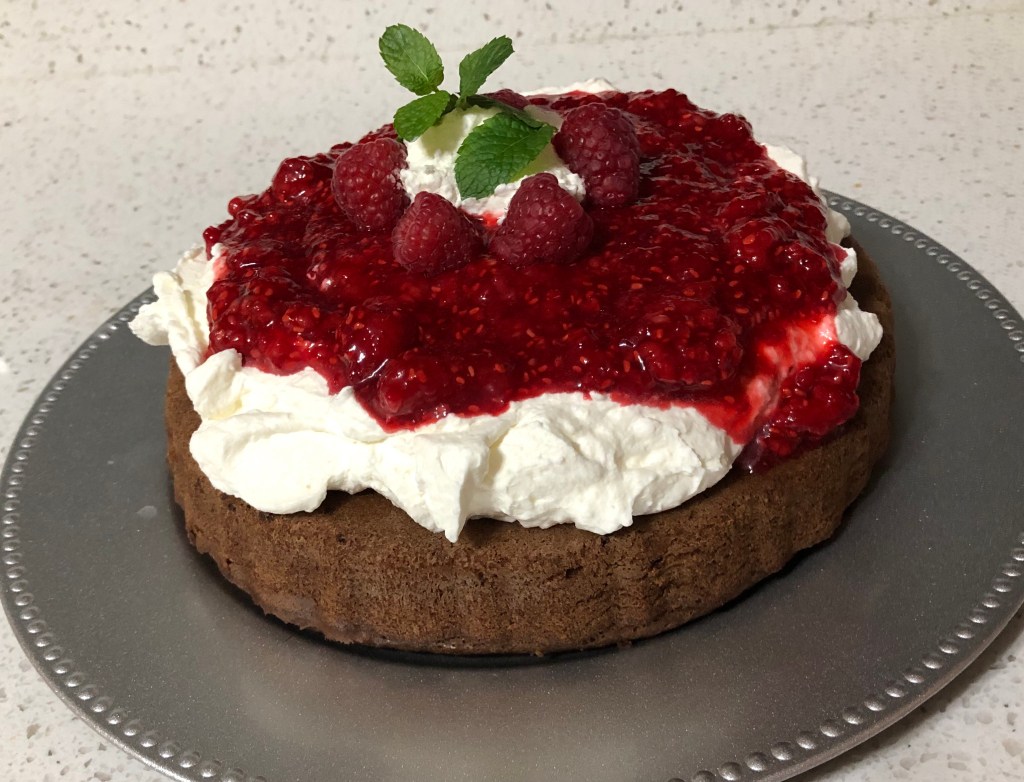
When the cake is cool, prepare a small box of sugar-free cheesecake flavored pudding mix with 2 cups whipping cream, and 1/2 cup milk. Whip until fluffy, and spoon into the well of the cake.
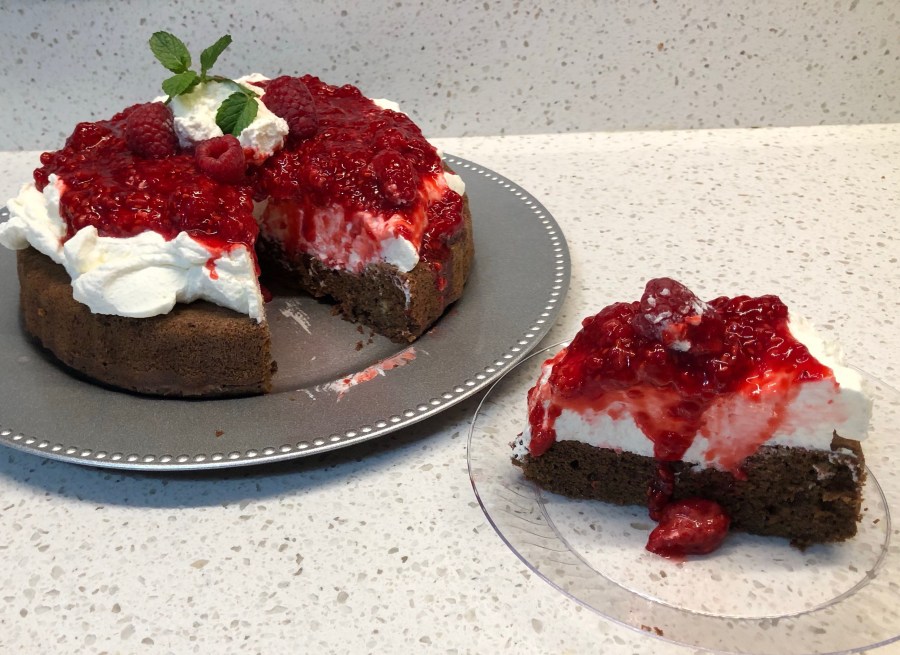
Now spoon on the raspberry pie filling. Refrigerate until you are ready to serve.
Voila! (Let them eat cake!)
***Small disclaimer: remember, baked goods which use Xanthen gum taste best in the first 24-48 hours. They sink and become very dense if left for too long, so don’t be ashamed to share your treat with others!
I got some new toys in the mail yesterday! It is an older collection, but I somehow missed it when it first came out, so I got it instead of the Christmas collections that the paper companies are advertising right now. It’s August, for Pete’s sake! I’m more interested in lying around the pool than celebrating Christmas!
These are just some of the butterflies in the collection, but they are what I used today.
Don’t you just love these huge ones? That card in the middle measures 6” x 6”, to give one a little perspective on their size. I am learning to watercolor (my new joy!), and I just colored whatever came to mind. On the yellow and orange one, I just used daubers and an ink pad, but on the blue butterfly, I used my Zig Clear color Brush markers, and really had fun with that.
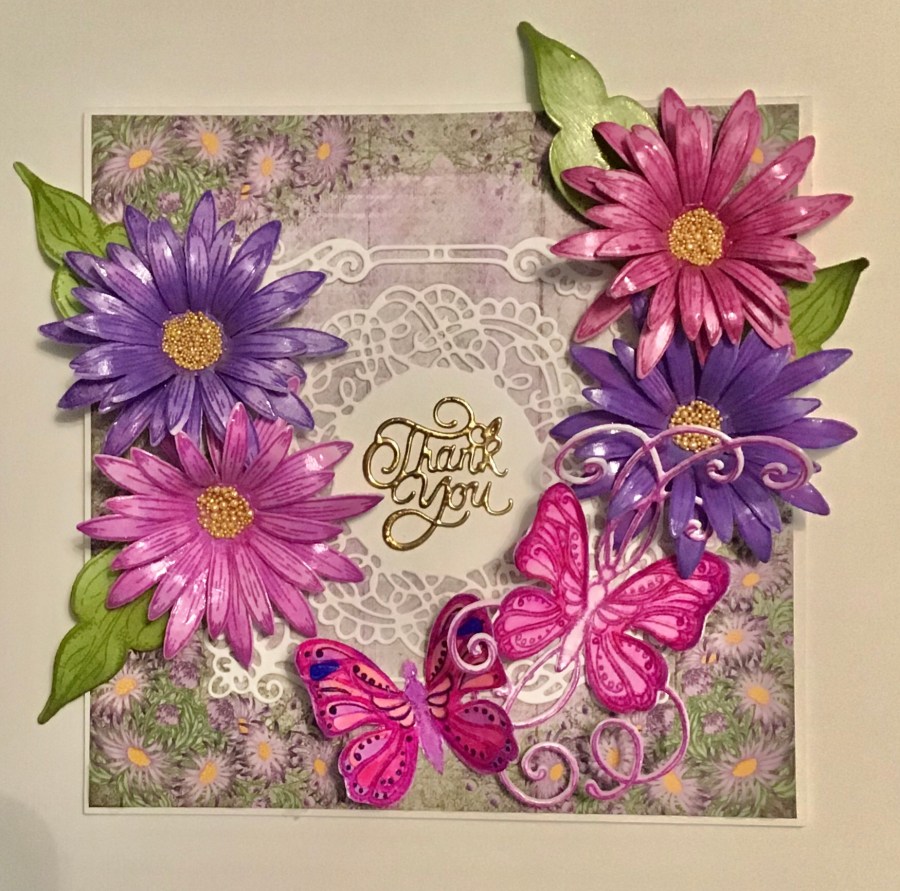
Here is the final product, using paper from the Wild Aster collection (Heartfelt Creations, I’m sooo boring!), and Asters that I made weeks ago, pink butterflies that I stamped and colored today. The white die cuts and sentiment are from the collection as well.
I just wanted another excuse to play with purple, I think.
I cut the “screen door” out of shiny gold cardstock, for a bit of a different look
The wisteria and flowers were simply die cut from the “Cascading Petals” paper pack, but the little blue birds (which were stamped and water colored) are from the Cherry Blossom collection. The screen door is from the French Country Cottage collection, so this is a bit of a mashup, it I think it’s nice how Heartfelt Creations products all work so well together.
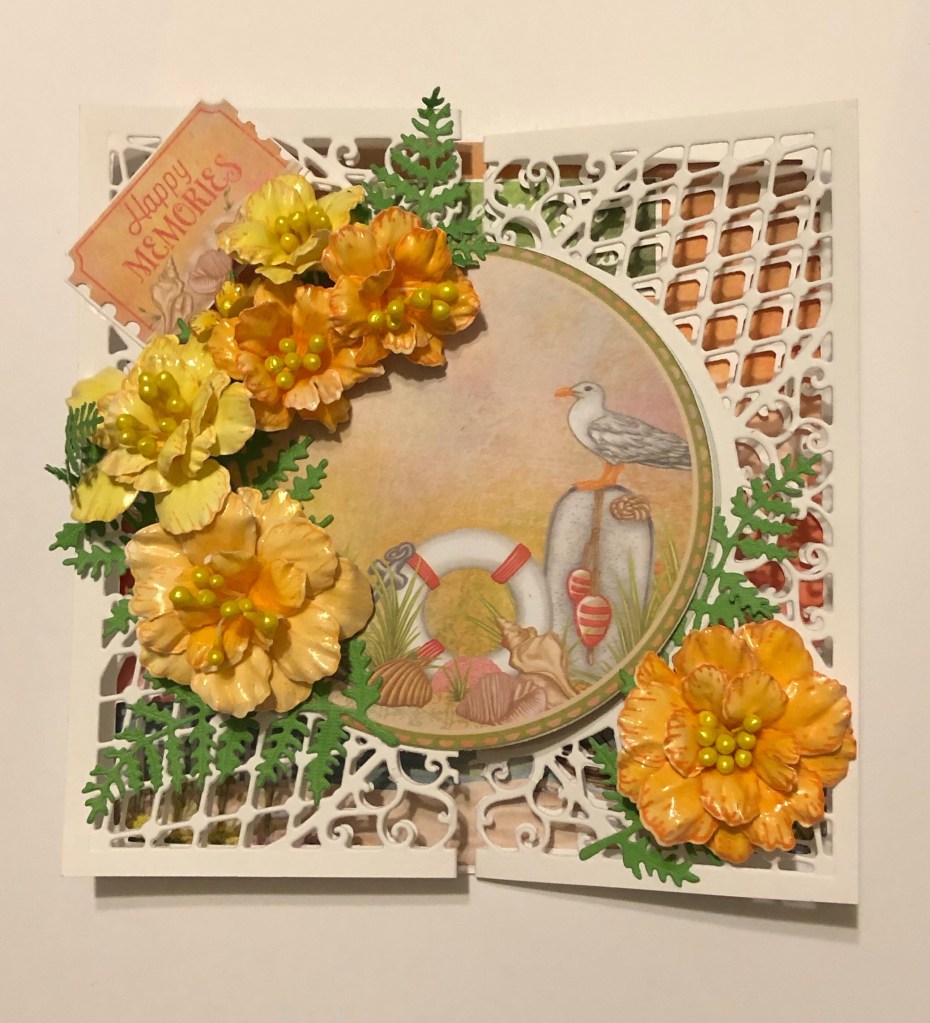
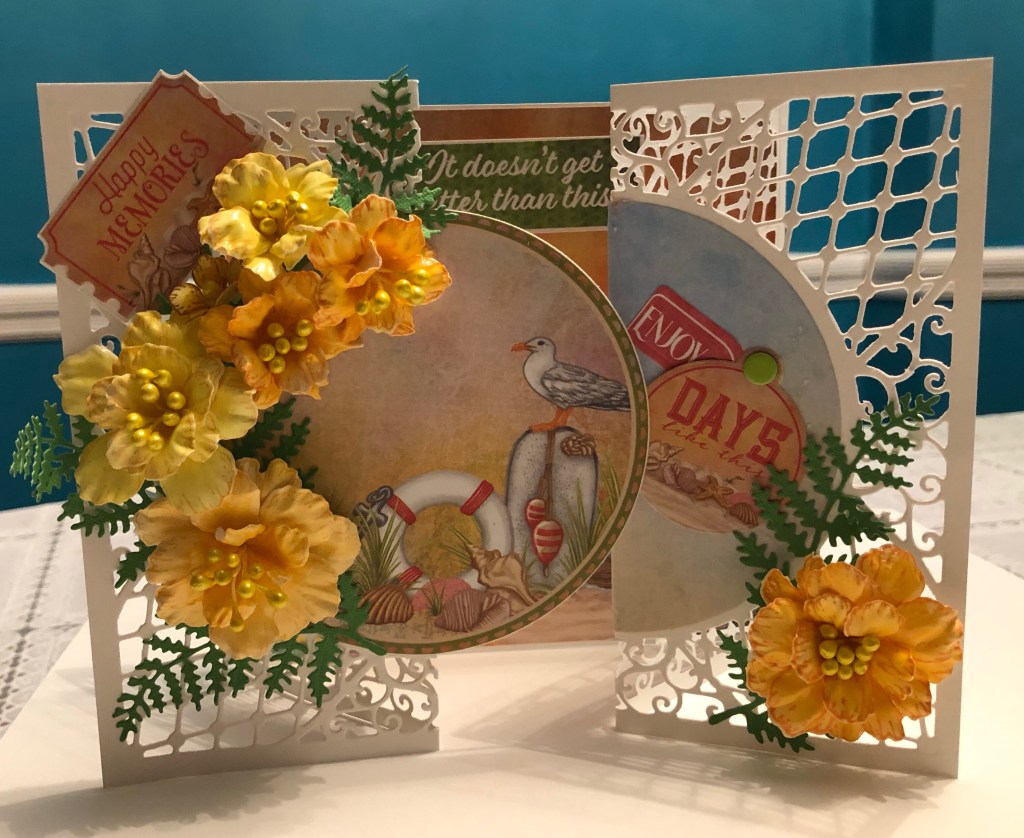
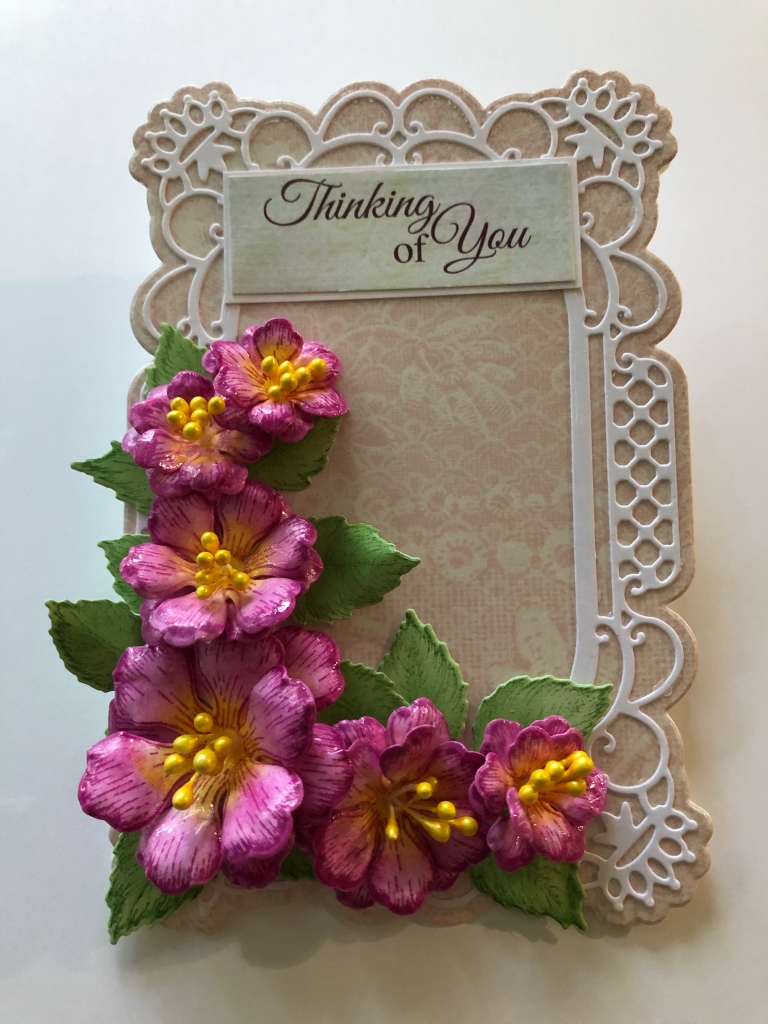
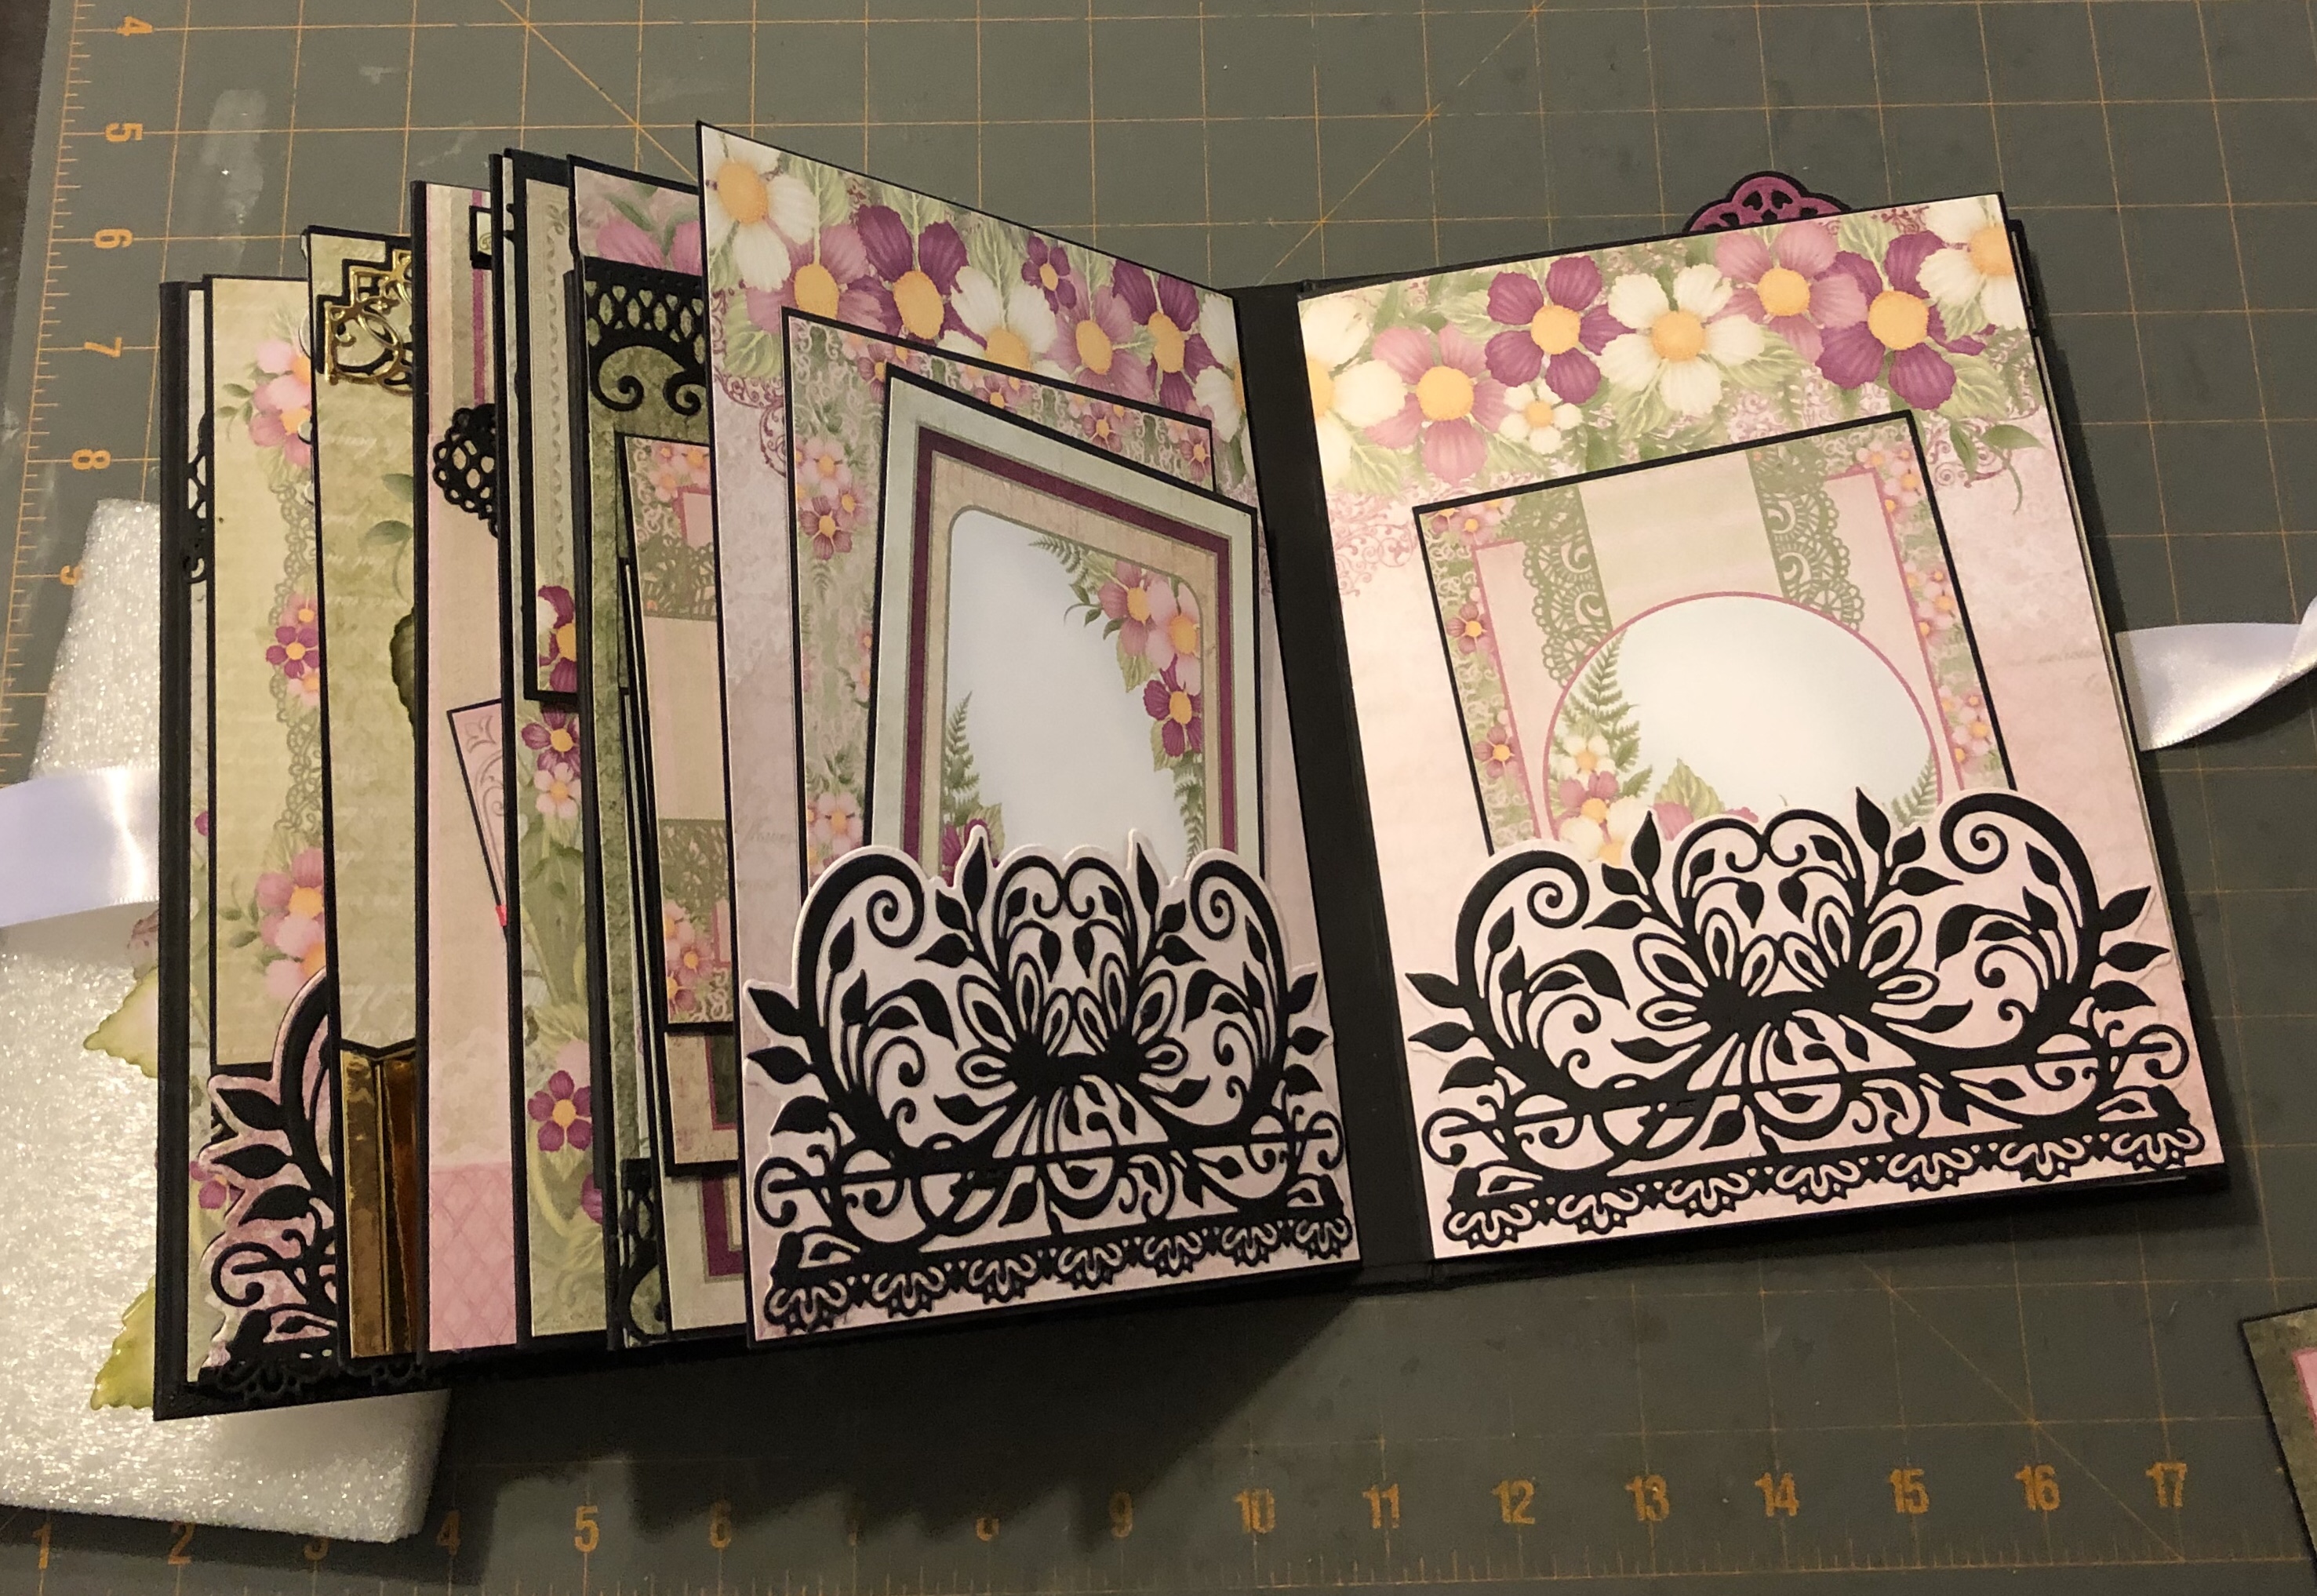
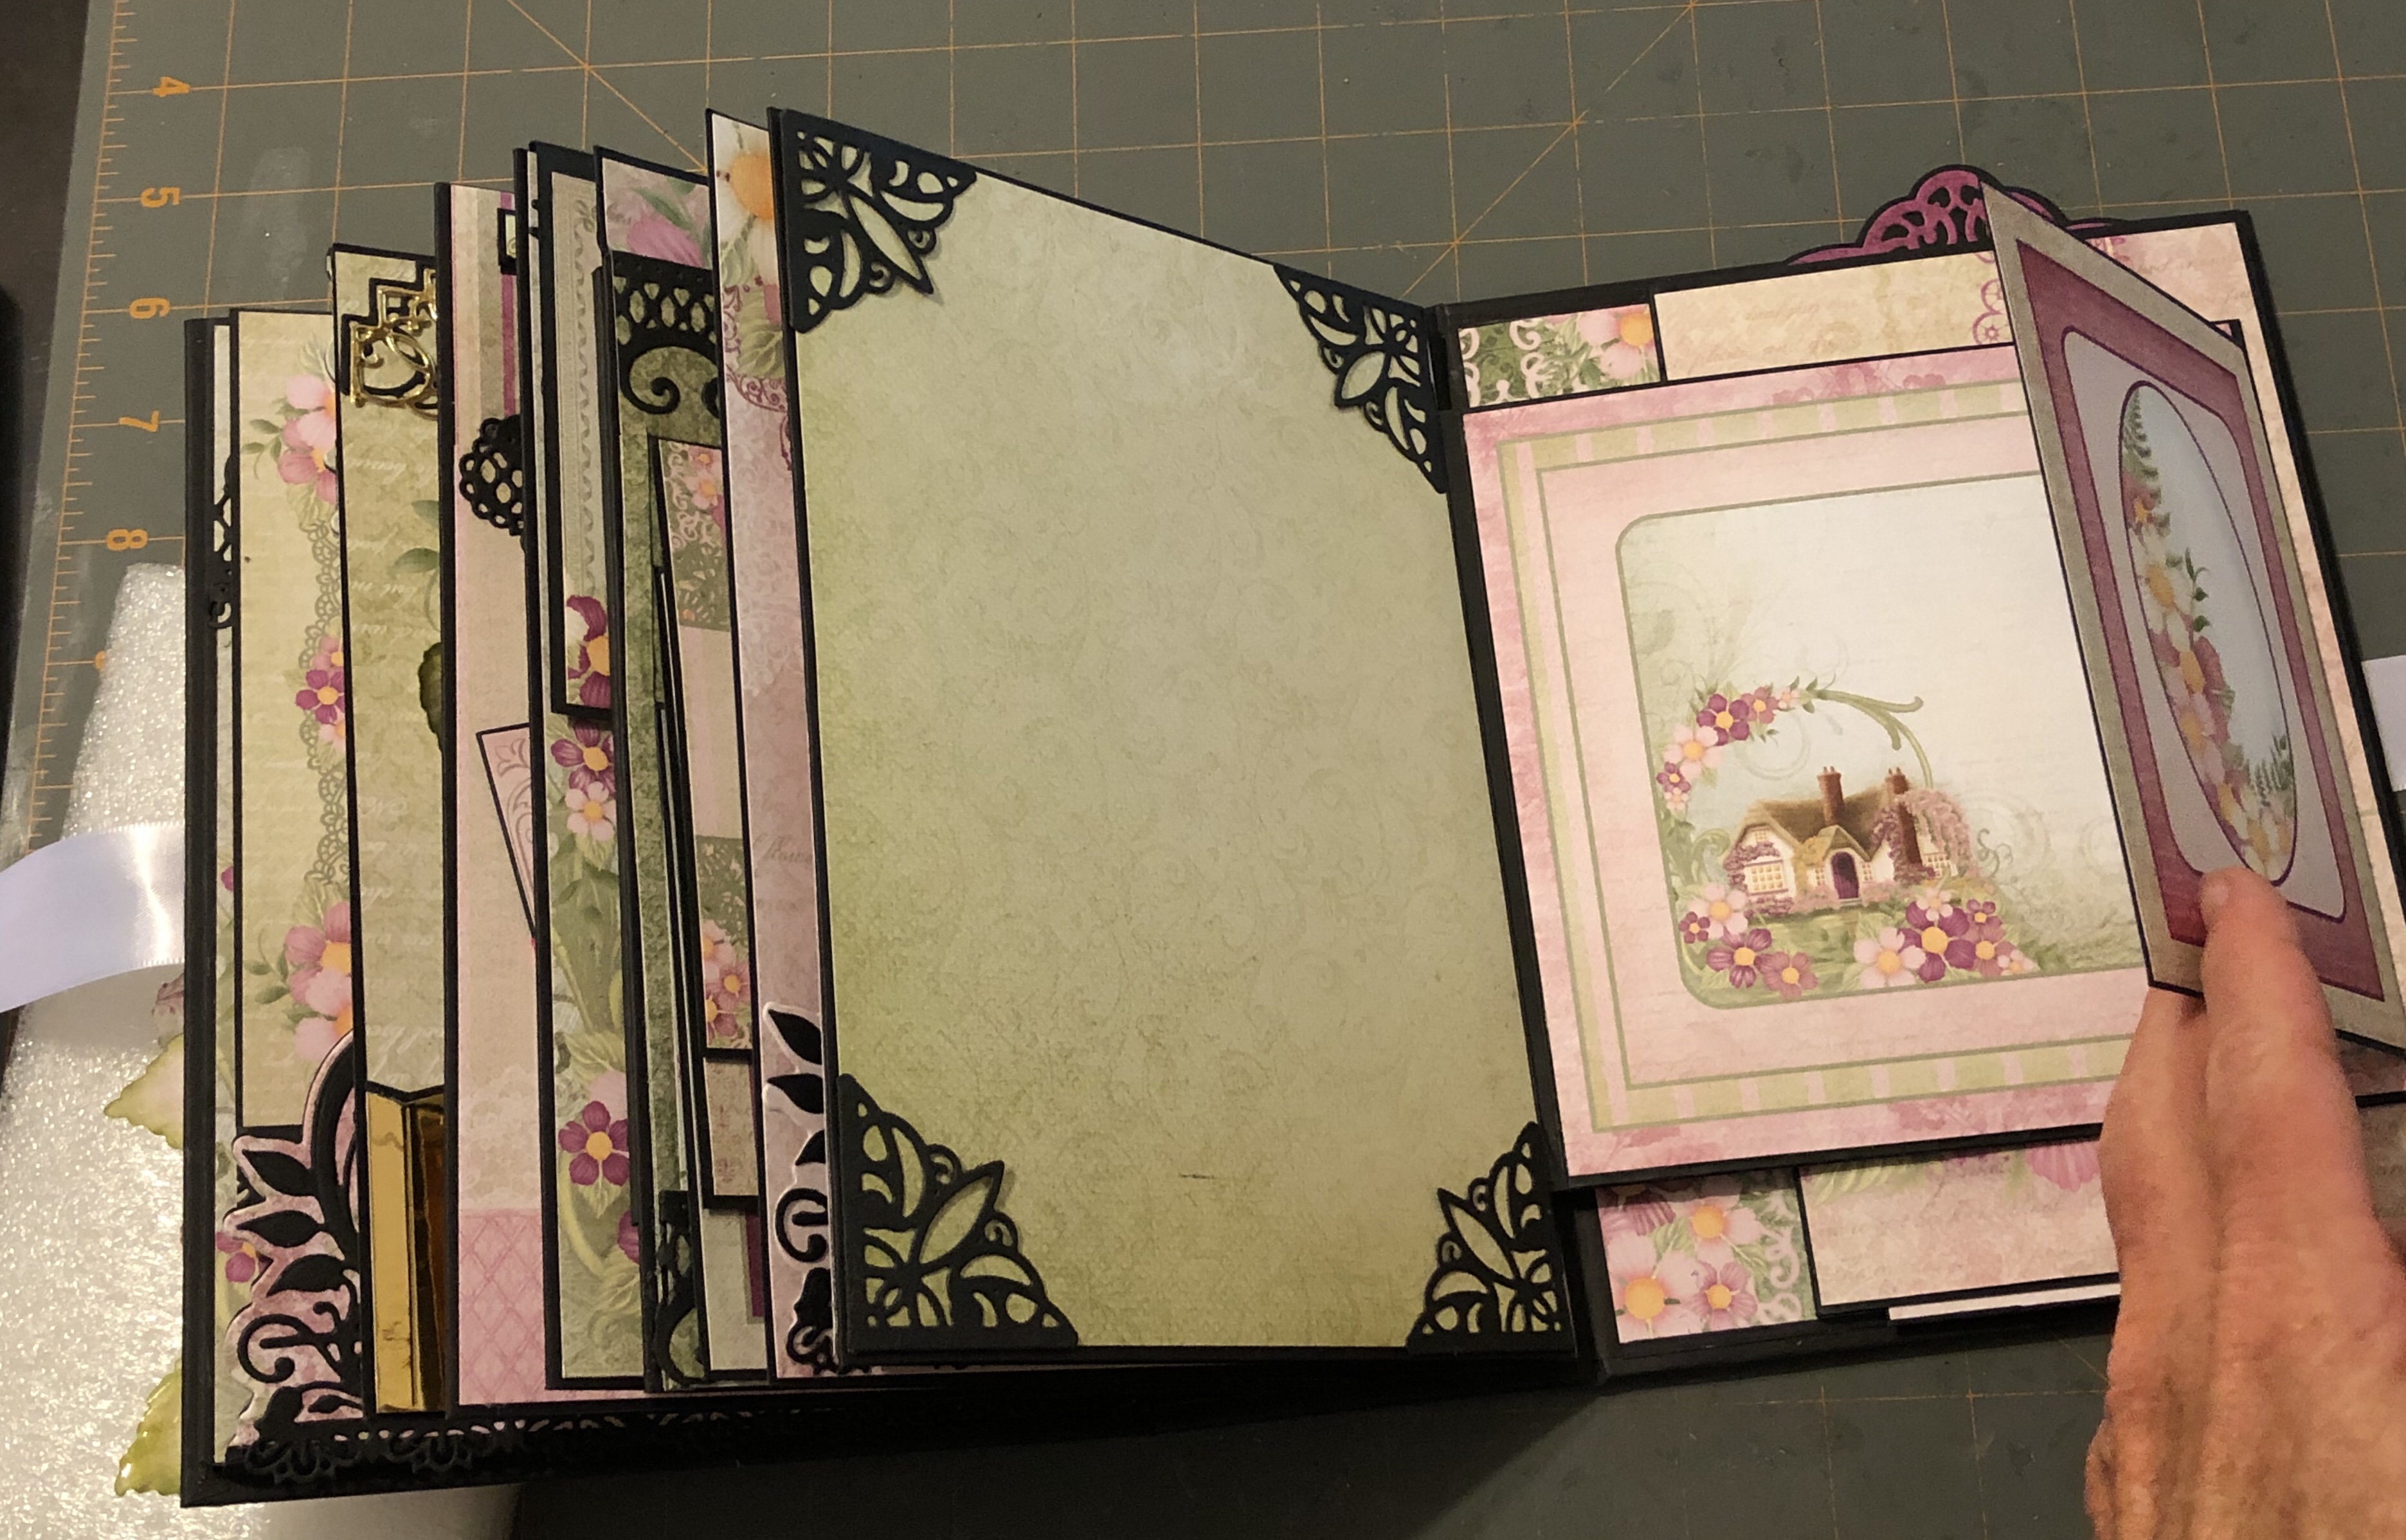
This is one of those times when I saw a card, and made it mine! Meaning that I saw one using the exact same background paper, and the lacy die-cuts, but when I went to decorating it, it took on a life of its own.
Using Heartfelt Creations Sea Breeze Collection, and the Courtyard Elegance die (folded in half, as you see) , I added some fern die cuts, and used the classic rose stamped in light oranges and yellows, and put in some stamens for a different look.
Definitely will do this one again, as it doesn’t quite fold perfectly flat (hot glue leaks through the cut outs behind the flowers anyway!) but I’m definitely tickled with how it turned out!
It’s Summertime! My favorite time of year. Fruit is plentiful in the spring & summer, and I enjoy eating a lot of anti-oxidant rich berries, like Blackberries, raspberries, blueberries and strawberries. When I first went keto, I didn’t allow myself ANY fruit that summer, except for fruit flavored gelatin, lol! It was a sad, sad summer. The next summer, I just had to have some fruit, and it turns out that most of my favorites are berries, which are much lower in carbohydrates that things like Mangos and Bing Cherries.
Sooo, I’ve been experimenting in the kitchen for the past couple of years, and if I do say so myself, I’ve come up with some really delicious food, that is extremely low in carbohydrates.
In case you are not aware of what to look out for, here is the skinny: no starches. No rice, potatoes, bread or pasta. No corn, and no juice, and even watch some of your fruits, like bananas and mangos – these are seriously high in frucose, which of course means high carbohydrates, or what I call a high glycemic index. Grapes, raisens and craisens too (sorry!). Seriously! It’s pretty hard at first, but after 3-4 days your tastebuds & brain get reprogrammed, and it’s all downhill from there.
Today, I’m going to share with you my modified recipe for “Cream Cheese Blackberry Crumb Cake”. Basically, I’ve just substituted Lakantos Monkfruit for the sugar, and replaced half of the flour with almond flour. NO xanthan gum required. You can also make this with raspberries or blueberries to mix it up.
This recipe is so well loved, and made so often at my house, I almost have it memorized. You will need:
Mix your filling first. In a separate bowl, make the cake batter, starting with the wet ingredients, and blending until smooth, and then adding in the sweeteners, and finally the flours. Pour 1/2 of it into a greased 9″ springform pan. Pour and smooth the filling over the top of the cake. Sprinkle the blackberries over the filling, be generous.
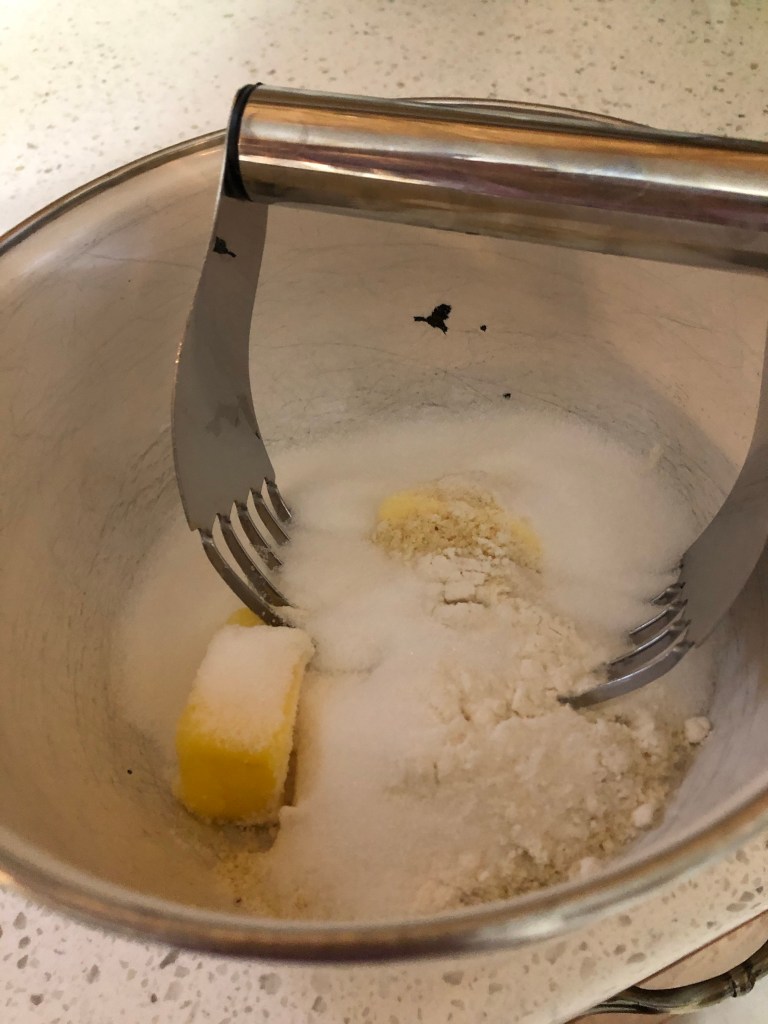
Cut your butter/margarine into the flour and sweeteners for the topping, and then crumble this over the top of your berries.
Bake for about 45 minutes at 350° F. It will appear a big gooey due to the cream cheese, but it will set-up nicely in about 30-40 minutes. You should be able to get at least 8 generous slices. Enjoy!
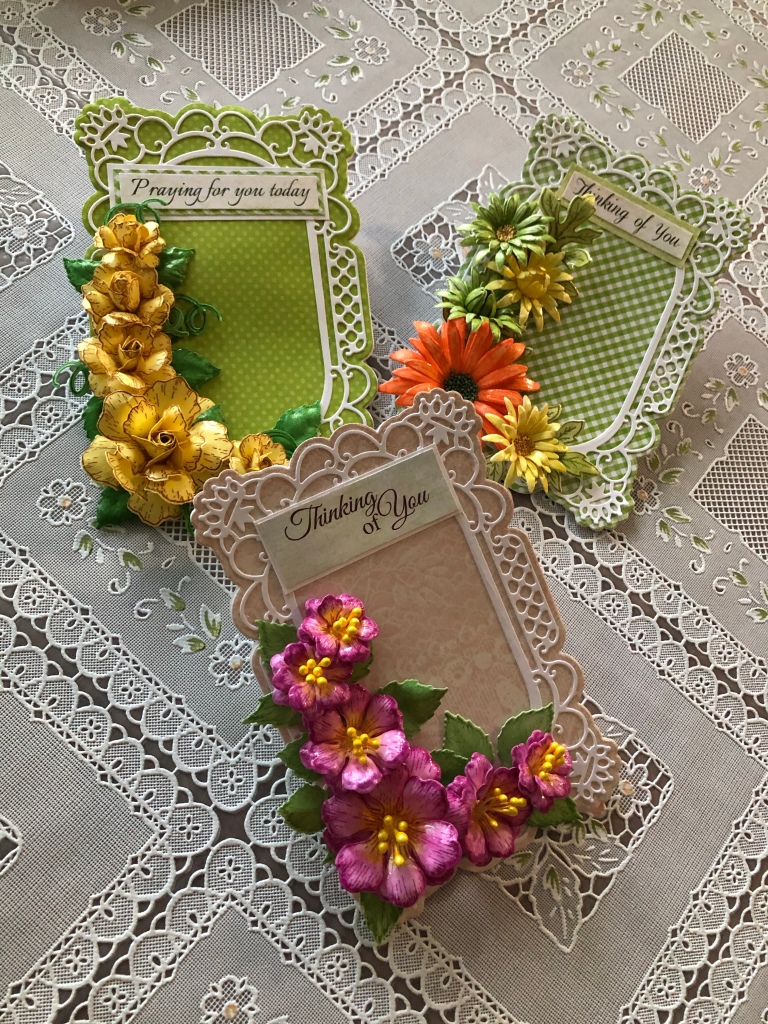
I made some cards for friends that we’ve been separated from during the pandemic & social distancing. Sometimes we can see our friends for lunch (outside seating!), sometimes not! So many people are going through a lot these days, so I’ve tried to give cards and a small treat to my friends, at least once a month. These are the ones I’ve made for them this week. (Plus some cupcakes!)
All of these use the Heartfelt Creations Regal Frames & Accents die, and the background paper is from my stash. The first one here has some yellow roses.
My second one is pink, with Double Petunias (I just love petunias!)
And the last one here is the Wild Aster. Asters are such a joy to make!
And now to make some cupcakes without eating them!
I think this is my favorite card so far. I really enjoyed watercoloring my birds and flowers! You might not be able to see it very well, but I have a thin white piece of card stock glued (under the birdcage where you can’t see it) which extends out to the right a bit, to support the circular feel I was going for.
Aren’t they precious? This one is a Birthday Card for my mom, soon to be 81 years young.
This card uses the paper from Heartfelt Creations Cascading petals – the “I Want it All” package included the die for the birdcage and the birds as well. using the outline die, I created the shaped card, putting fold about one inch from the tops of the cage. I the. Cut another of the outline, and put the birdcage on top of it. Then the circle was placed beneath that piece, and the top of the card, to hide it a bit. Then I colored my birds and the flowers, added some dimensional wisteria and more leaves to round it out (pun intended, lol!). You will note, I avoided adding a ribbon or bow – very difficult for me, almost like asking me not to add flowers or glitter!!
The inside has light blue paper with a sticker sentiment.
Obviously, anyone who has been eating Keto for any time at all, knows that there are loads of ways to enjoy your favorite food, with just a little twist. My goals, is to add to your ideas, with things that I’ve tried, and continue to enjoy.
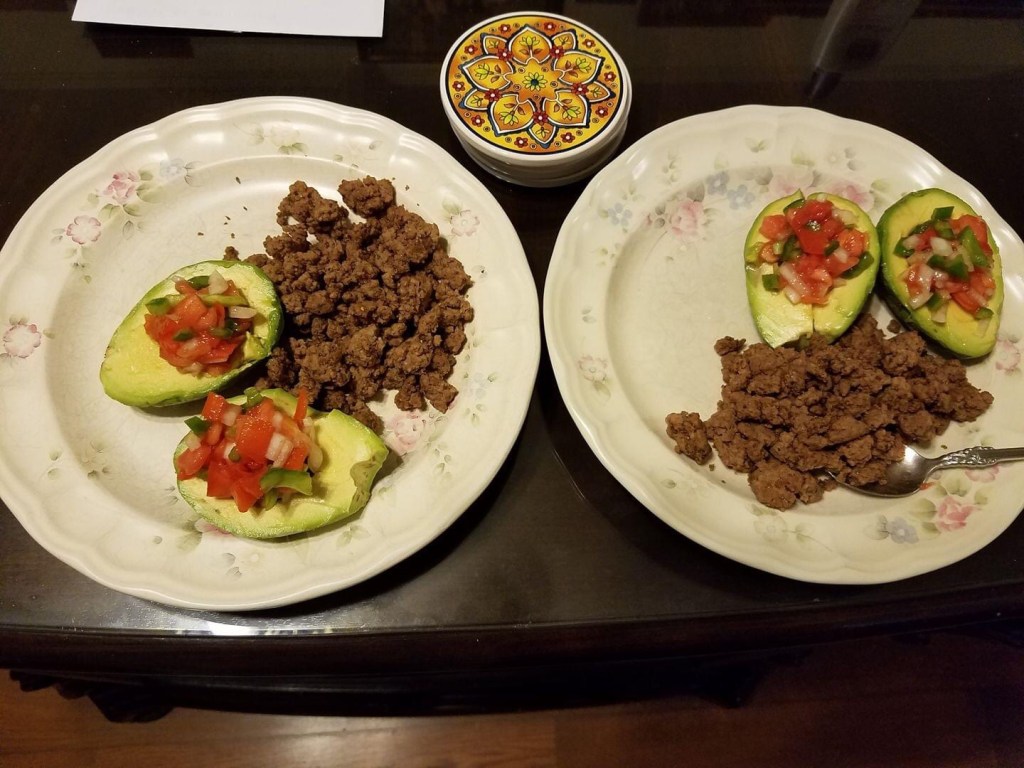
Today, we’re all about Tacos!!
The only thing missing here, are the chips! You can add sour cream, shredded cheese and salsa to your hearts content! We have ground beef, seasoned for tacos, avocado halves, and homemade Pico de Gallo. Delicious and filling, and carb count is near zero! Yum, I’m going back for more!
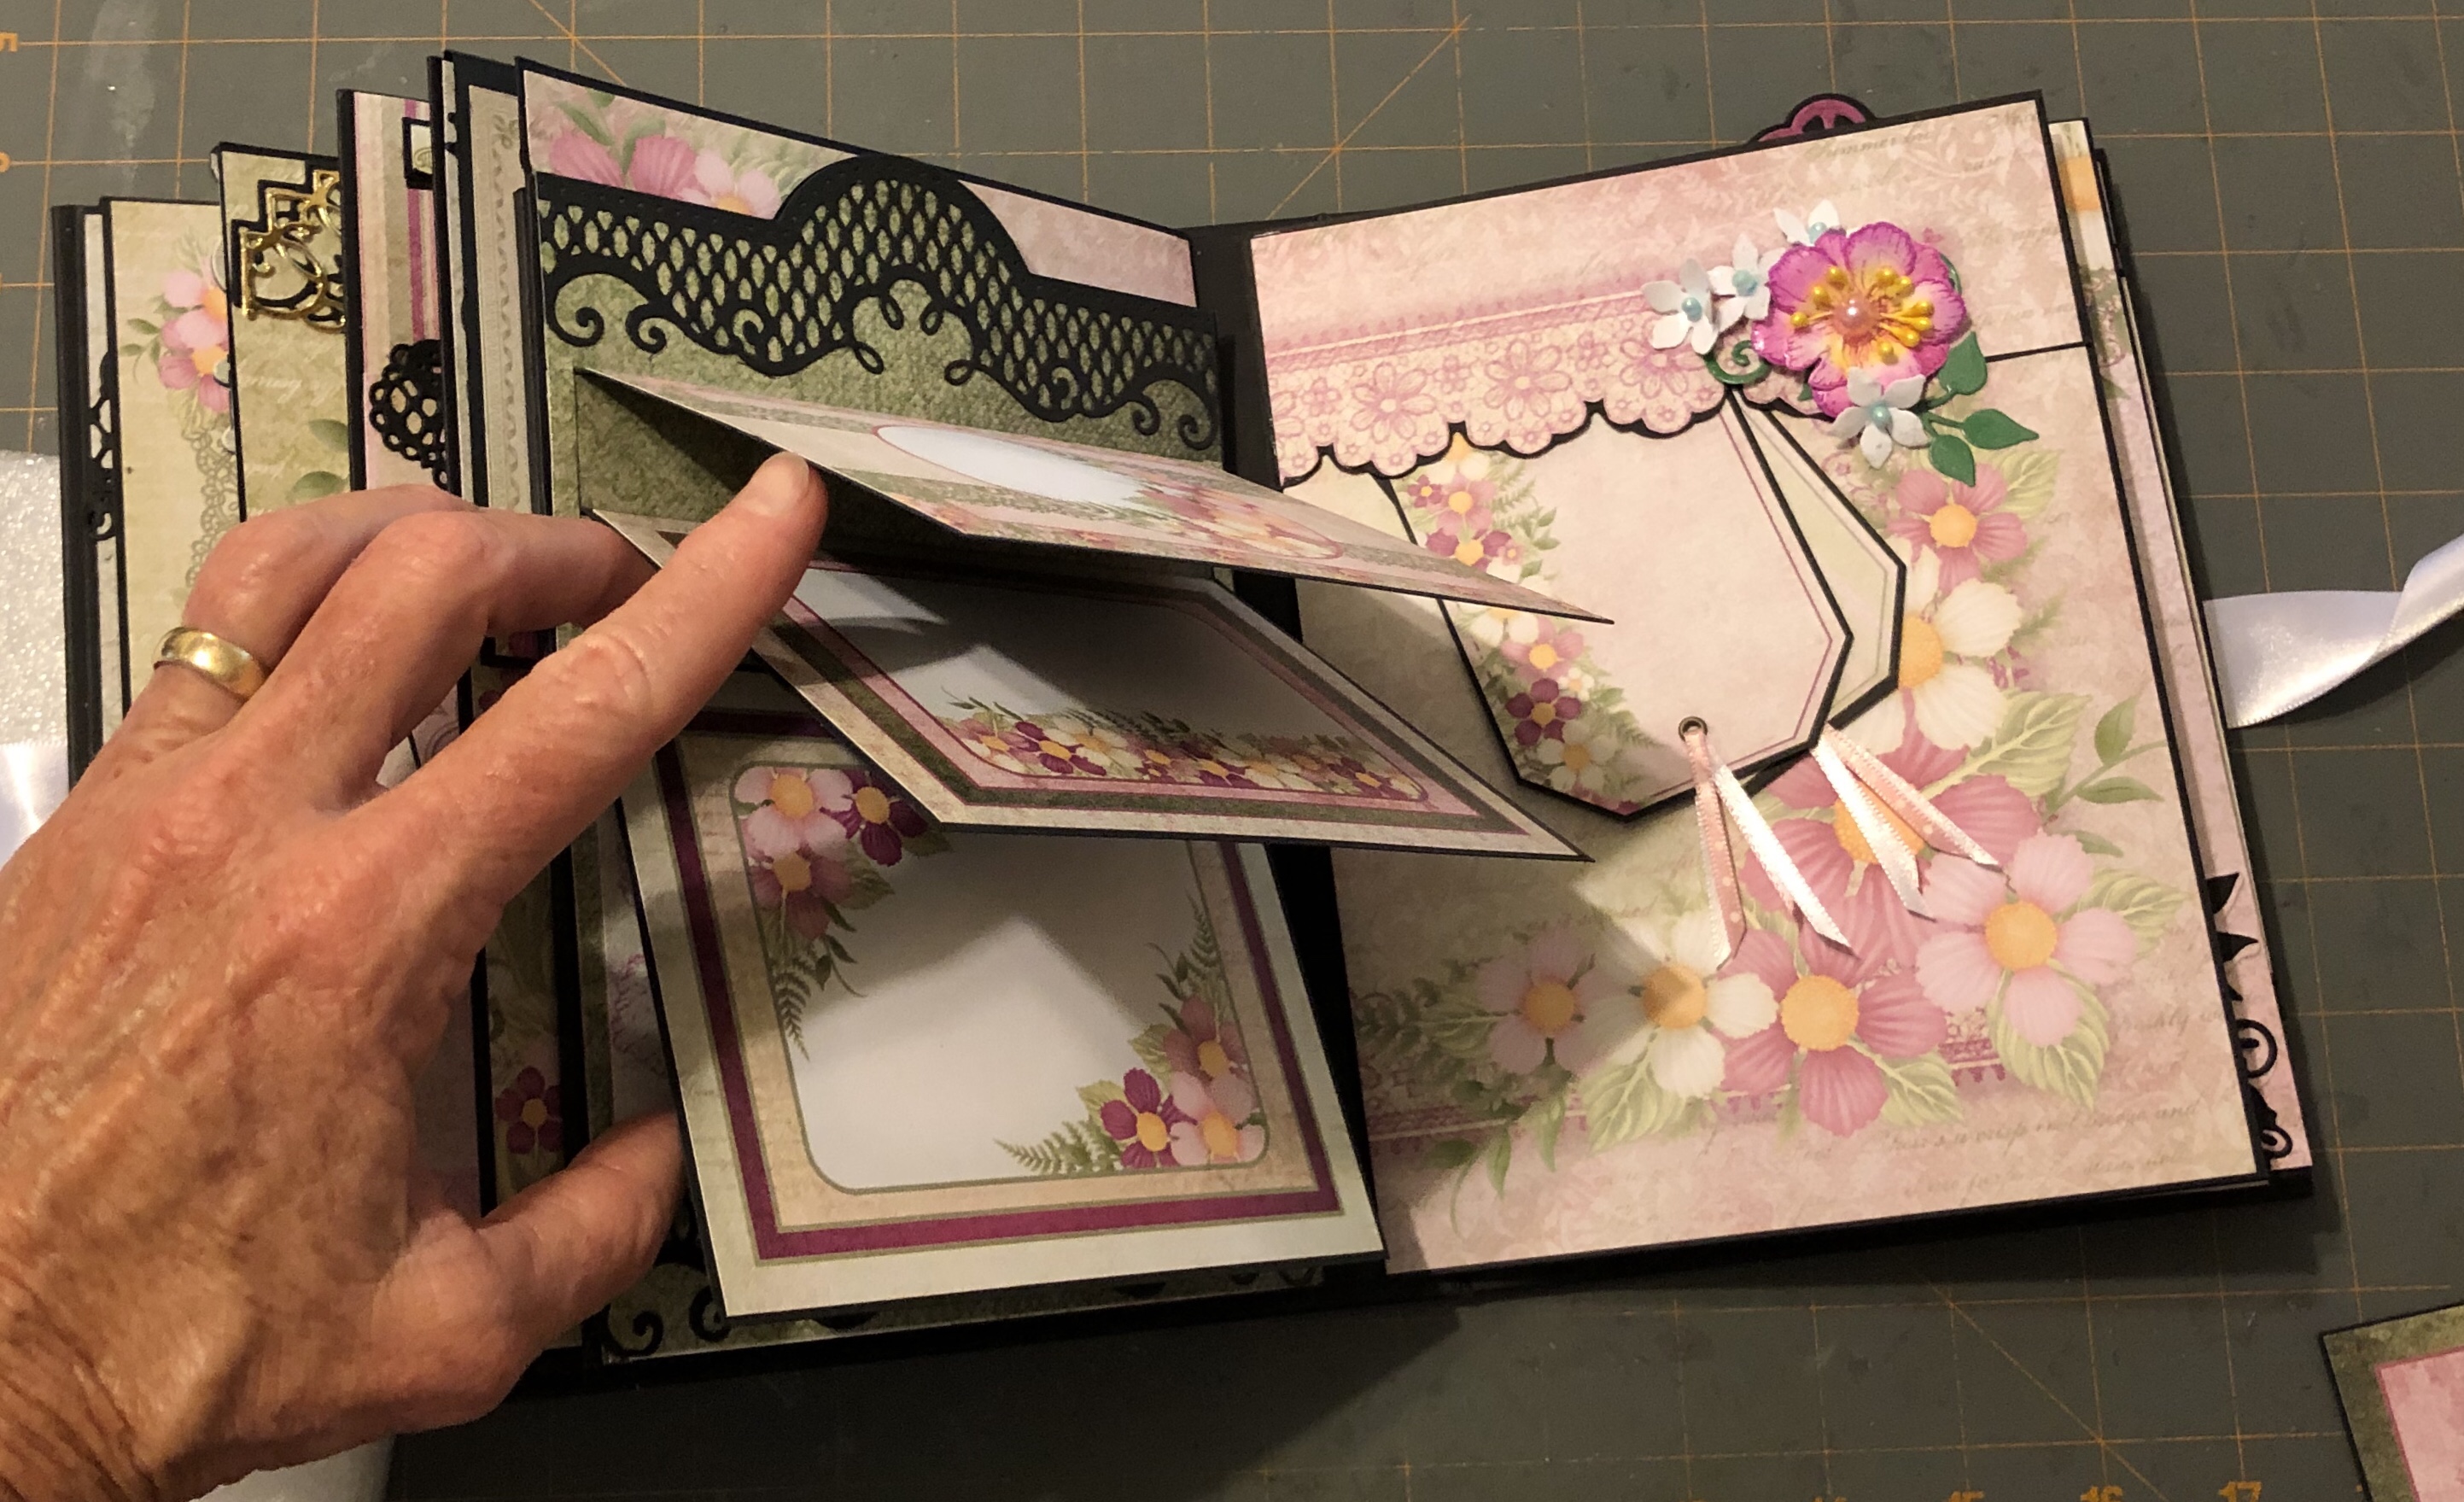
I truly intended to make a tutorial for this album, but alas! a videographer I am NOT, and frankly, I think people must make an album first, and then make a second one to film, as all the planning and preparation that goes into each page, would make for a very (very!) long tutorial!