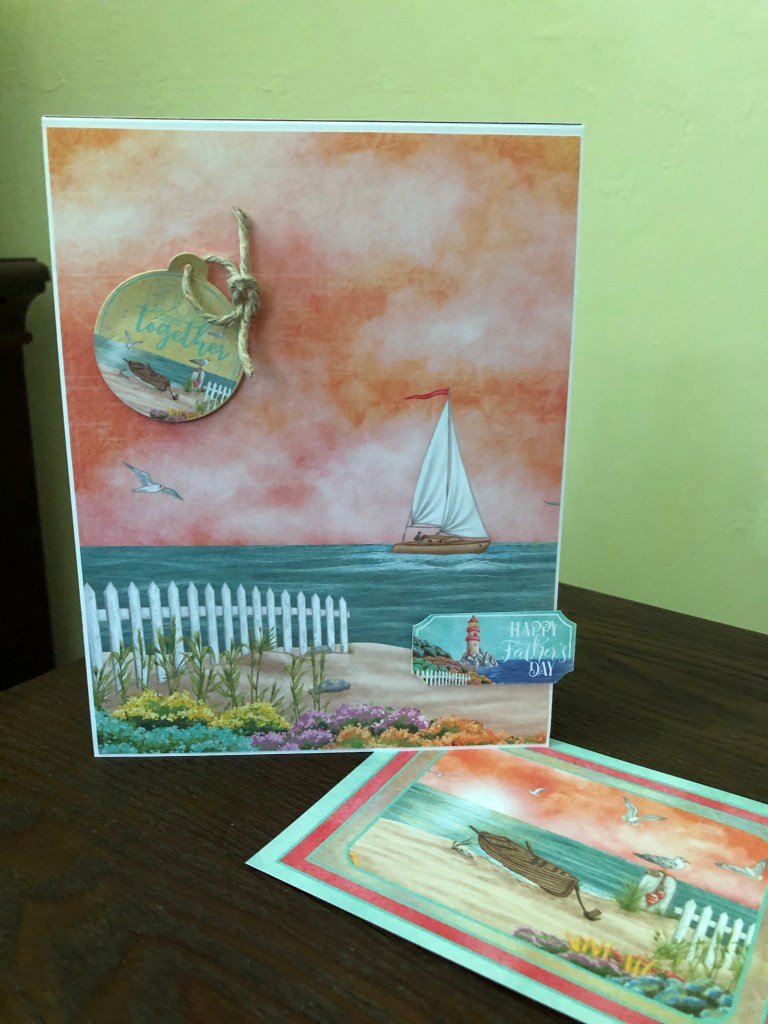
This was an experiment in water coloring with my Zig Clear Color Brush Markers, which my son, Wes, gave me for Christmas (2019)! I really did try to use them over the past few months, but I was not doing so well, until I found a few tutorials on YouTube. I am by all means, not an expert, but this is a work in progress, and fun to learn a new skill. I’ve also been playing around with colored pencils, blending them with a variety of mediums, from water, to alcohol, to baby oil.
Also I have a new toy to make a more perfect bow (it’s called 2 dowel rods hot glued into a wood base, lol! My sweet hubby made it for me.)
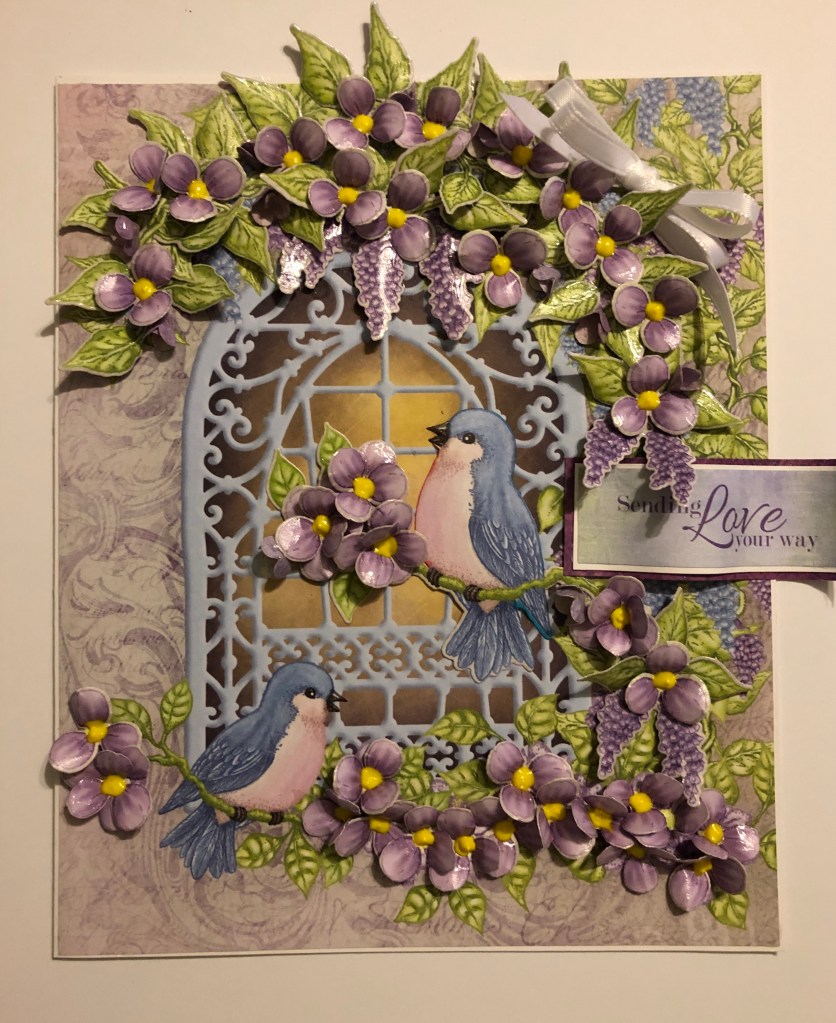
This little card includes flowers from Heartfelt Creations, a window from the French Country Garden Collection, and the birds and leaves are from the HFC Cascading Wisteria collection. zig markers colored in the flowers and the birds.
This card was made with Heartfelt Creations Cascading Petals collection. It is a pretty big card, measuring about 7-1/2 inches tall, and 6-1/4 inches wide. I took one of the papers and cut the top right edge for my background, and the using the die cuts, I also used the paper pack for the bird on the right, and all the leaves and flowers.
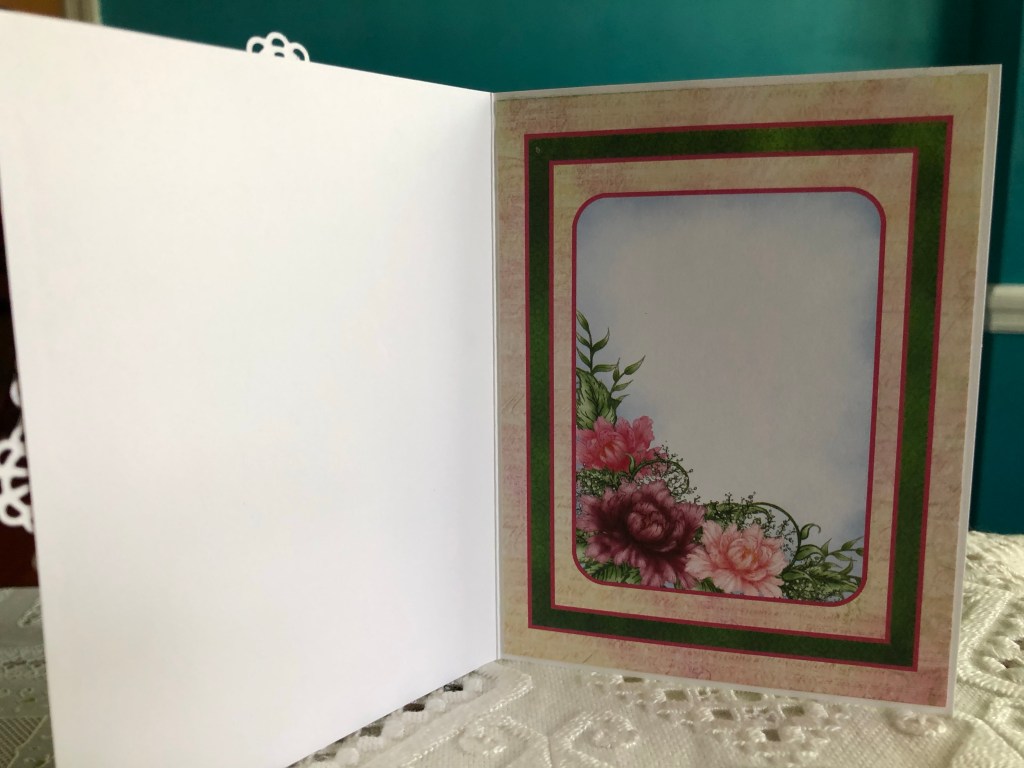
For the inside of my cards, I like to use nice phrases from a sticker pack I found at either Michaels or Hobby Lobby. I also used a border strip at the bottom for visual interest, and then I shellacked the flowers and leaves with “Crystal Laquer”.
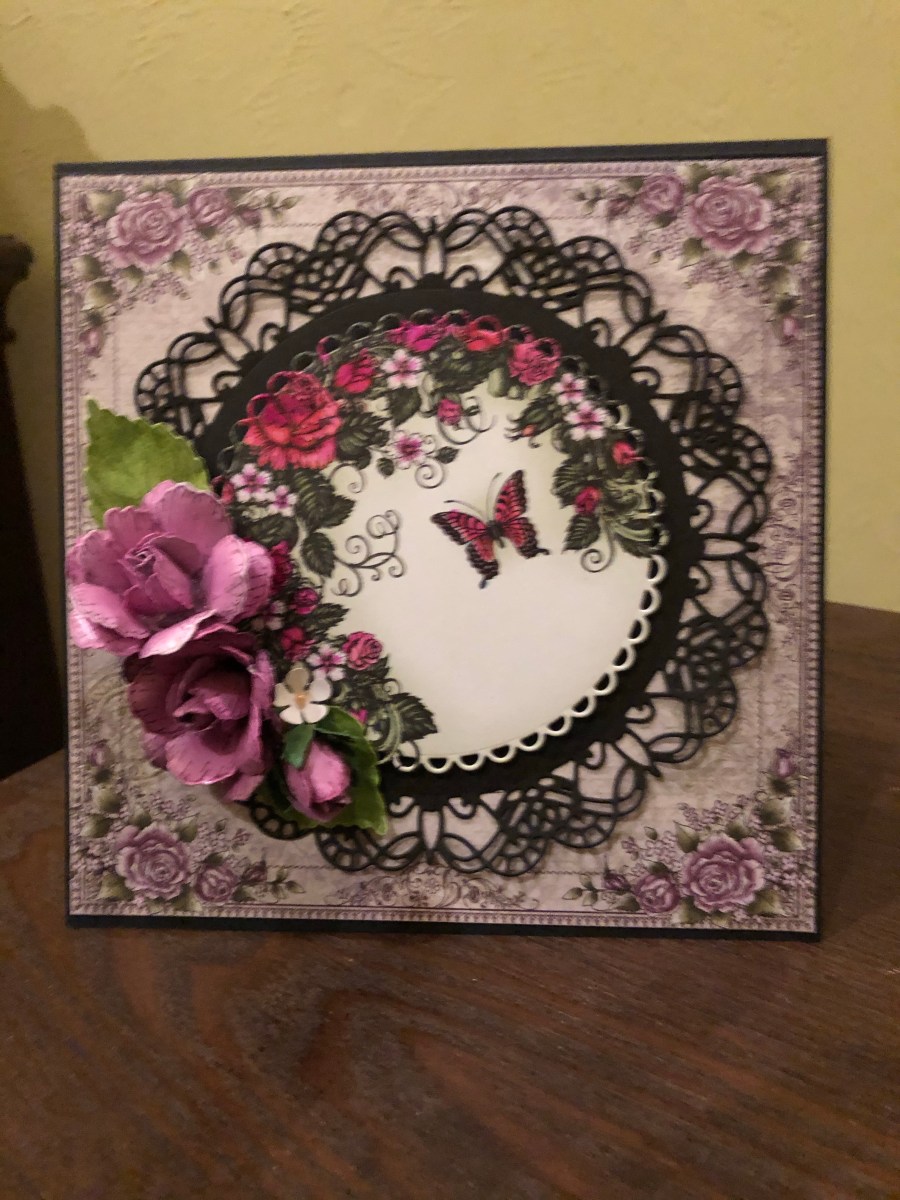
This little beauty was one day late for a contest, but is destined as a sort of “Thank You” Card. It includes some generic paper I picked up from Hobby Lobby, and all sorts of my Handmade Heartfelt Creations flowers. I also used one of the Heartfelt Creations Petite Pocket dies to add a wee bit of lace to the top and the bottom. I cut a butterfly out of gold paper from a Spellbinders die, and added the sentiment, lifted with a bit of foam, about 1/3 of the way down.
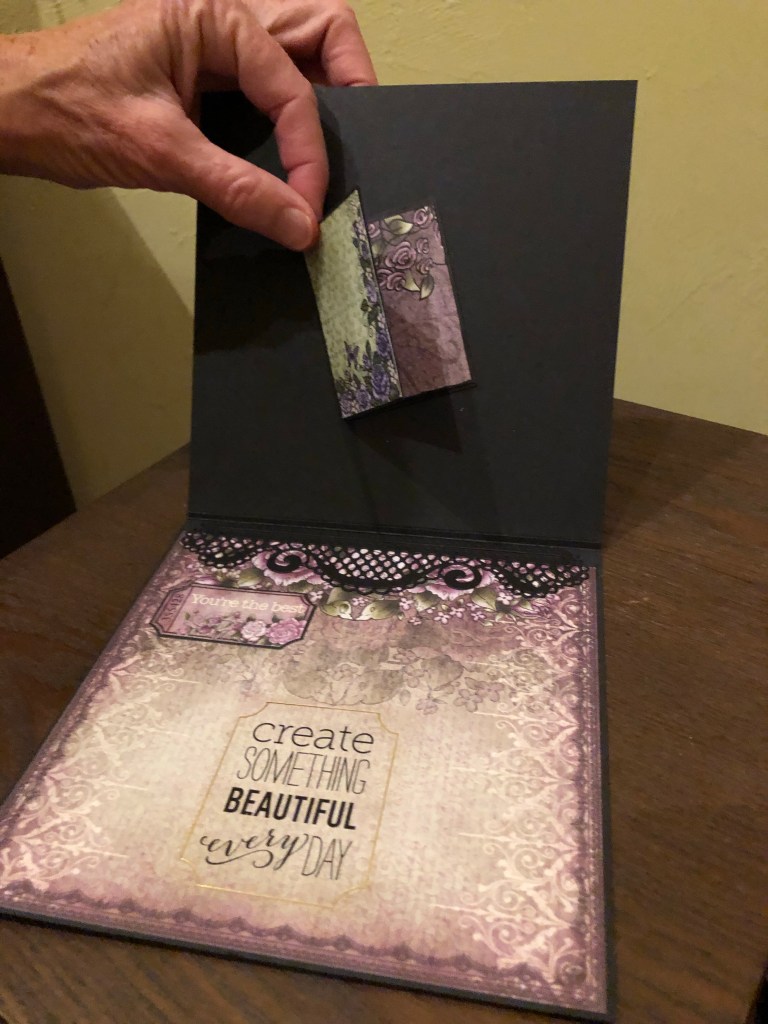
The inside has plenty of room for sentimental words, photos, or whatever you like? Enjoy, and show me your cards in the comments below, I’d love to see!
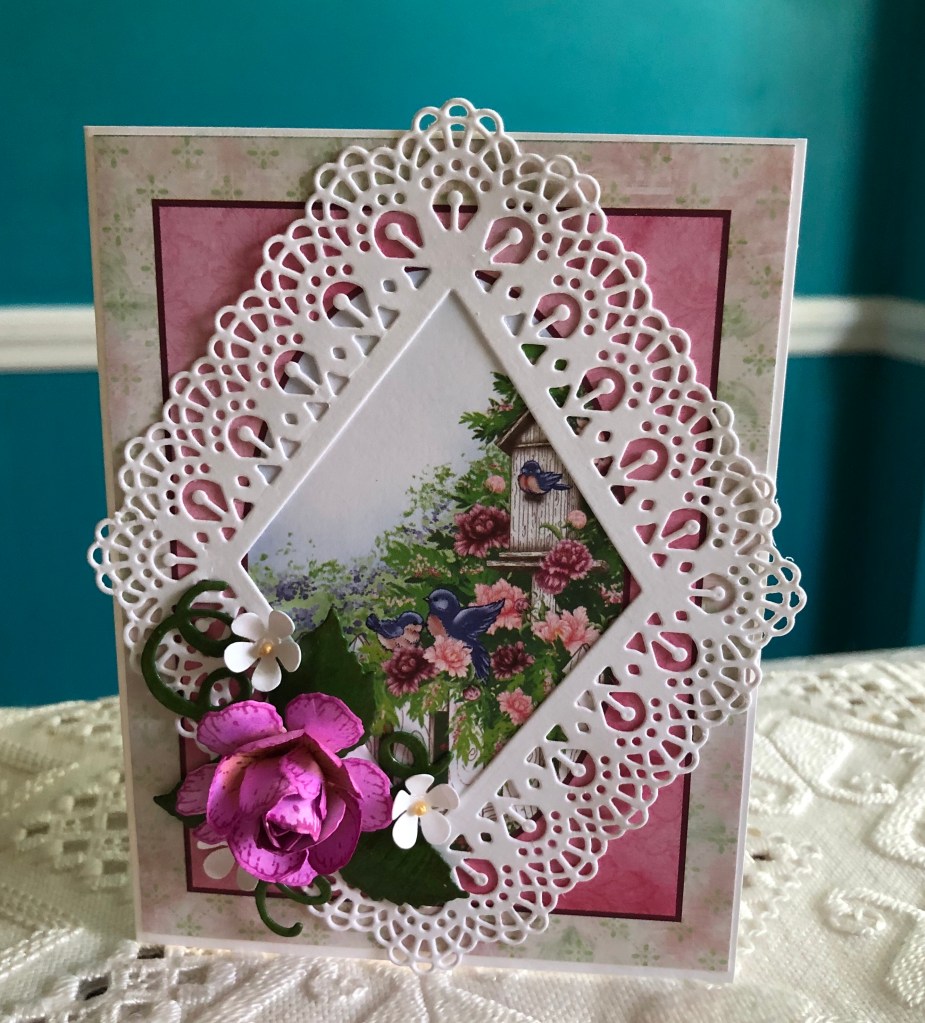
It’s amazing what you can create with scraps!! This card is created using Heartfelt Creations Classic Rose paper, I actually had to color the flowers and butterfly, as they just weren’t the right color, and I didn’t have any other scraps that would do. The dimensional flowers were created using the Wild Rose stamp and die set, the white blossom is from an old punch with a single prill in the centers.
The inside cover has a little mini-card for a secret message!
More masculine cards are so difficult for me! But I like the simplicity of this little folio anyway, and it has a small pocket inside to slip cash or a gift card in.
I just realized that I had a couple of other elements (in my stash). The leaves are from the HFC classic rose, and the mini blossom come from a little punch I’ve had for, well, forever. Enjoy and have fun creating your own!
This little lovely is a simple z-fold card (I’ll give directions below!). It always helps to have some flowers pre-made, but generally that’s not what I do! I like to choose how many flowers and the color of my flowers as I go. My stash consists of the leftovers, from accidentally miscounting, or practicing with new dies or paper thicknesses/brands.
The inside has a little pocket with a tag. I didn’t put in any sentiments yet, because I’m not sure for whom this card is intended, nor what the occasion will be. (Probably not a sympathy card though.) However, I will have a cute little sentiment stamped in the center of the back panel, and a cut piece from the paper pack to put on back of the little tag.
The elements for this card include the Heartfelt Creations Wild Roses paper, the small wild roses stamp and die, and the little lace piece from the album tags and accents die set.
So, start off by cutting yourself a piece of white cardstock, measuring 12” x 6”. Fold in half to give yourself a 6” square, With the fold on the left side, fold the right edge of the top in half towards the fold (3” x 6”). Now select your papers. You can select one of their 6” x 6” scenes like I did, but then you will need to trim it down so that it measures about 5-7/8” square. This goes on the back inside. You will need two pieces measuring 2-7/8” x 5-7/8” for the front and inside fold. Then select your center panel from the designer paper measuring 4” x 6”, and mount it on white cardstock, so that it has a bit of a white border. Center it on the front, making sure to only glue it to that front 3” x 6” folded piece. For the pocket, take some white cardstock measuring about 2-7/8” wide by 2” tall or more, and use the lace edge die from the album tags and accents set of dies. Cut your tag from the paper, and trim it down as needed – mount this also on white cardstock, punch the hole on top of the tag and slip in a ribbon if desired. The medium wild rose and three smaller ones with about 6 leaves complete your look.
Have fun, and show me what you’ve done in the comments!!
This lovely card was created using two z-folds, and Heartfelt Creations Cascading Petals (Wisteria) and French Country Cottage papers, stamps & dies. It is easier than it looks, although a little bit fiddly. I also dipped the wisteria into some of Rajni Chawla’s crystal clear glitter for a sparkly effect. Personally I prefer heavy weight cardstock, such as the 110# Recollections paper found at Michaels, but Heartfelt Creations probably has heavy cardstock too, even Hobby Lobby.
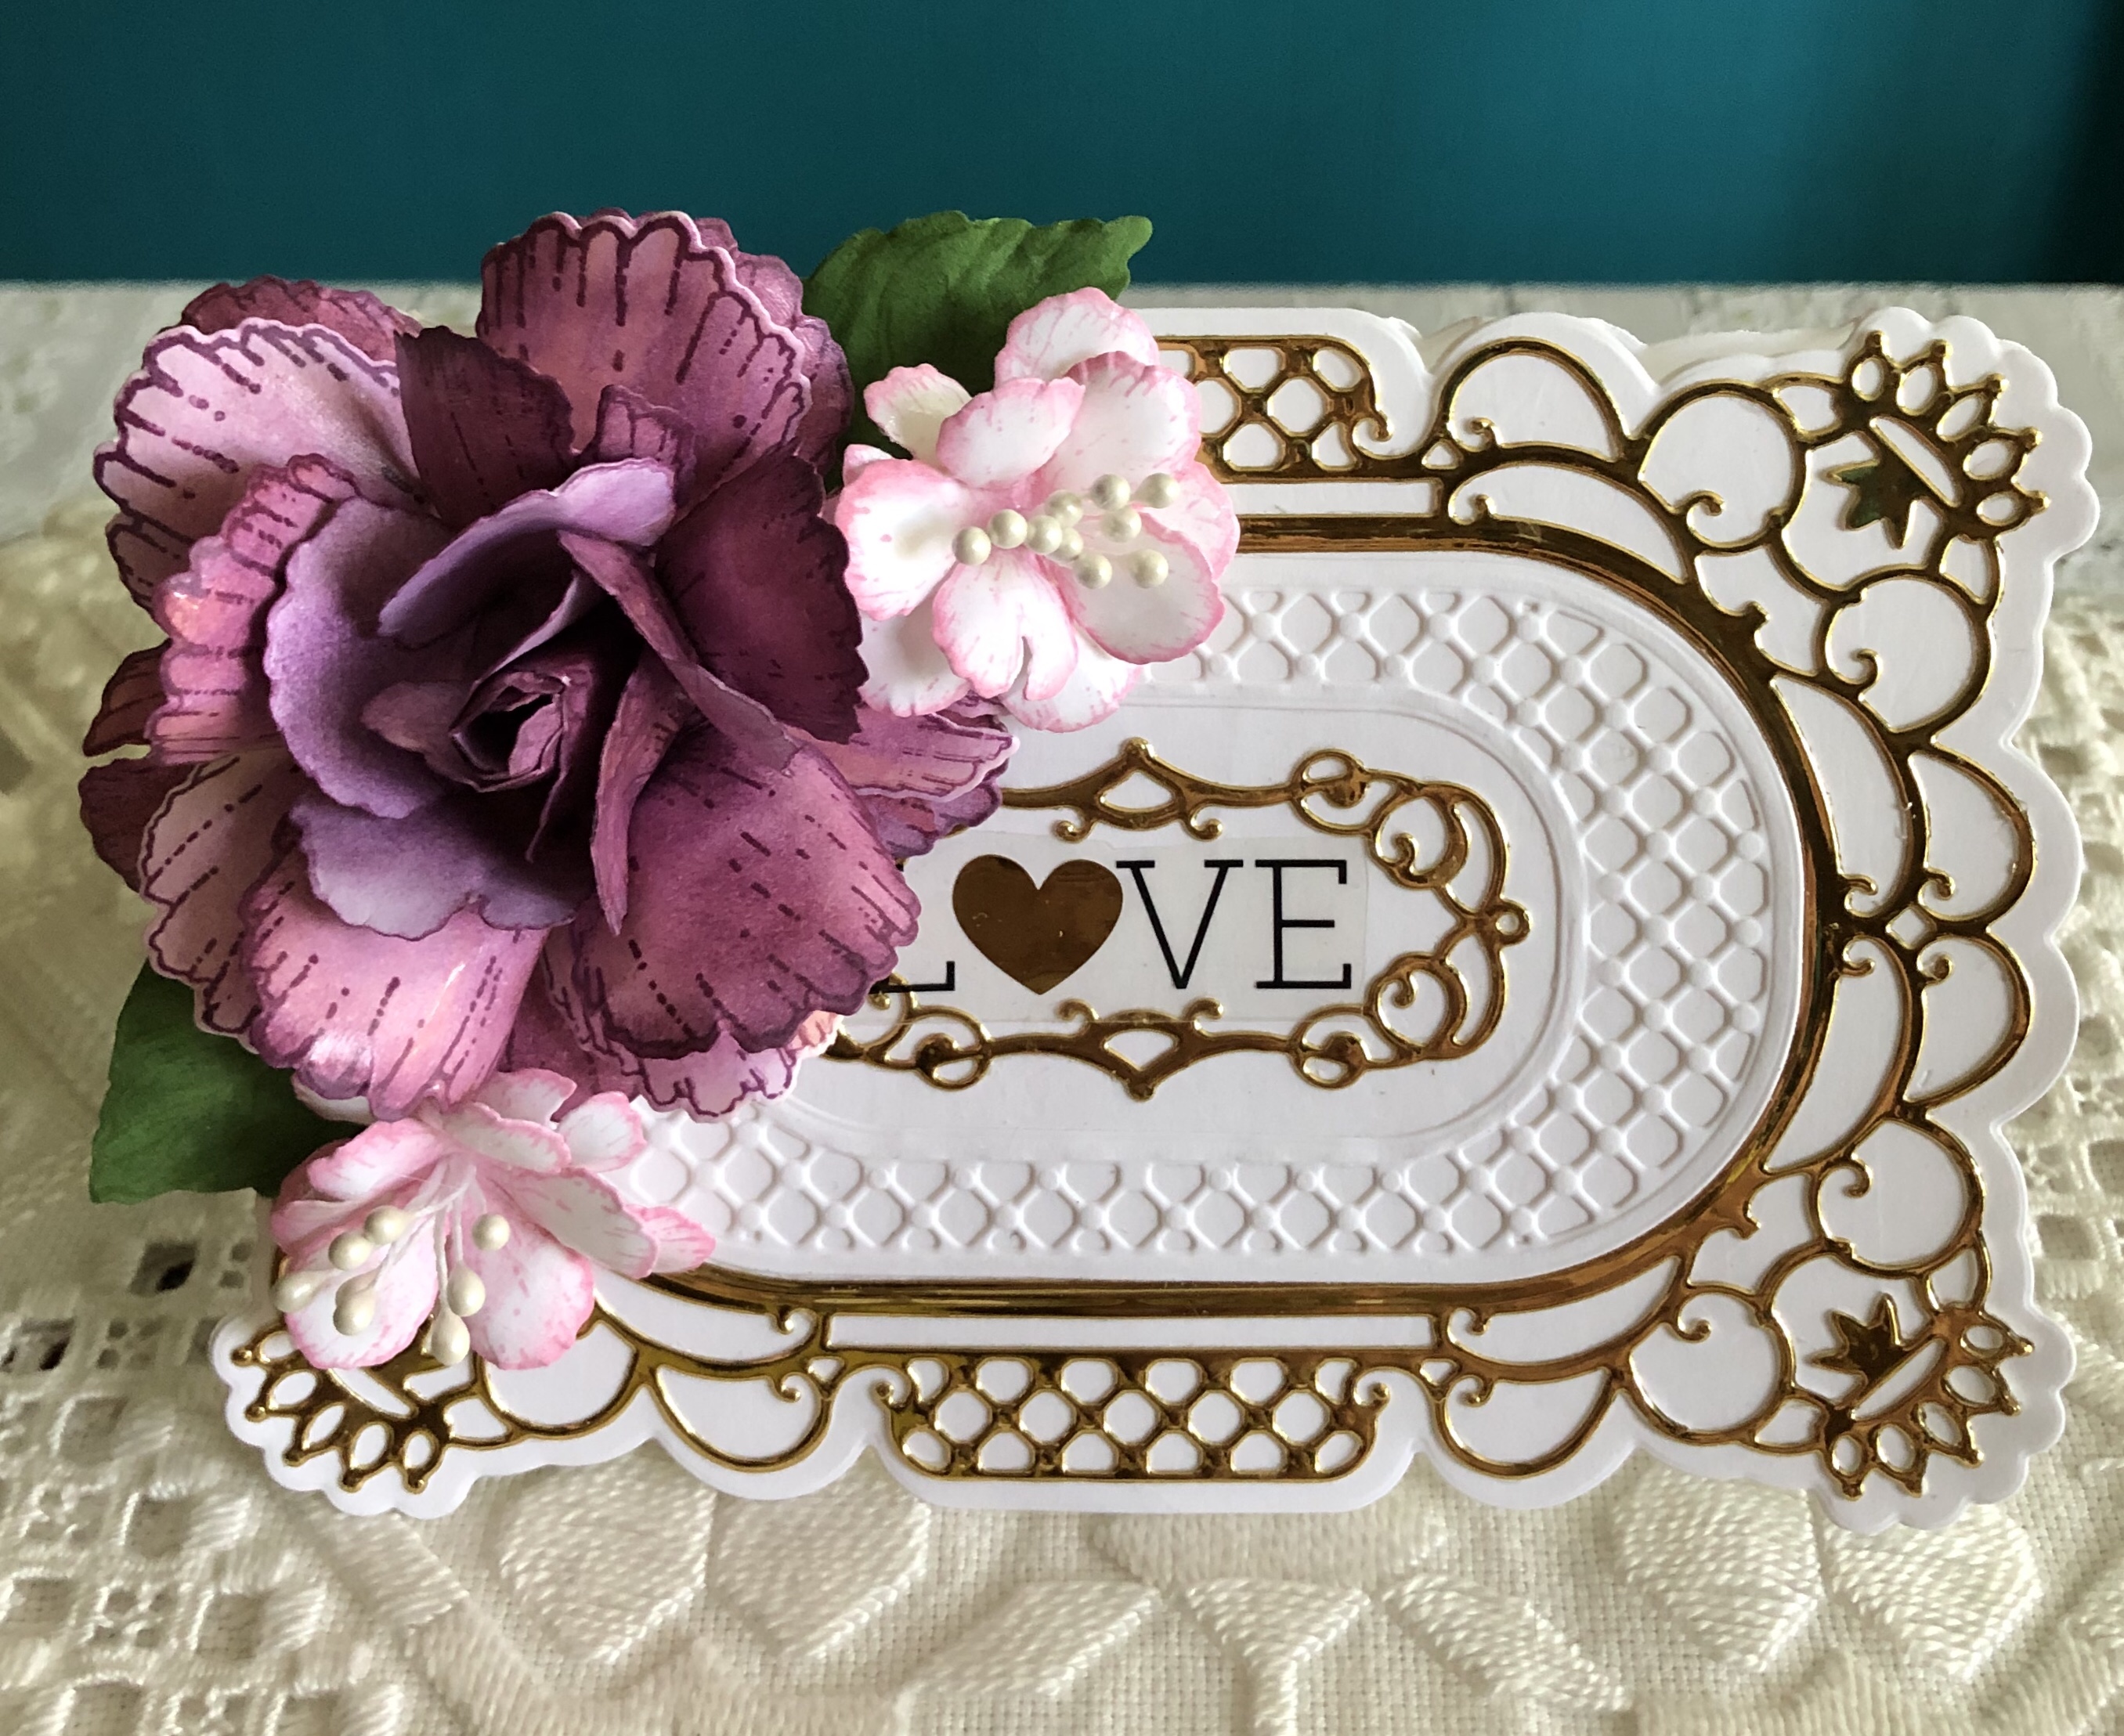
For this week I have a classic 5 x 7” card base with an elegant gold frame, a rose and a couple of smaller blossom. Since I had pre-made the flowers, it went together fairly quickly, I just had to die cut the gold and white overlays, and glue things together.
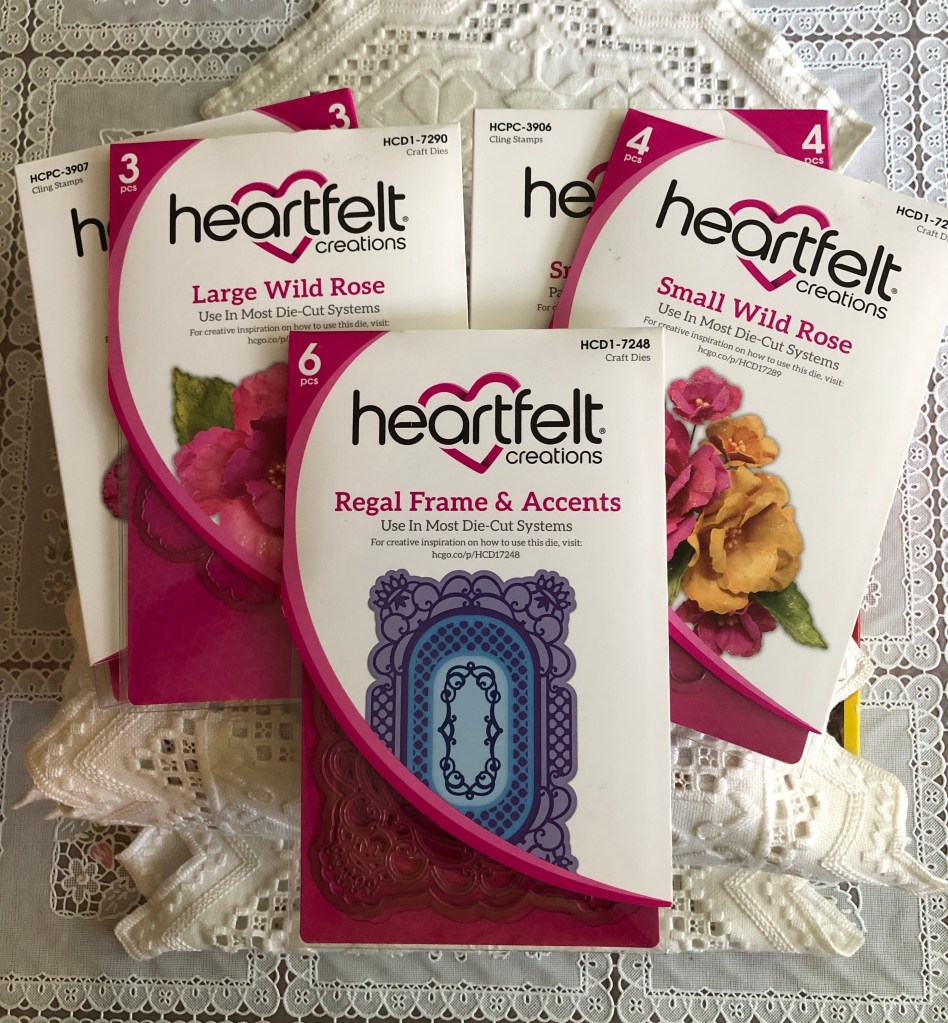
Here is a photo of the die cutting and stamping elements from Heartfelt Creations:
Using the Regal Frame & accents, I made my card base & cut an extra one for the top, to decorate on. Then using the Heartfelt Creations gold paper, I cut out the largest decorative die, and the smallest. Using 110# white cardstock which I found at Michaels!!, I cut out the cross-hatched center piece, and layered all these together as shown. Then I selected a sticker for the inside and the “Love” for the front, and decorated with some flowers I already had in my stash – one of Heartfelt Creations better flowers (IMO) the Wild Rose. Actually super fast & what an impressive result (if I do say so myself!!)
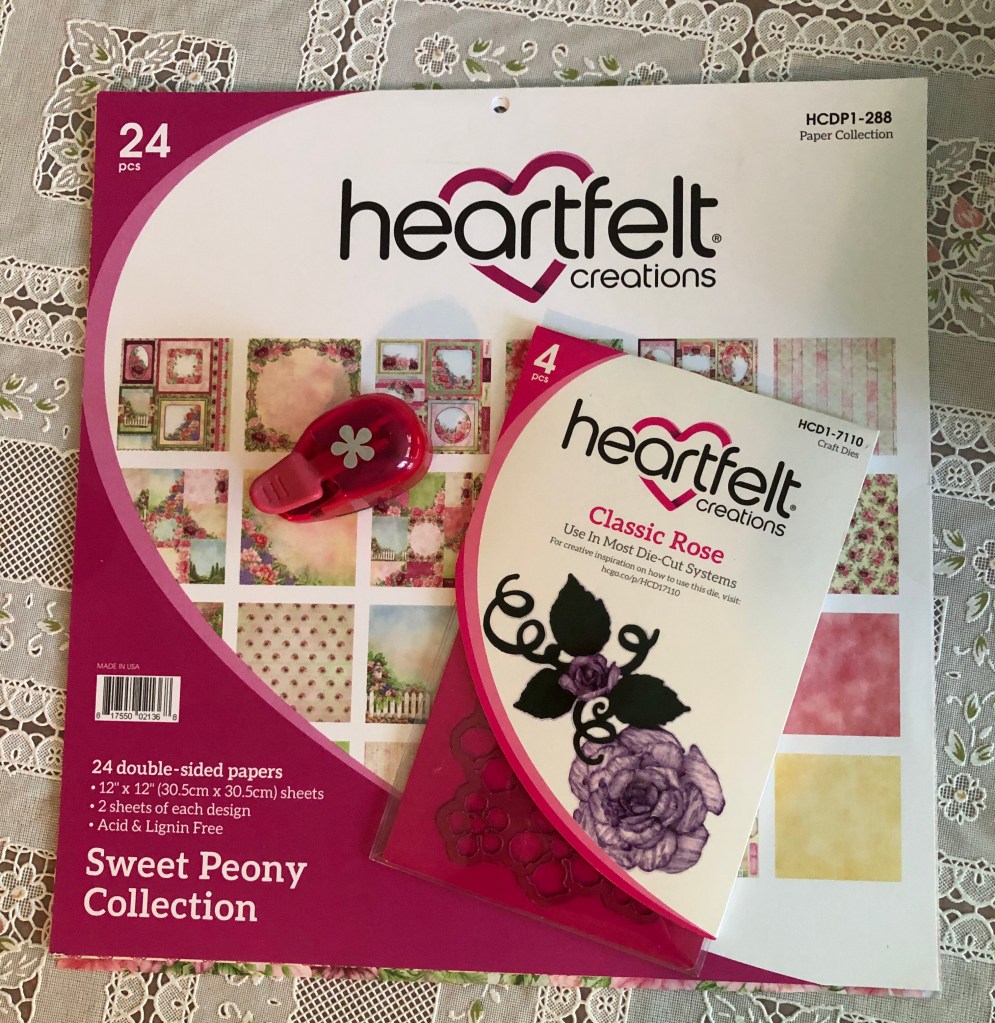
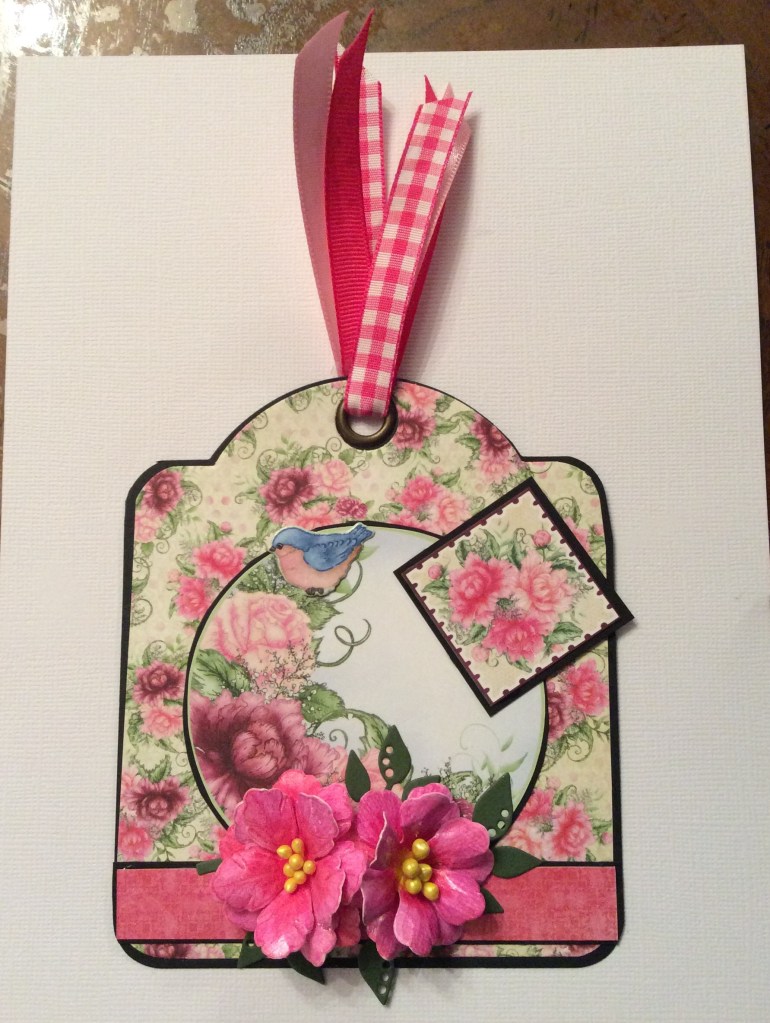
Playing with the Heartfelt Creations Sweet Peony paper, I’ve made several cards, and one little booklet. This is just beautiful paper, and I love making the peonies, they are a little bit easier than the rose. I’ve used a Graphic 45 large square tag just below.
Sweet Peony Tag
The little card actually has what I like to call Azaleas for the flowers.
Below is Tag Folio – meaning that I took three long tags, folded up the bottoms to make pockets, and then created a little booklet or folio out of the,. The little folio has a peony, a rose, and several small blossoms that I made. I just love creating paper flowers! And the HFC die cuts make it so easy! I used lots of ribbon and some charms to doll it up. Isn’t it adorable? Slip a treat into one of the pockets, and it a sweet gift, as well.