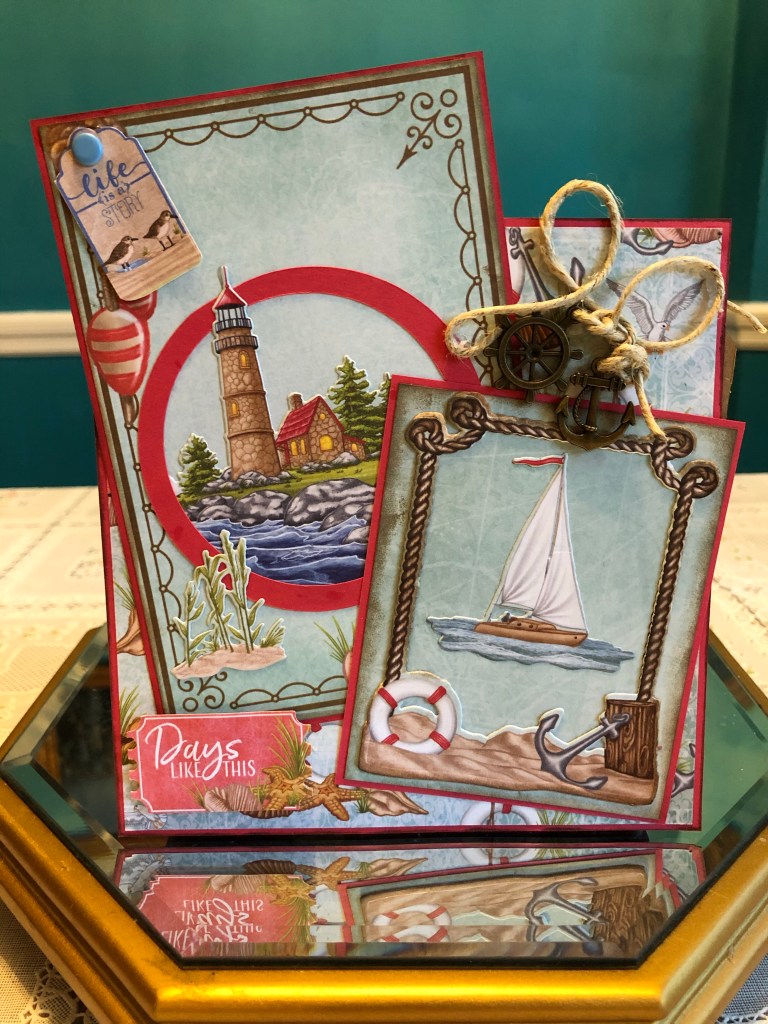
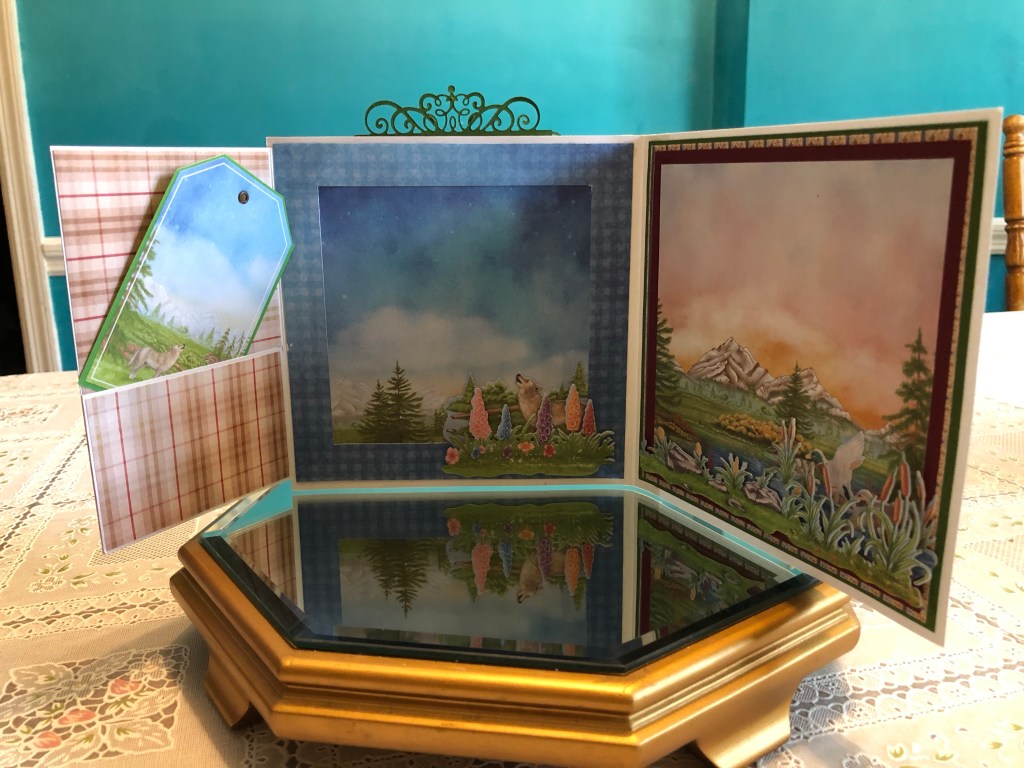
This one is for the men, specifically my so -in-law, who had a BIG birthday last month! He loves kayaking, and he, my daughter, and their seven children went kayaking on his birthday to celebrate, so I thought this theme was only fitting!
There was quite a bit of fussy cutting involved in this and I tried to add dimension to it as well by cutting some elements out 2-3 times and layering each on top of each other, to mimic a chipboard element. There are a couple of cute charms in the corner as well.
This was a very satisfying project, and because it is double sided, has a very sturdy feel to it.
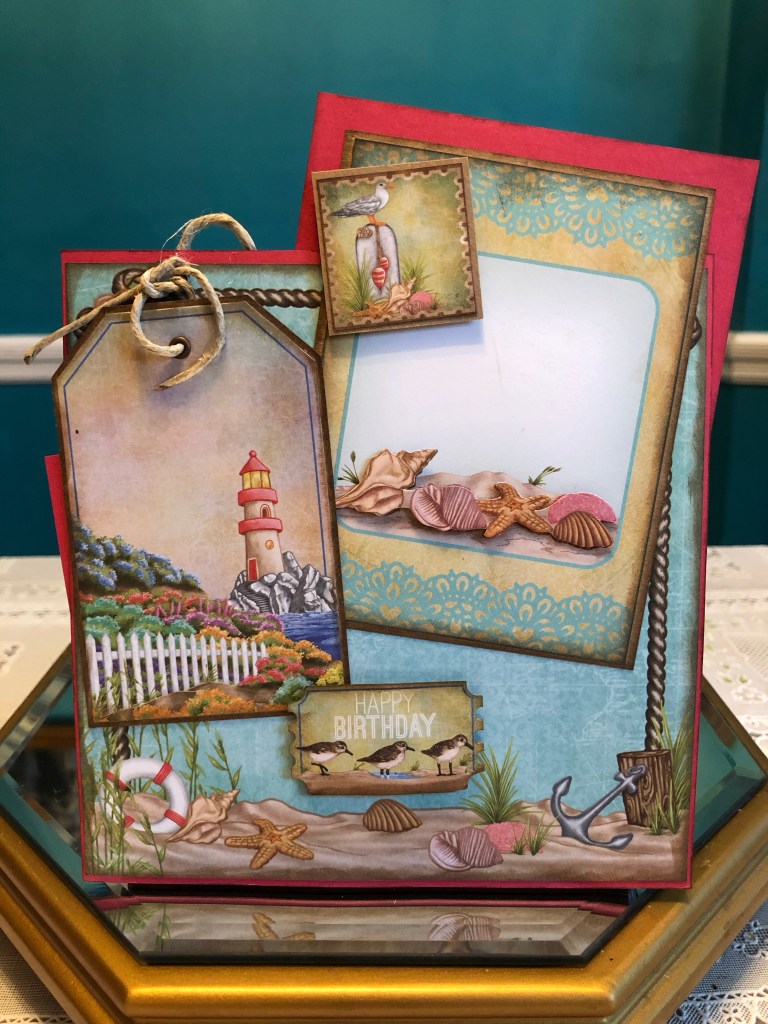
This is off the beaten path for me, but most of the men I know aren’t into flowers and lacy birthday cards. Fortunately there are a couple of collections (this one for instance) which are more appropriate for the men in my life!
So, I got a little insecure, comparing it to other cards I’ve made, (like the one I did for his sister two weeks ago!) and so I’ve made a second option. I guess I’ll let him choose which one he wants, it’s his birthday, after all!
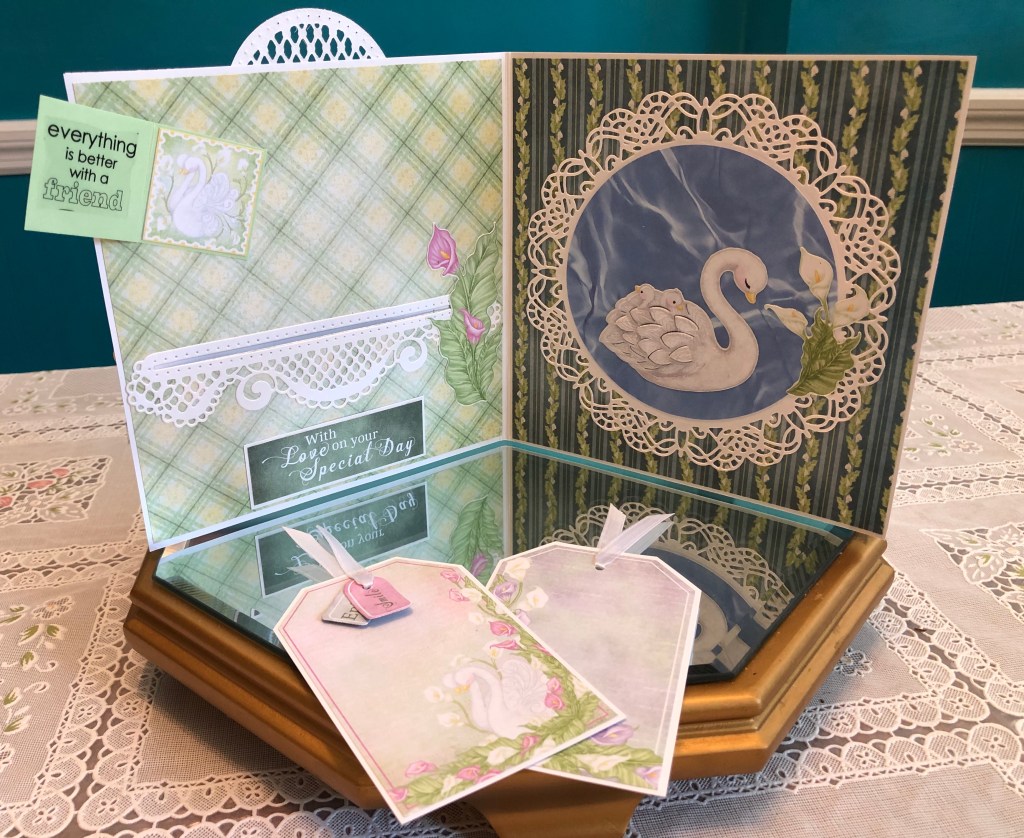
I had a lot of fun working on this Birthday card for my daughter last week. Mostly I have used Heartfelt Creations Calla Lily paper, but I just had to have some “water” for my swan, and found a sheet in my stash for the mama swan and her babies to float on. The calla lilies and roses are hand made, using HFC dies.
There are two tags in the inner pocket, and a mini “booklet” that has magnets to keep it closed.
I’ve been wanting to do a tutorial for quite a while, but something always seems to go awry. Today, my camera for the video was just a little bit off center, so forgive this rookie videographer, please!
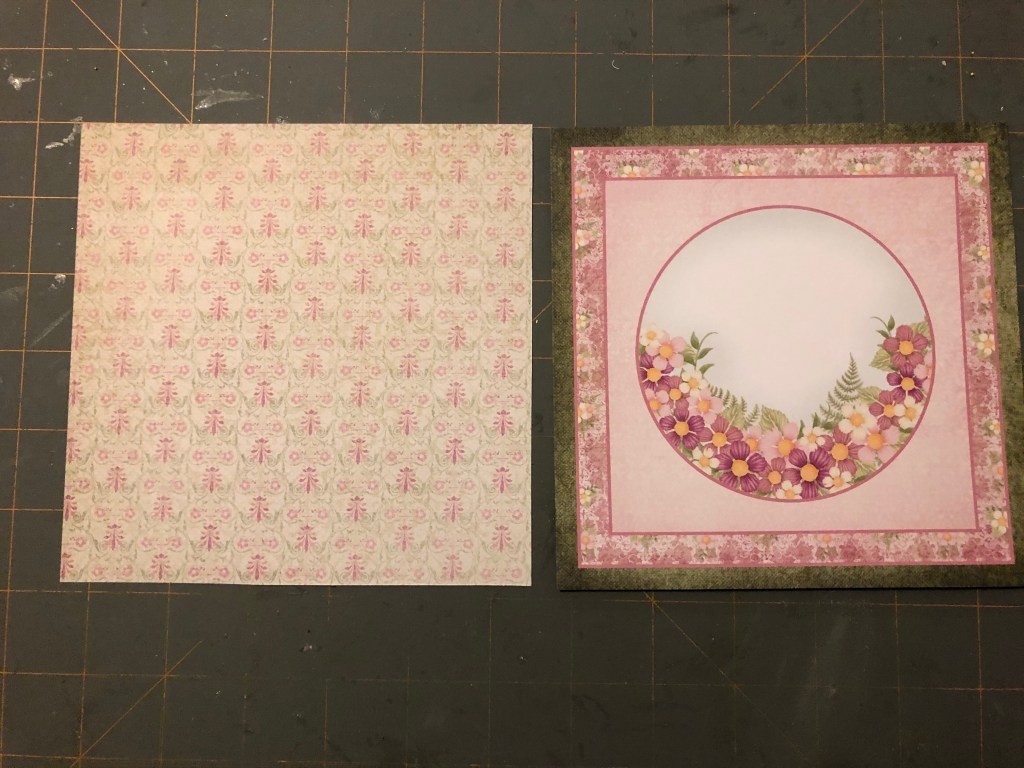
For this card, you will need a piece of 6” x 12” white cardstock, scored along the long side at 6”, to make a 6” x 6” square card base. Your designer papers should be cut to 5-7/8” x 5-7/8” to allow for a white border. I used Heartfelt Creations Wild Roses paper.
Designer paper 5-7/8” x 5-7/8”
Begin on the inside, placing the inside designer paper, along with your message and non-dimensional embellishments, then move to the front of your card.
Inside of the card
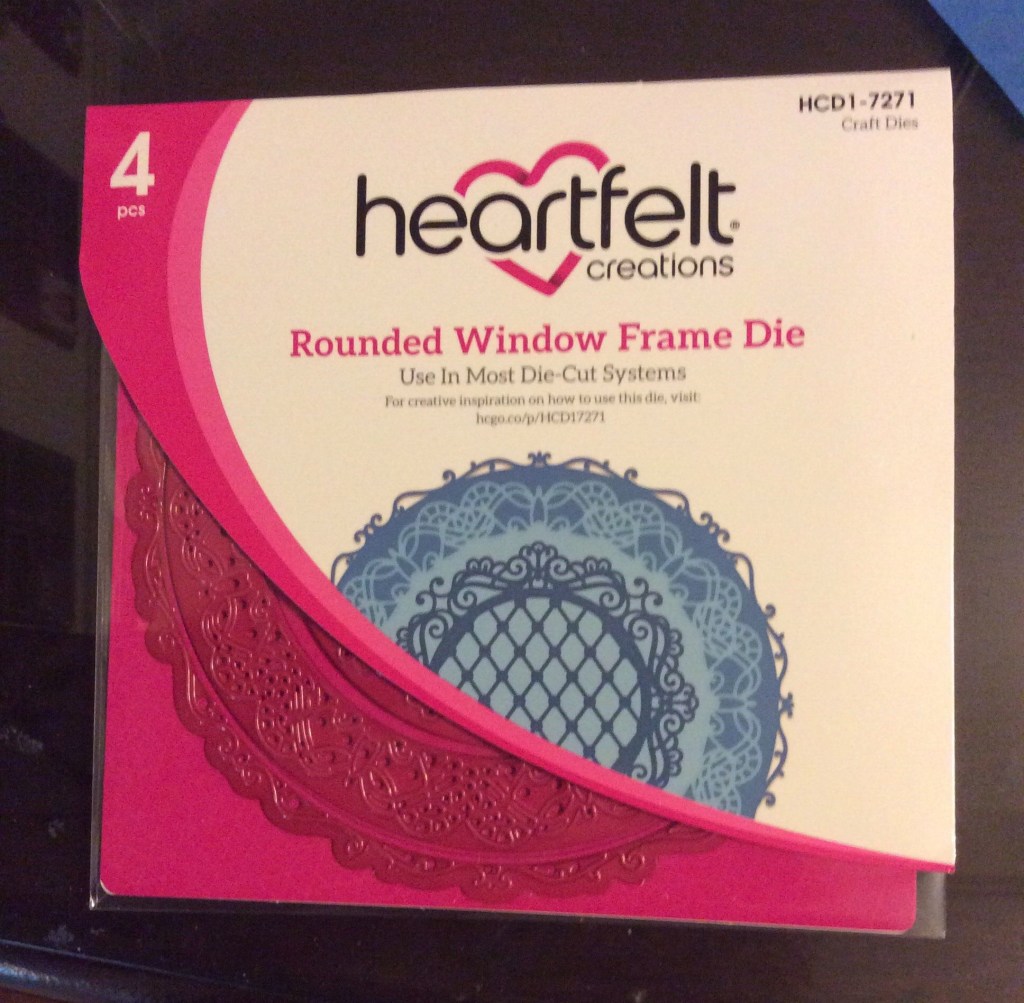
For this card, I cut a little doily out of 110# white cardstock, using Heartfelt Creations Rounded Window Frame die, (the next to largest one) and for the corners I used the Fanci-fold Pocket & Accents die.
Die for the doilyCorner embellishments
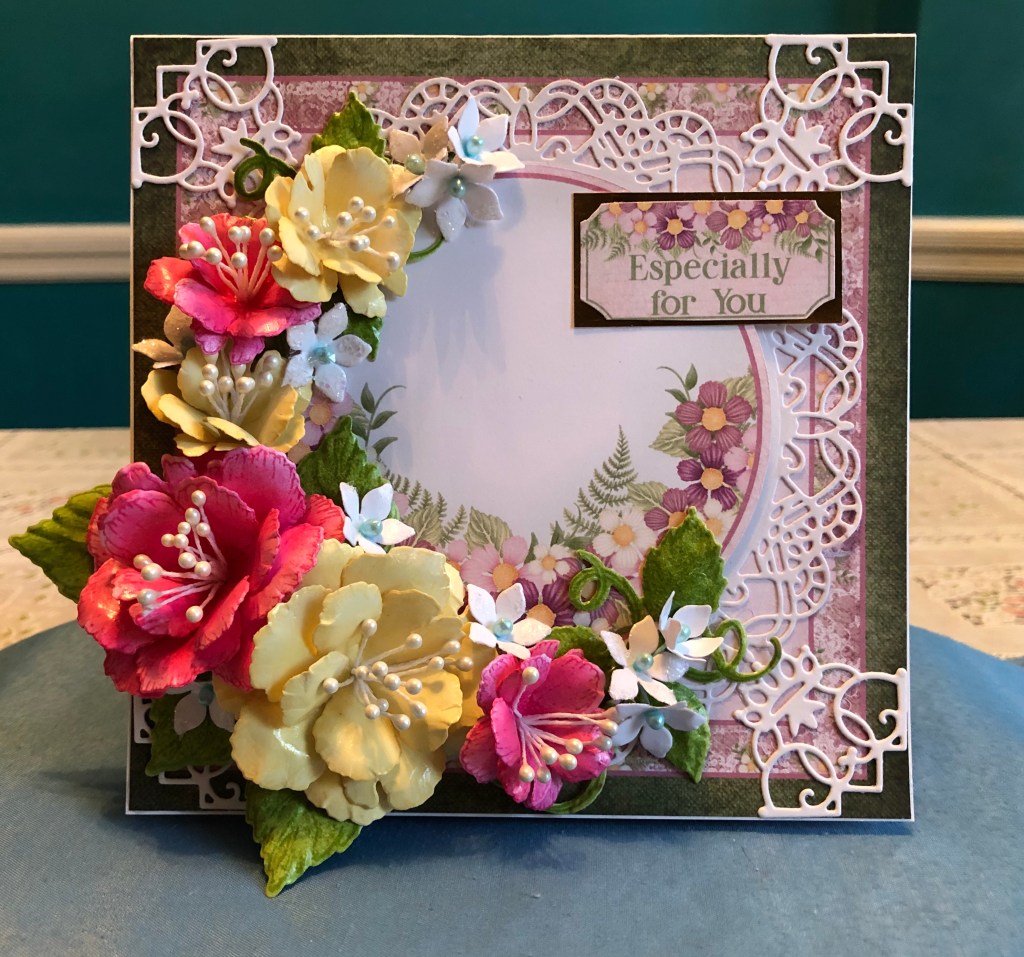
I cut the center circle out with my old Creative Memories circle cutter, placed dimensional foam on the reverse of my circle cut out, and then centered it on the doily. Then I glued the doily on the designer paper, centered, of course. I added the corner lacy pieces next, and then using flowers crafted from Heartfelt Creations Small Wild Rose die, I used hot glue to adhere them around the bottom left of the circle. Lastly, I added a sentiment from the paper pack, placed on shiny gold cardstock.
For the YouTube video tutorial go here. Thanks for stopping by, and see you next time!
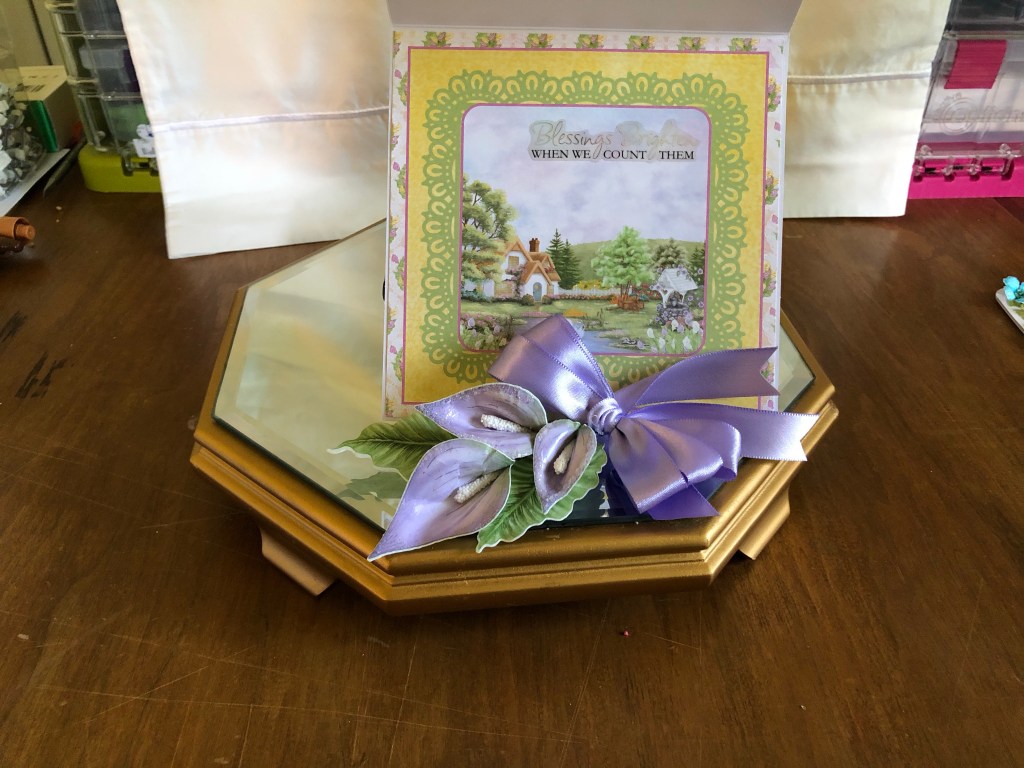
Loving these swans!! Again with the Heartfelt Creations, this is using the Calla Lily set, and it is very interactive and layered, as you will see. It was a little bit fiddly to put together, but a lot of fun, as well.
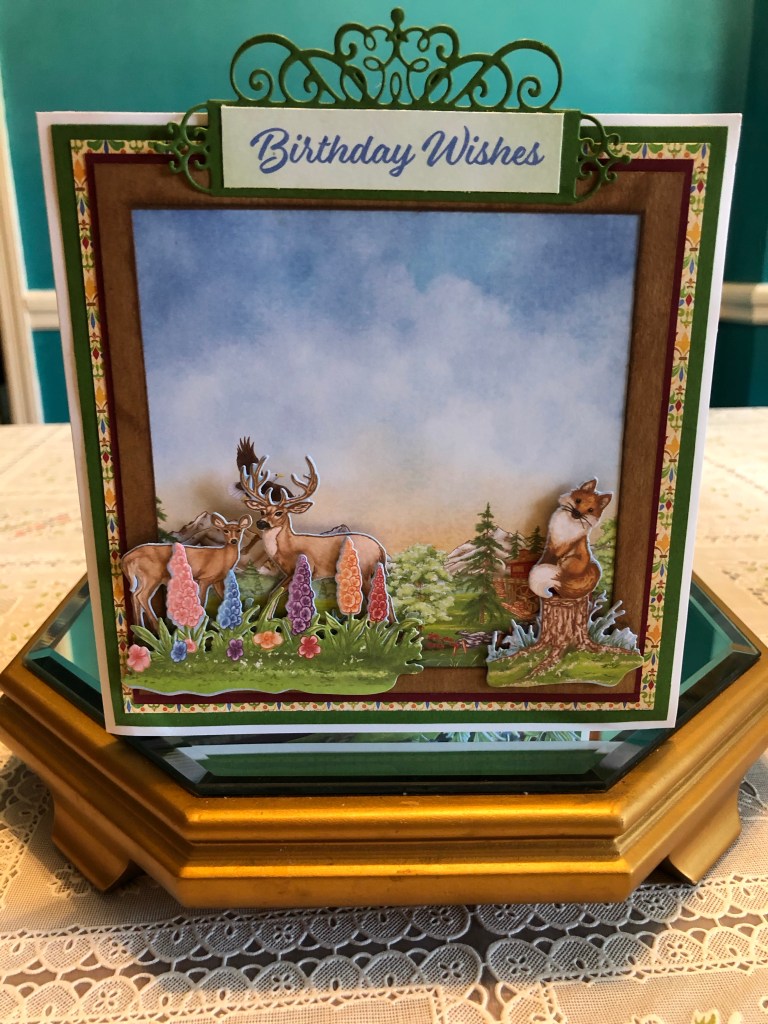
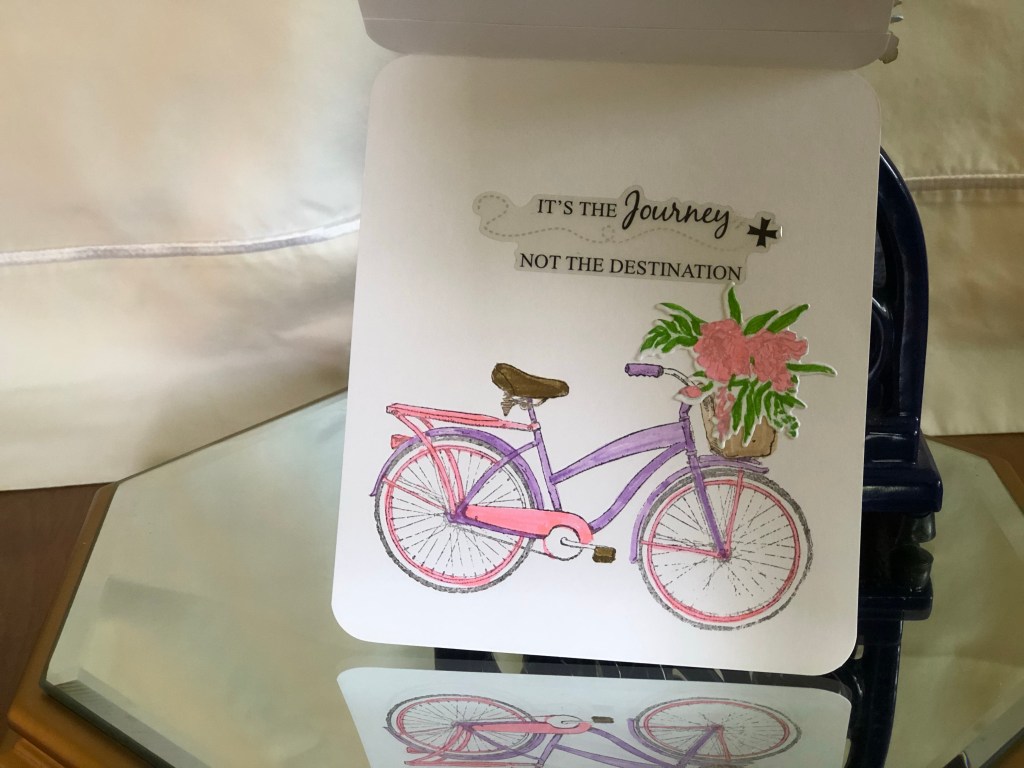
I’m loving the new papers and dies from Heartfelt Creations, and they will be certainly filling my days with joy! the most exciting new die this week, is the little bicycle!
I love the interactive element of the little gate on the front, don’t you? The first card is from their newest collection: French Country Cottage, and the second is a mash up of the tulips, the little gate from the hydrangea collection, and the stamp of the bicycle is from the French country cottage.
I was browsing through Pinterest the other day, looking for tutorials on how to make something when I realized that hey! I not only know how how to do that, but I actually taught myself that technique years ago. . . .meaning, I figured it out on my own. Then, I took a step back, looked at my own efforts and then compared them to the one on-line, and I actually fared better than I thought I would.
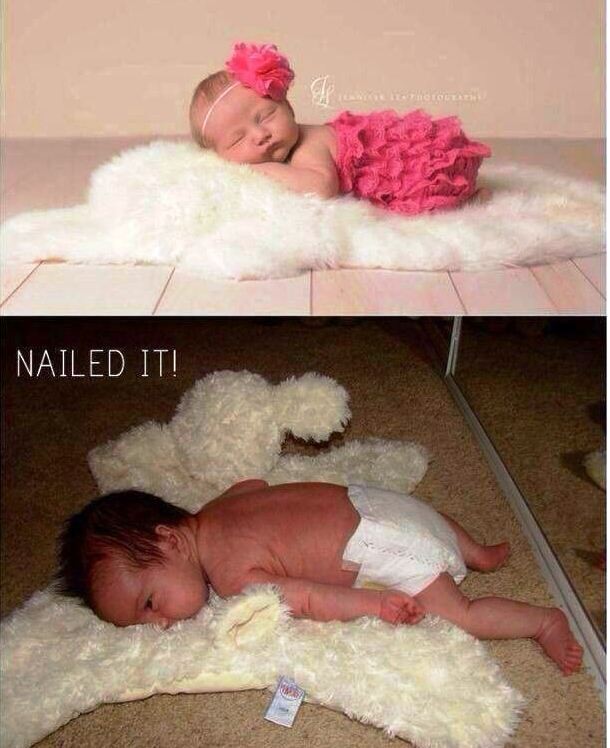
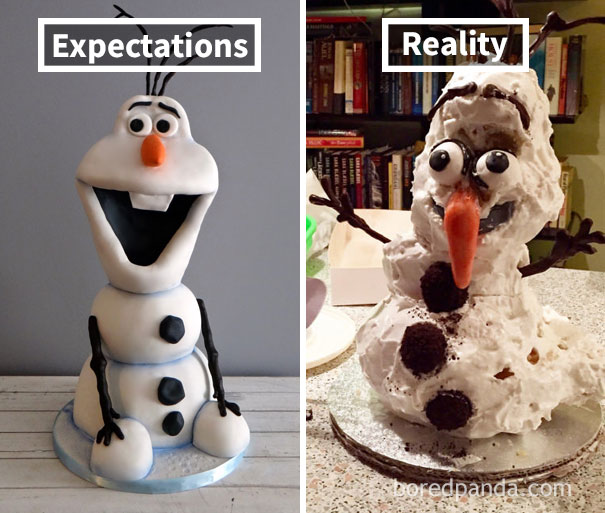
I think we all have a tendency to compare ourselves to others, usually unfavorably. Ok, so some people think they are all that, but for the most part, people are looking for validation of their worth, and hoping we measure up to the “competition” (if you will). Psychologists will tell you this is unhealthy, and to stop doing that!! Personally I think it is instinctual to compare yourself to others, but unfortunately we usually sell ourselves short. I see the following on the internet all the time:
Here is another one:
This is our (unfortunate) expectation of our efforts. We look at what we can do, create or whatever, and come up selling ourselves short. Trick is to see yourself in a more positive light. Realize that we’re better than we thought we were, and to give ourselves a little credit.
My first Easter card this year. Literally had to resort to leftover scraps! need to order some more Heartfelt Creations Dogwood paper!
And here is the inside
This card measures 4” across and is 5-1/2”. The background is actually one of my less favorite images from the collection, but has lovely color for the background, then I placed a die from HFC called Diamonds and Lace, over the background, used some dimensional dots to raise up the paper with the doves on it, and surrounded the lower left corner with handmade dogwoods. The inside is leftover scraps and a sticker from my stash. Took me about an hour to do, and that includes making the dogwoods!
It’s been a little while since I’ve posted on this site, and I promise, I’m going to do better. It’s not that I haven’t been crafting, I just haven’t been blogging!
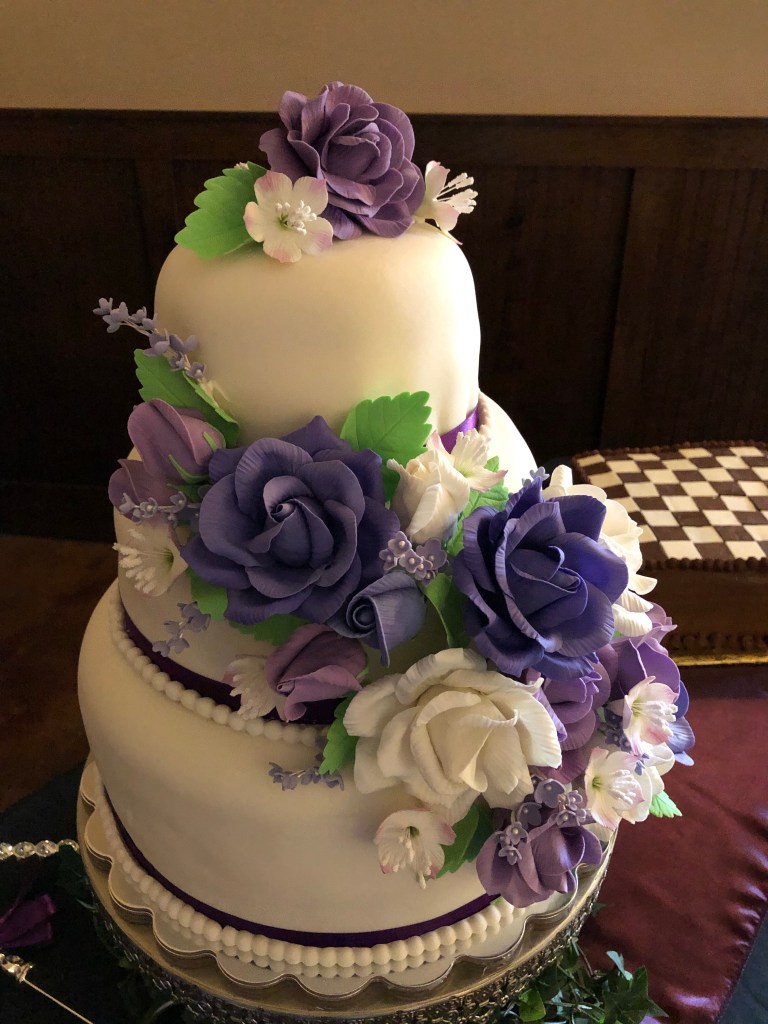
One of my more recent projects was my son’s wedding! It was a sad testament to that old adage: if you don’t use it, you lose it!. But we did our best, and remembered a few things along the way.
The first thing: I don’t like working with marshmallow fondant. Say what you will, taste wise I suppose it is superior to traditional fondant, but it doesn’t stretch easily, and you have to roll it too thick for my taste. I believe I’m going to experiment with “Buttercream Fondant” next – it seems like a logical next step, for those who want the beautiful pristine surface of fondant, but don’t want the thick overlay. However, fondant can’t be beat for preserving moisture in a cake when you have to work on it for a couple of days. Also, it allows any wedding cake that needs to be frozen for a year, to come out of the freezer unscathed!
Generally, I tell people that fondant covered cakes are kind of like Easter Eggs; you really don’t want to eat the shell! So peel the fondant off your frosting, and enjoy your cake (you don’t really need all that sugar now, anyway!).
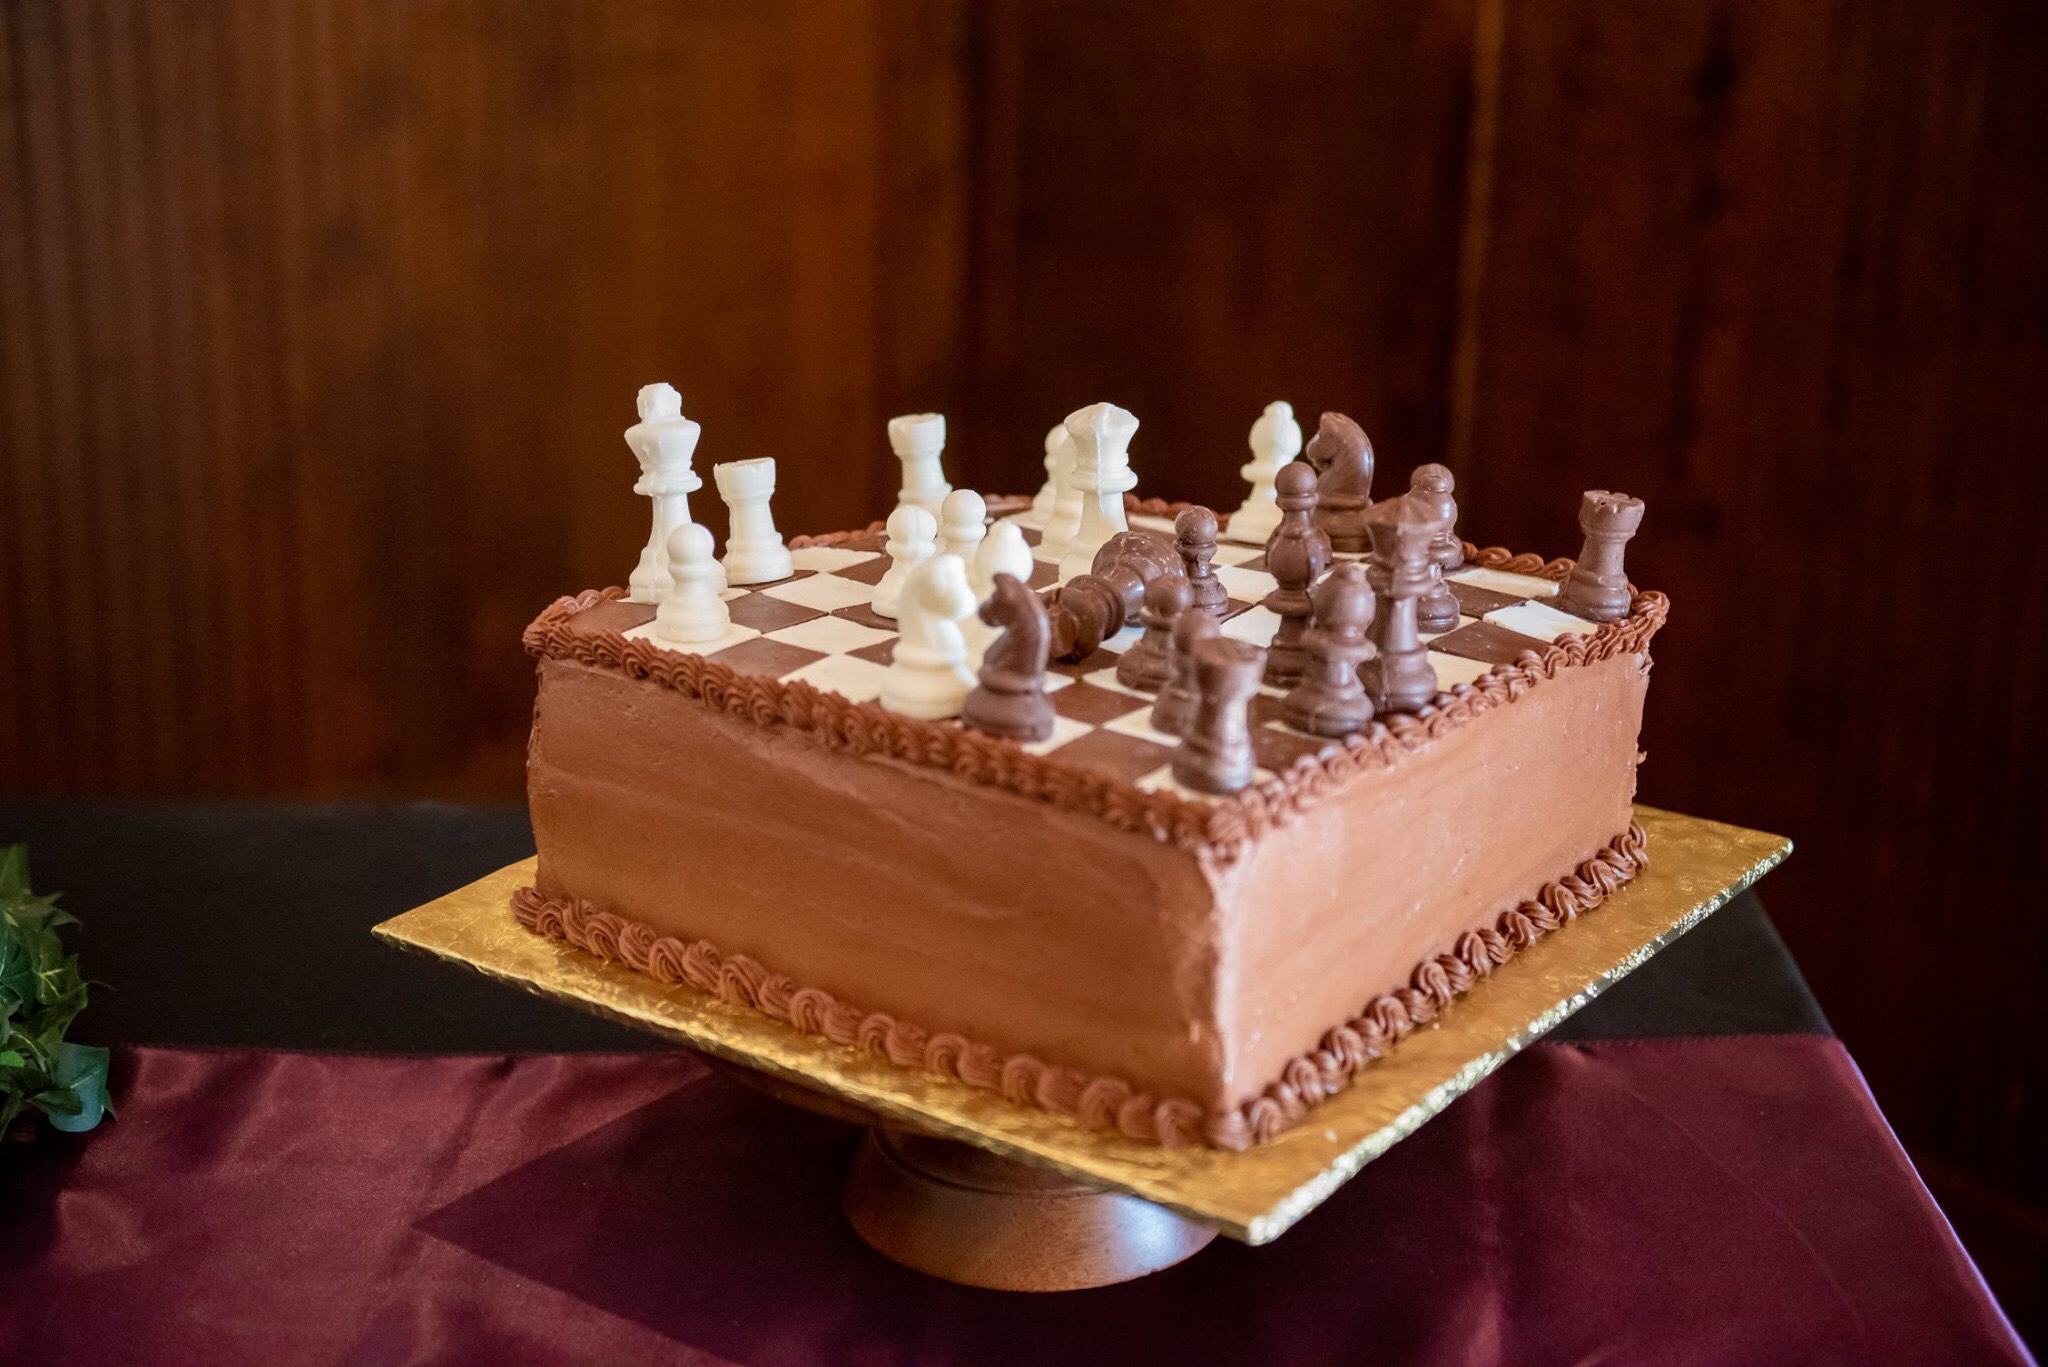
Our grooms cake was designed to resemble a chess game in progress – if you look carefully, the Queen, has taken the King!