This little beauty was one day late for a contest, but is destined as a sort of “Thank You” Card. It includes some generic paper I picked up from Hobby Lobby, and all sorts of my Handmade Heartfelt Creations flowers. I also used one of the Heartfelt Creations Petite Pocket dies to add a wee bit of lace to the top and the bottom. I cut a butterfly out of gold paper from a Spellbinders die, and added the sentiment, lifted with a bit of foam, about 1/3 of the way down.
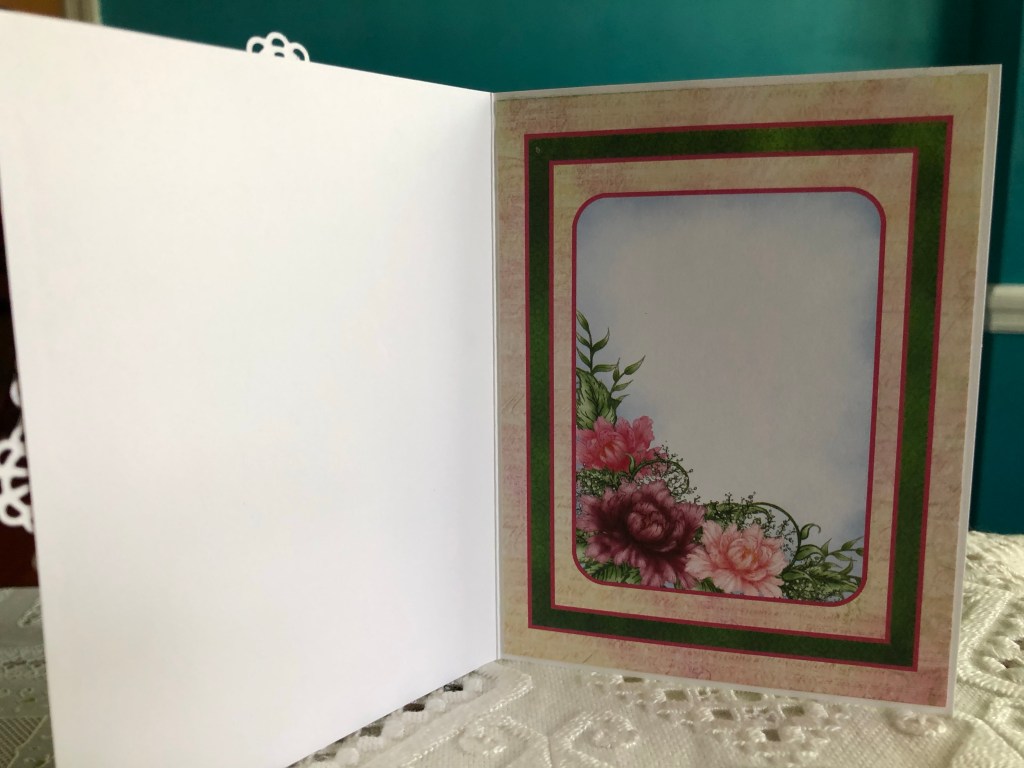
The inside has plenty of room for sentimental words, photos, or whatever you like? Enjoy, and show me your cards in the comments below, I’d love to see!
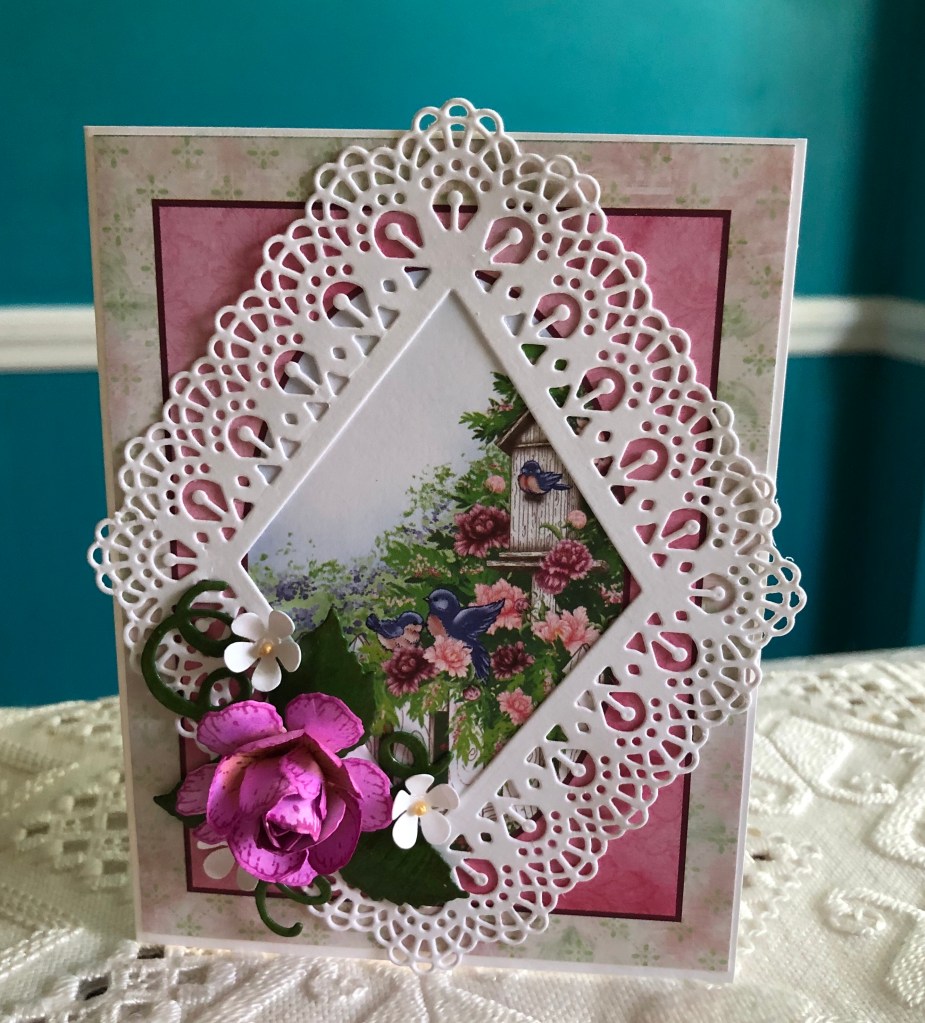
It’s amazing what you can create with scraps!! This card is created using Heartfelt Creations Classic Rose paper, I actually had to color the flowers and butterfly, as they just weren’t the right color, and I didn’t have any other scraps that would do. The dimensional flowers were created using the Wild Rose stamp and die set, the white blossom is from an old punch with a single prill in the centers.
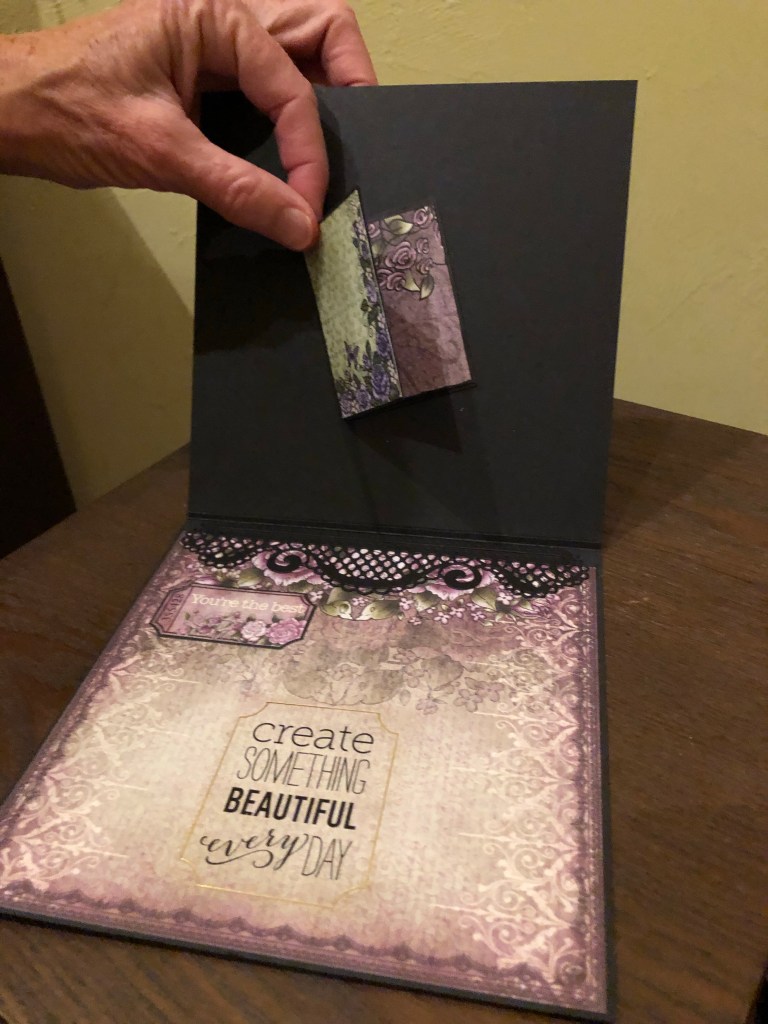
The inside cover has a little mini-card for a secret message!
I just realized that I had a couple of other elements (in my stash). The leaves are from the HFC classic rose, and the mini blossom come from a little punch I’ve had for, well, forever. Enjoy and have fun creating your own!
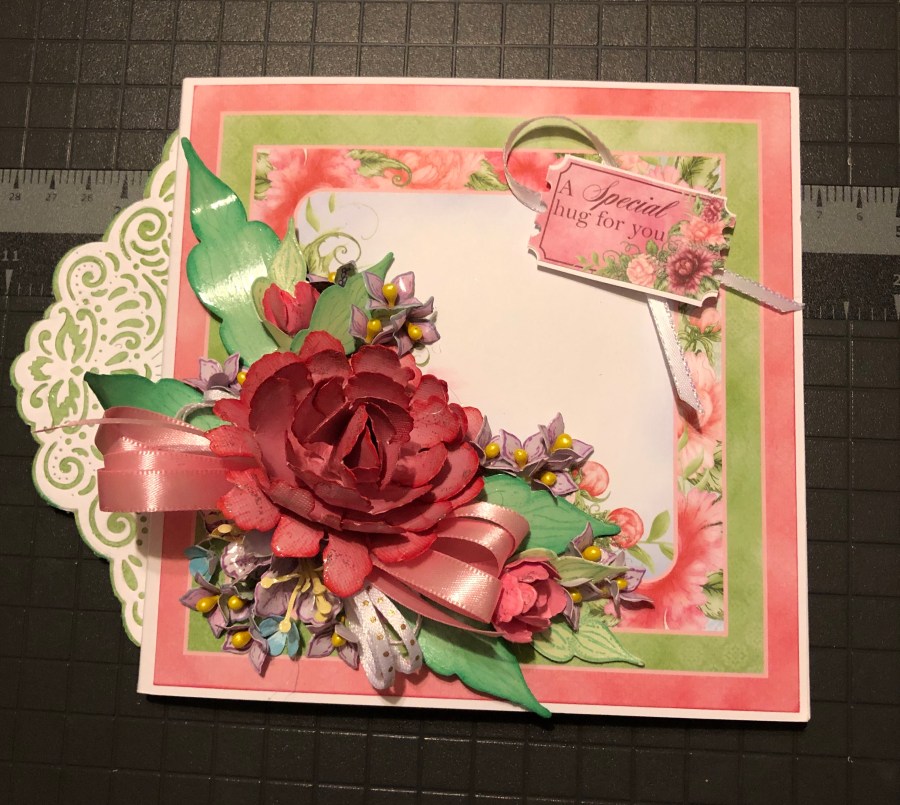
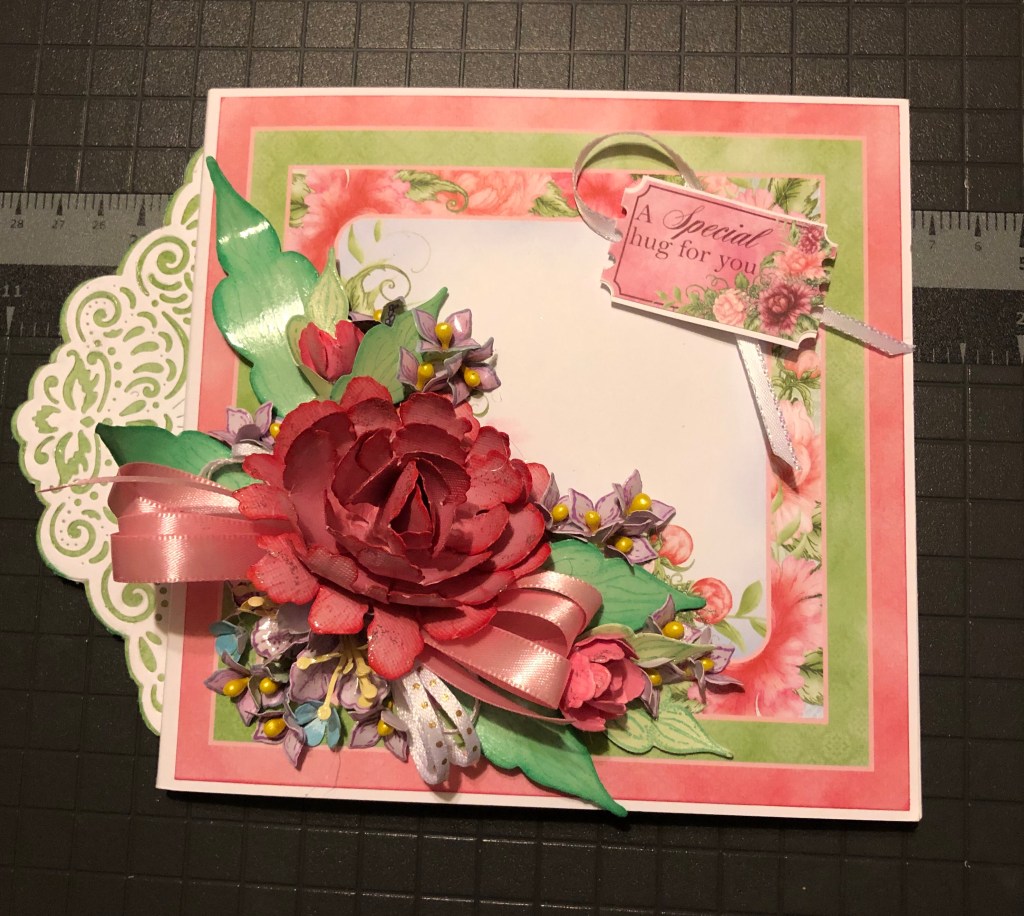
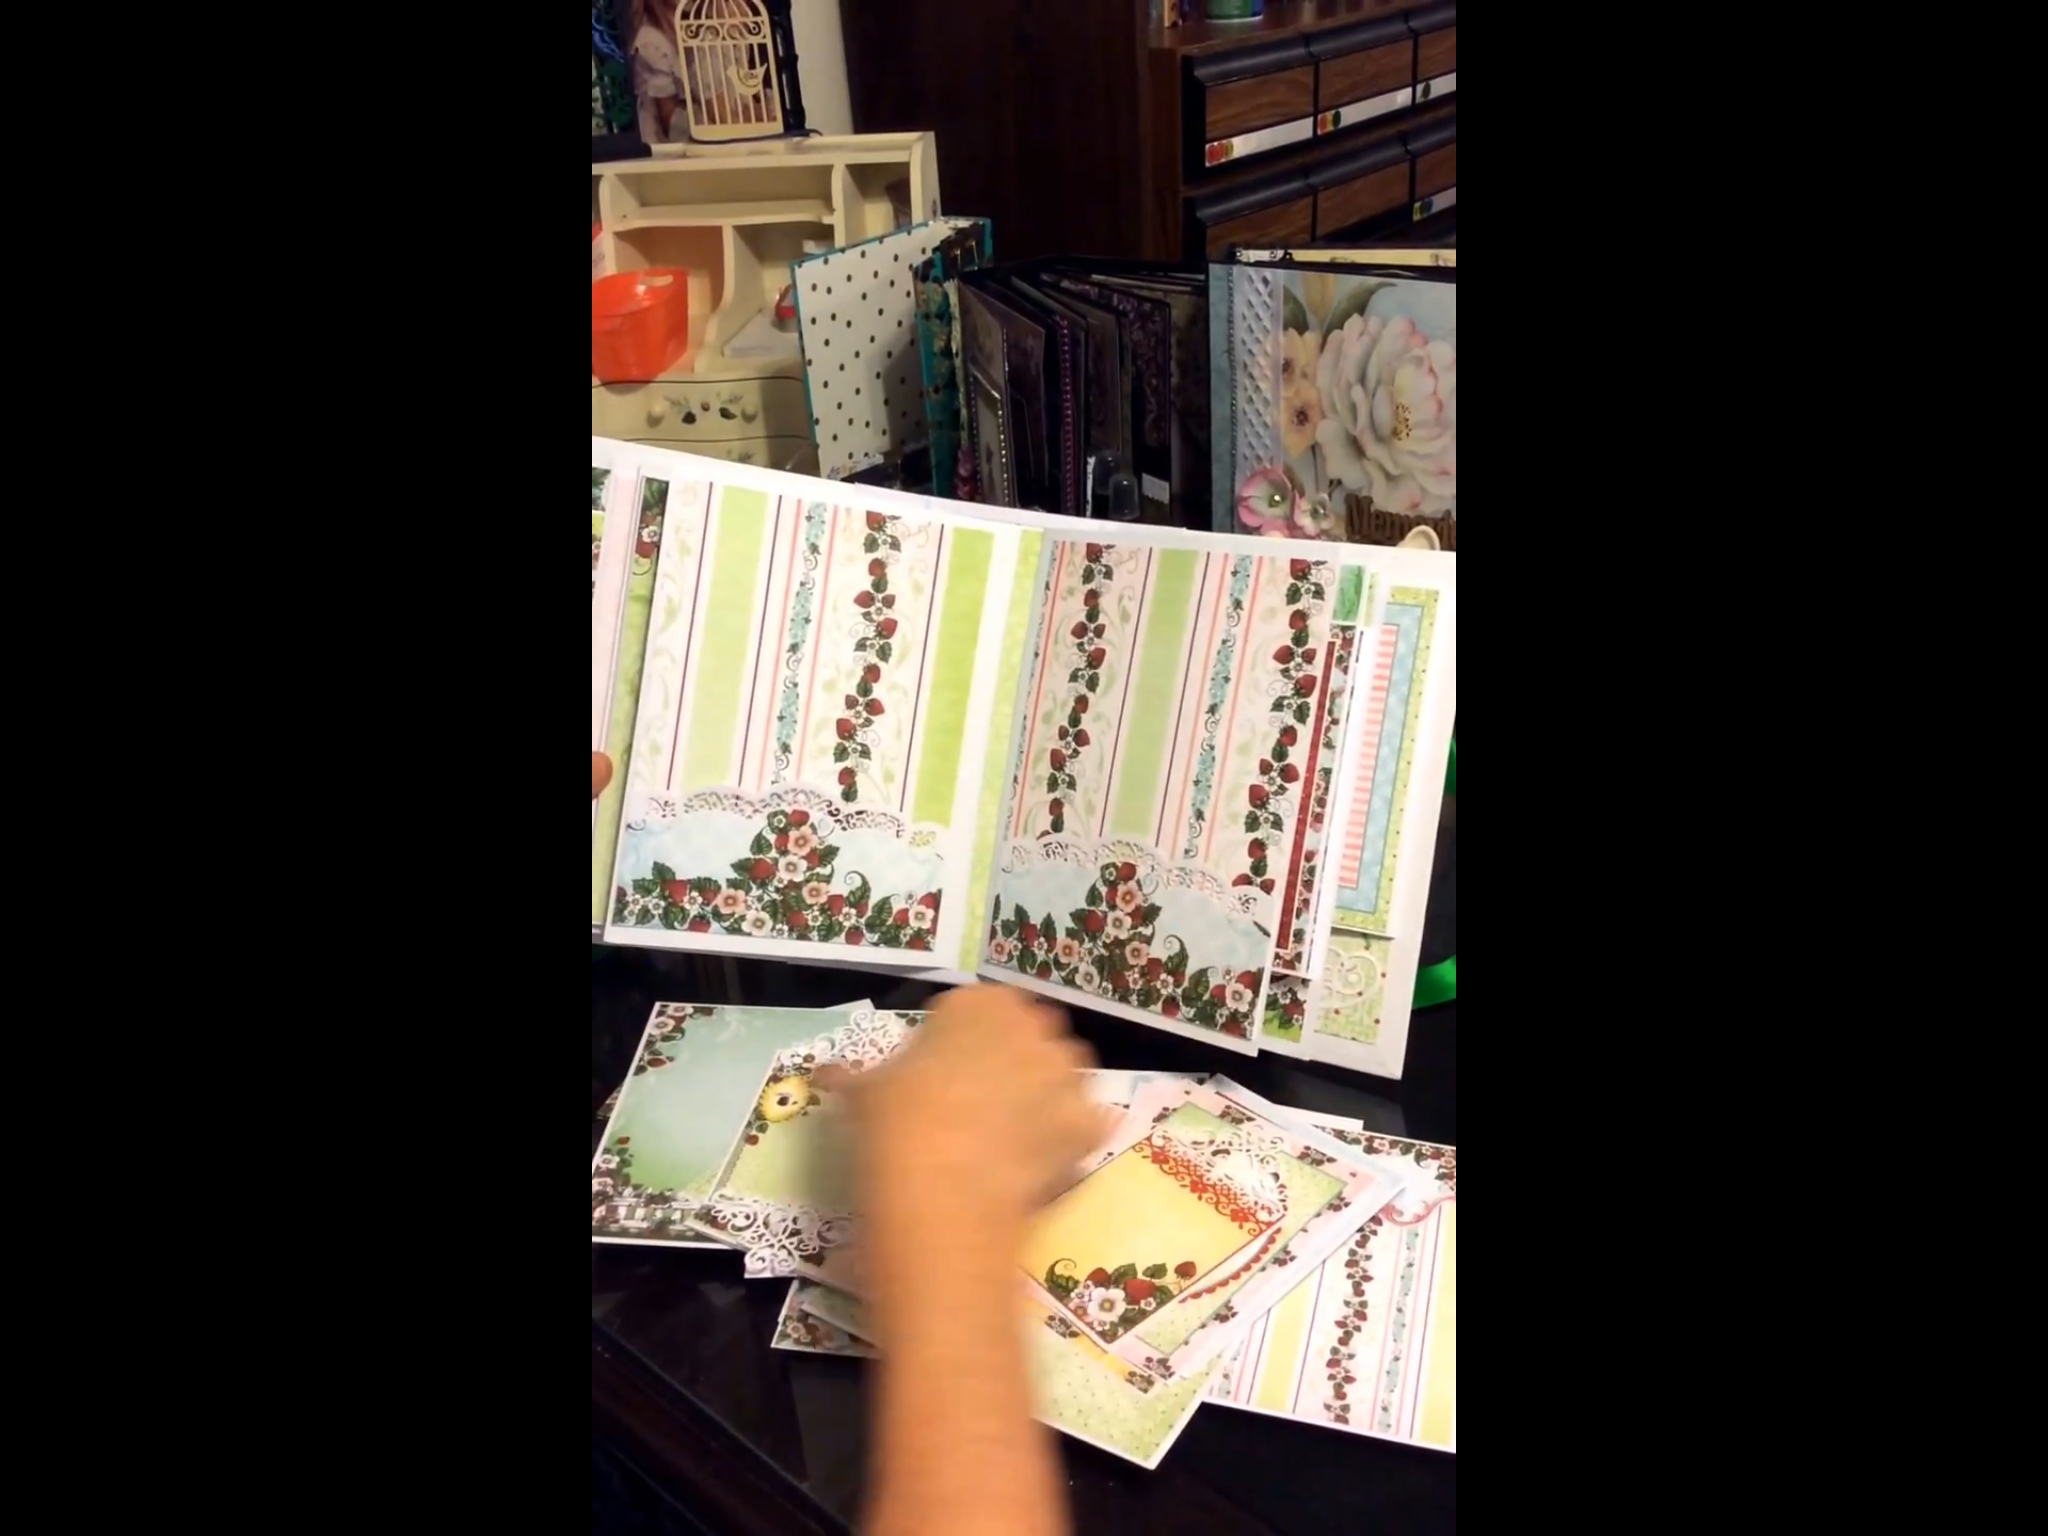
This little lovely is a simple z-fold card (I’ll give directions below!). It always helps to have some flowers pre-made, but generally that’s not what I do! I like to choose how many flowers and the color of my flowers as I go. My stash consists of the leftovers, from accidentally miscounting, or practicing with new dies or paper thicknesses/brands.
The inside has a little pocket with a tag. I didn’t put in any sentiments yet, because I’m not sure for whom this card is intended, nor what the occasion will be. (Probably not a sympathy card though.) However, I will have a cute little sentiment stamped in the center of the back panel, and a cut piece from the paper pack to put on back of the little tag.
The elements for this card include the Heartfelt Creations Wild Roses paper, the small wild roses stamp and die, and the little lace piece from the album tags and accents die set.
So, start off by cutting yourself a piece of white cardstock, measuring 12” x 6”. Fold in half to give yourself a 6” square, With the fold on the left side, fold the right edge of the top in half towards the fold (3” x 6”). Now select your papers. You can select one of their 6” x 6” scenes like I did, but then you will need to trim it down so that it measures about 5-7/8” square. This goes on the back inside. You will need two pieces measuring 2-7/8” x 5-7/8” for the front and inside fold. Then select your center panel from the designer paper measuring 4” x 6”, and mount it on white cardstock, so that it has a bit of a white border. Center it on the front, making sure to only glue it to that front 3” x 6” folded piece. For the pocket, take some white cardstock measuring about 2-7/8” wide by 2” tall or more, and use the lace edge die from the album tags and accents set of dies. Cut your tag from the paper, and trim it down as needed – mount this also on white cardstock, punch the hole on top of the tag and slip in a ribbon if desired. The medium wild rose and three smaller ones with about 6 leaves complete your look.
Have fun, and show me what you’ve done in the comments!!
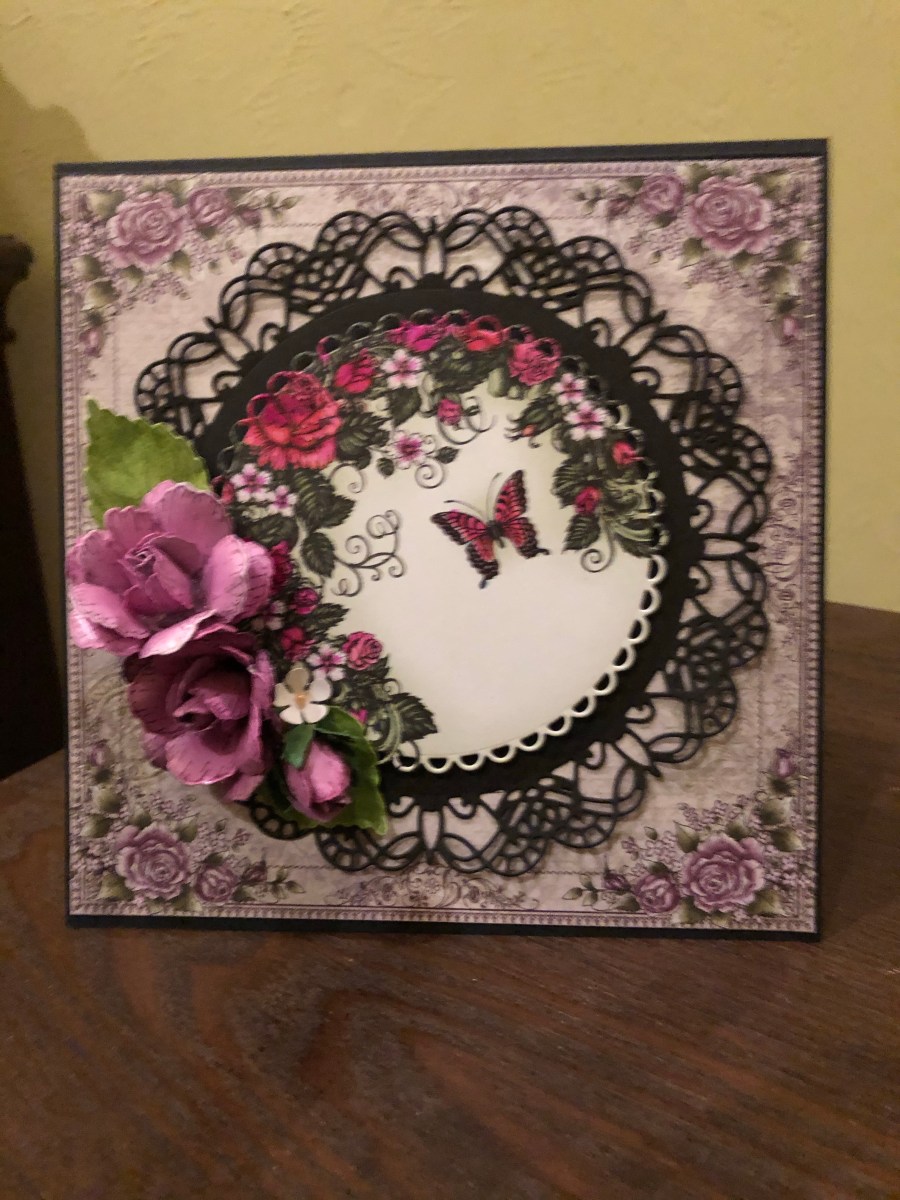
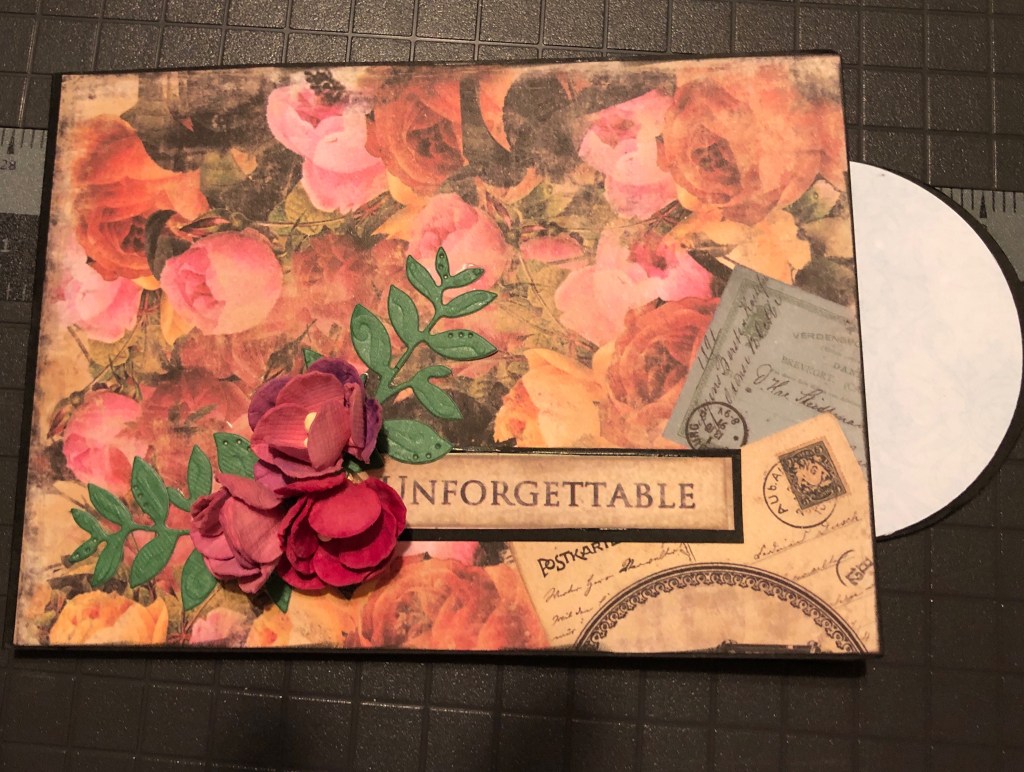
For this card, I used the Romance Novel paper from Prima, and a couple of little blossom from Prima as well.
This was very fun to make! It is a little “fiddly” , and I was limited on the size of my card, because the paper pad was only 6” x 6”, however, look at the sweet images (which are going to be covered up by photos I suppose!).
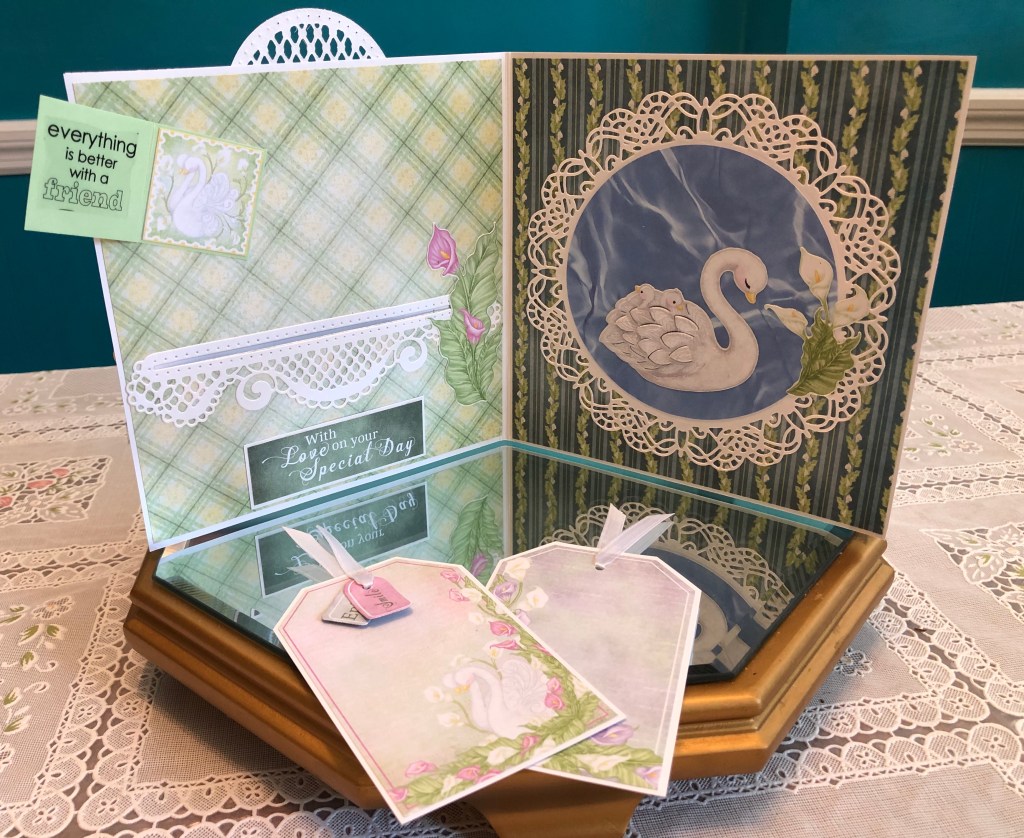
I had a lot of fun working on this Birthday card for my daughter last week. Mostly I have used Heartfelt Creations Calla Lily paper, but I just had to have some “water” for my swan, and found a sheet in my stash for the mama swan and her babies to float on. The calla lilies and roses are hand made, using HFC dies.
There are two tags in the inner pocket, and a mini “booklet” that has magnets to keep it closed.
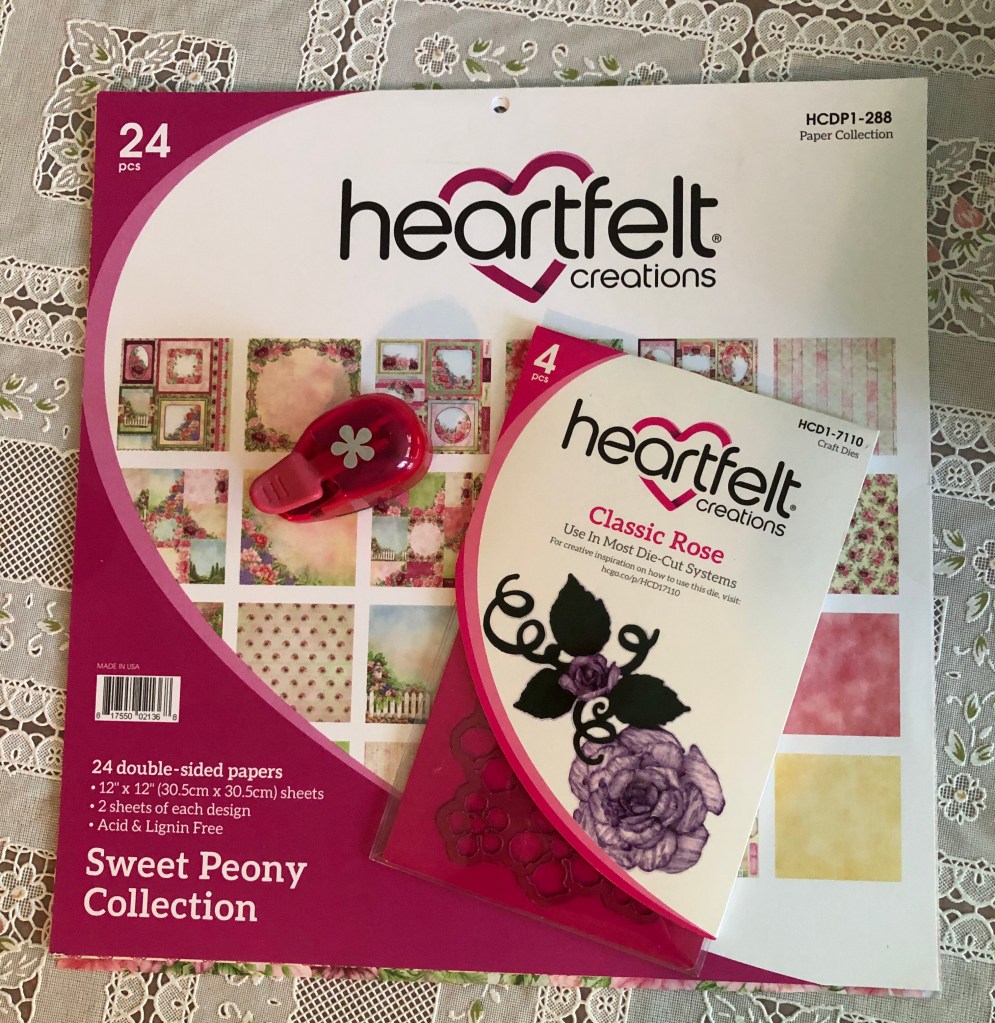
I’m loving the HFC Sweet Peony papers! Such a beautiful shade of pink, and it is so versatile, you can make cards for any occasion – from Sympathy to Anniversary! This first card has a “hidden” large tag for a little letter to the recipient.
The second one has a magnet holding the flowers on to the card. it was very simple & easy to put together. The hardest part was deciding which of the beautiful papers to use!
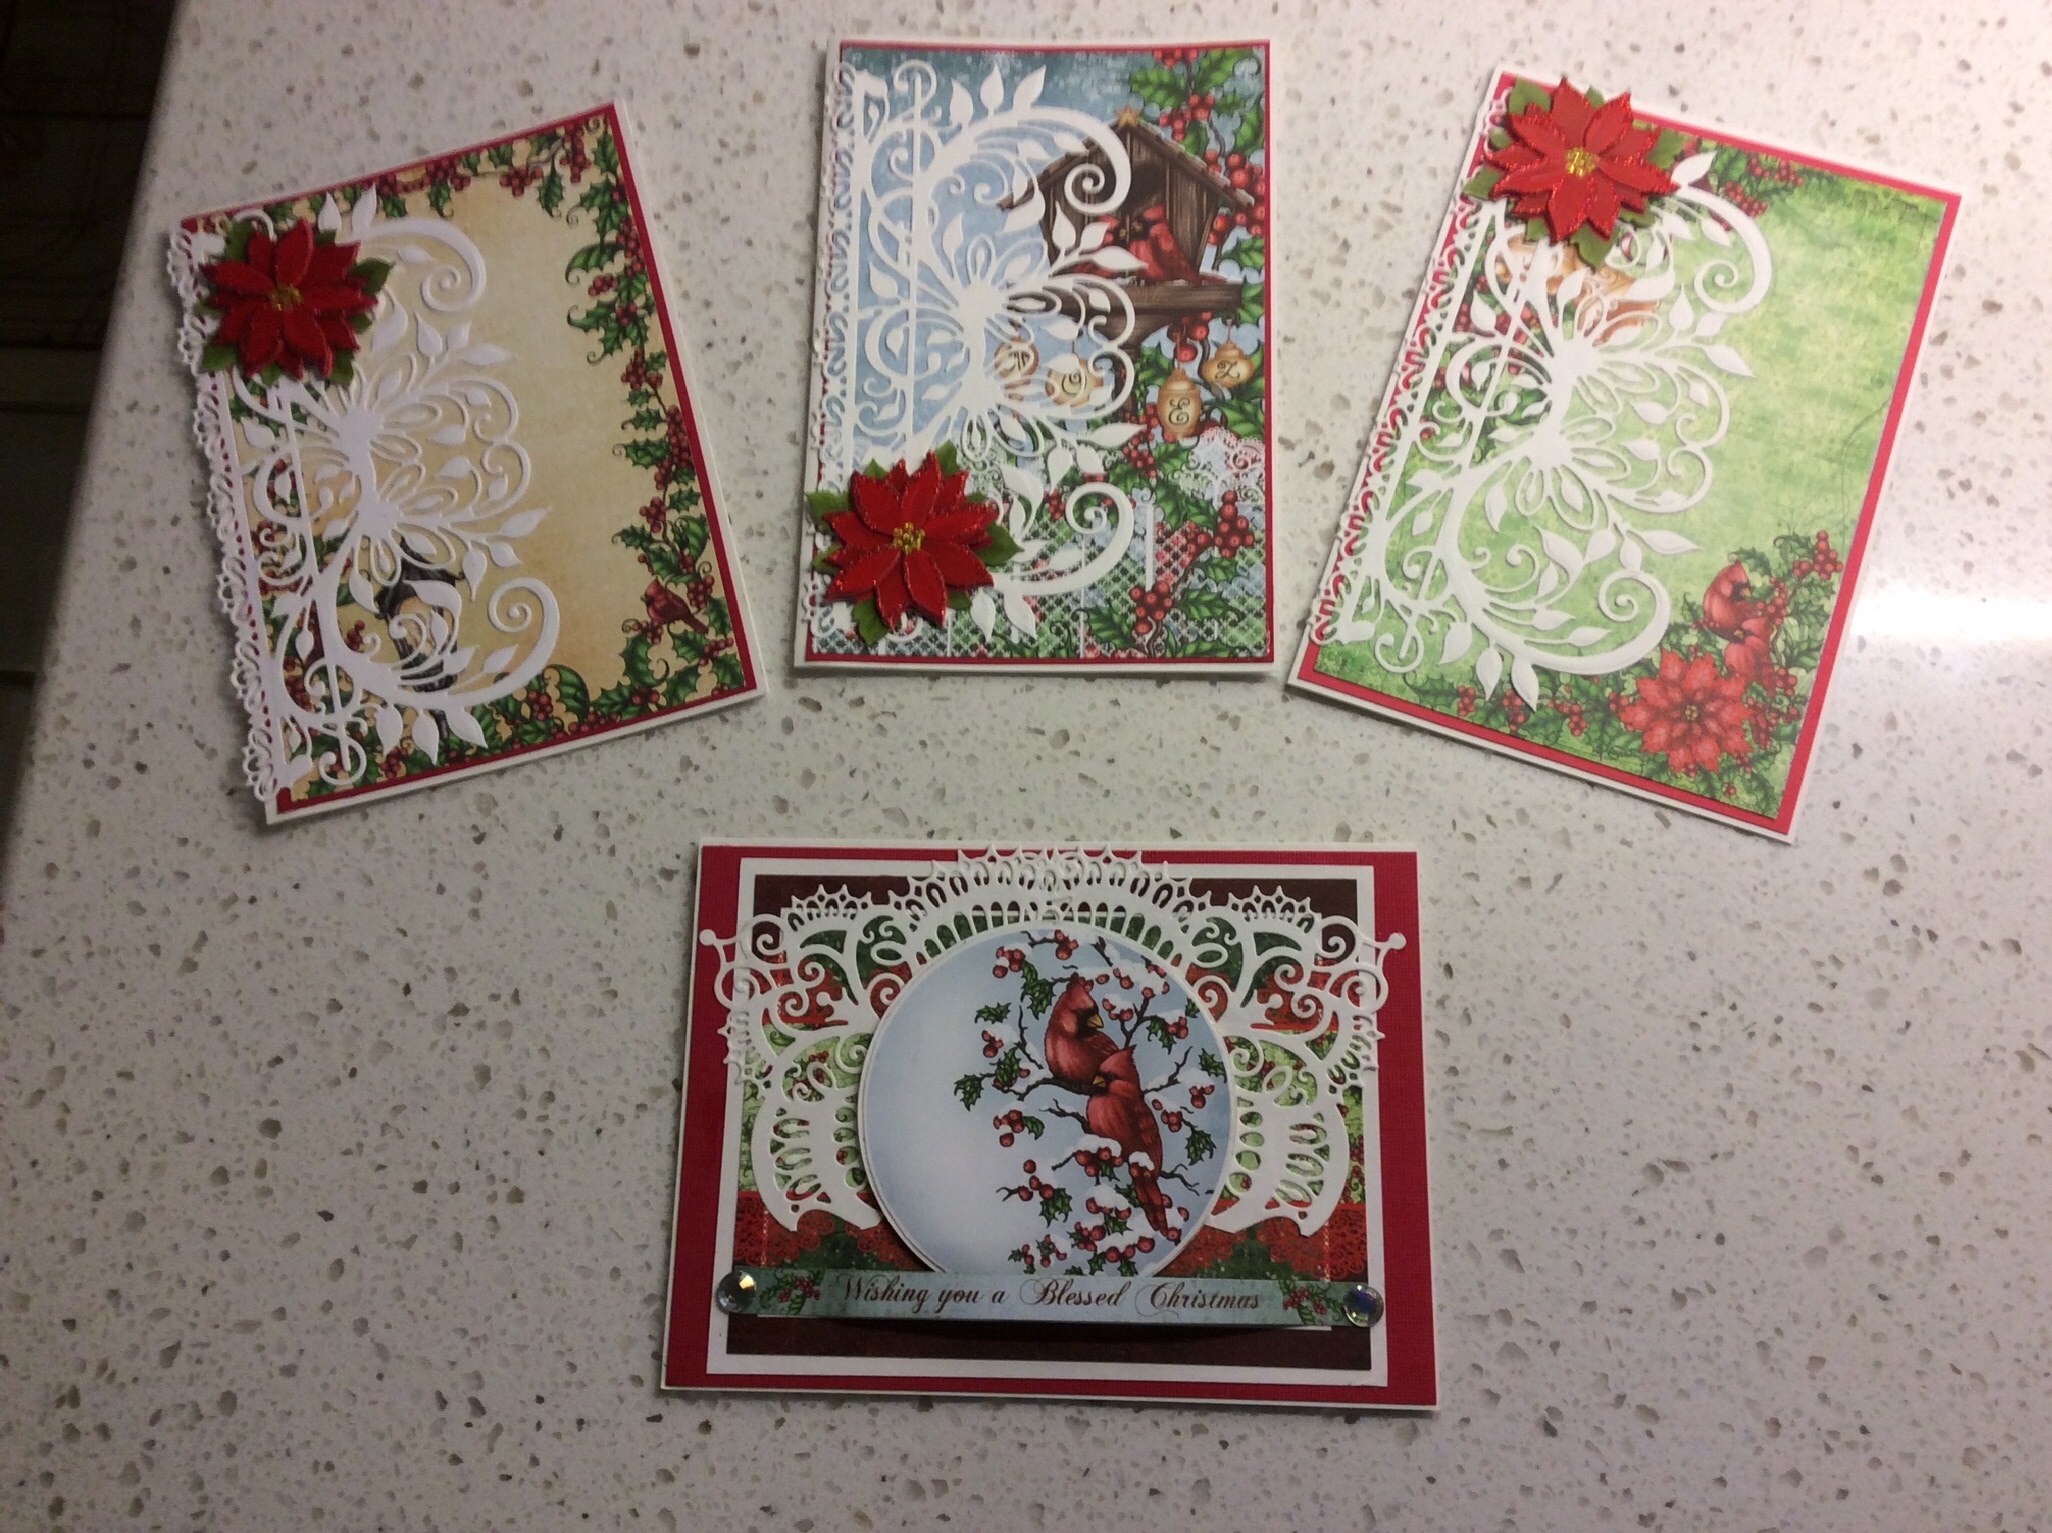
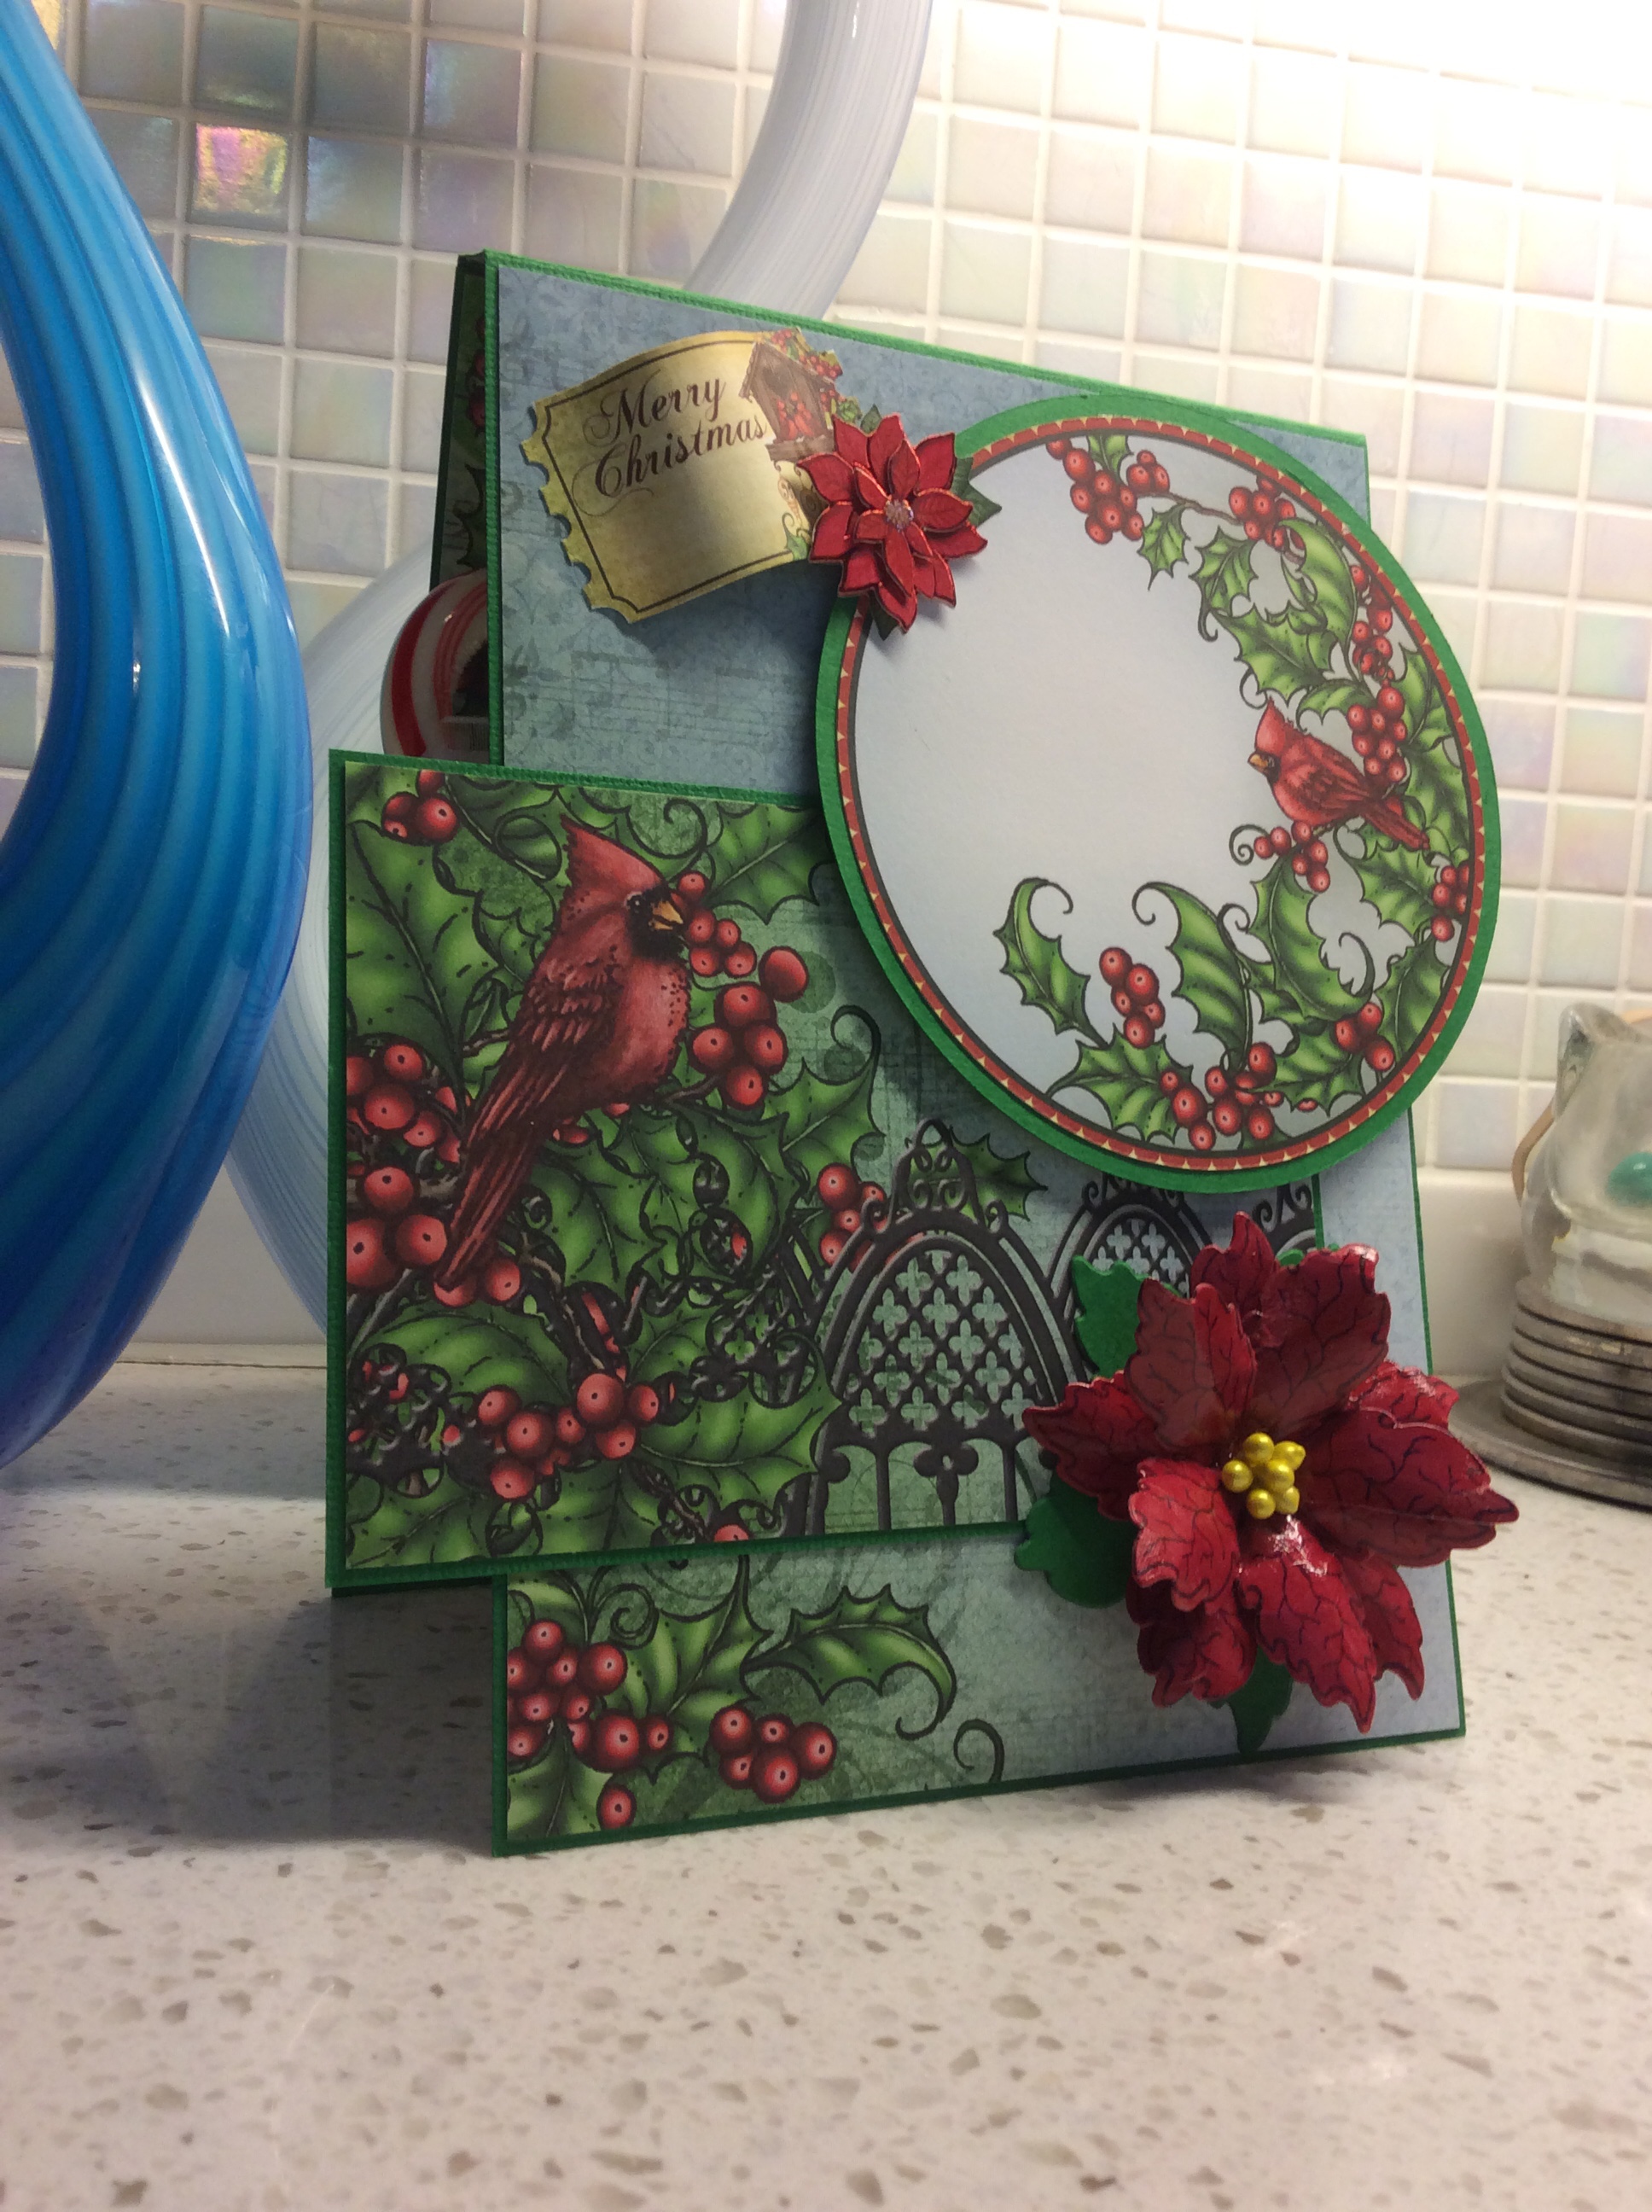
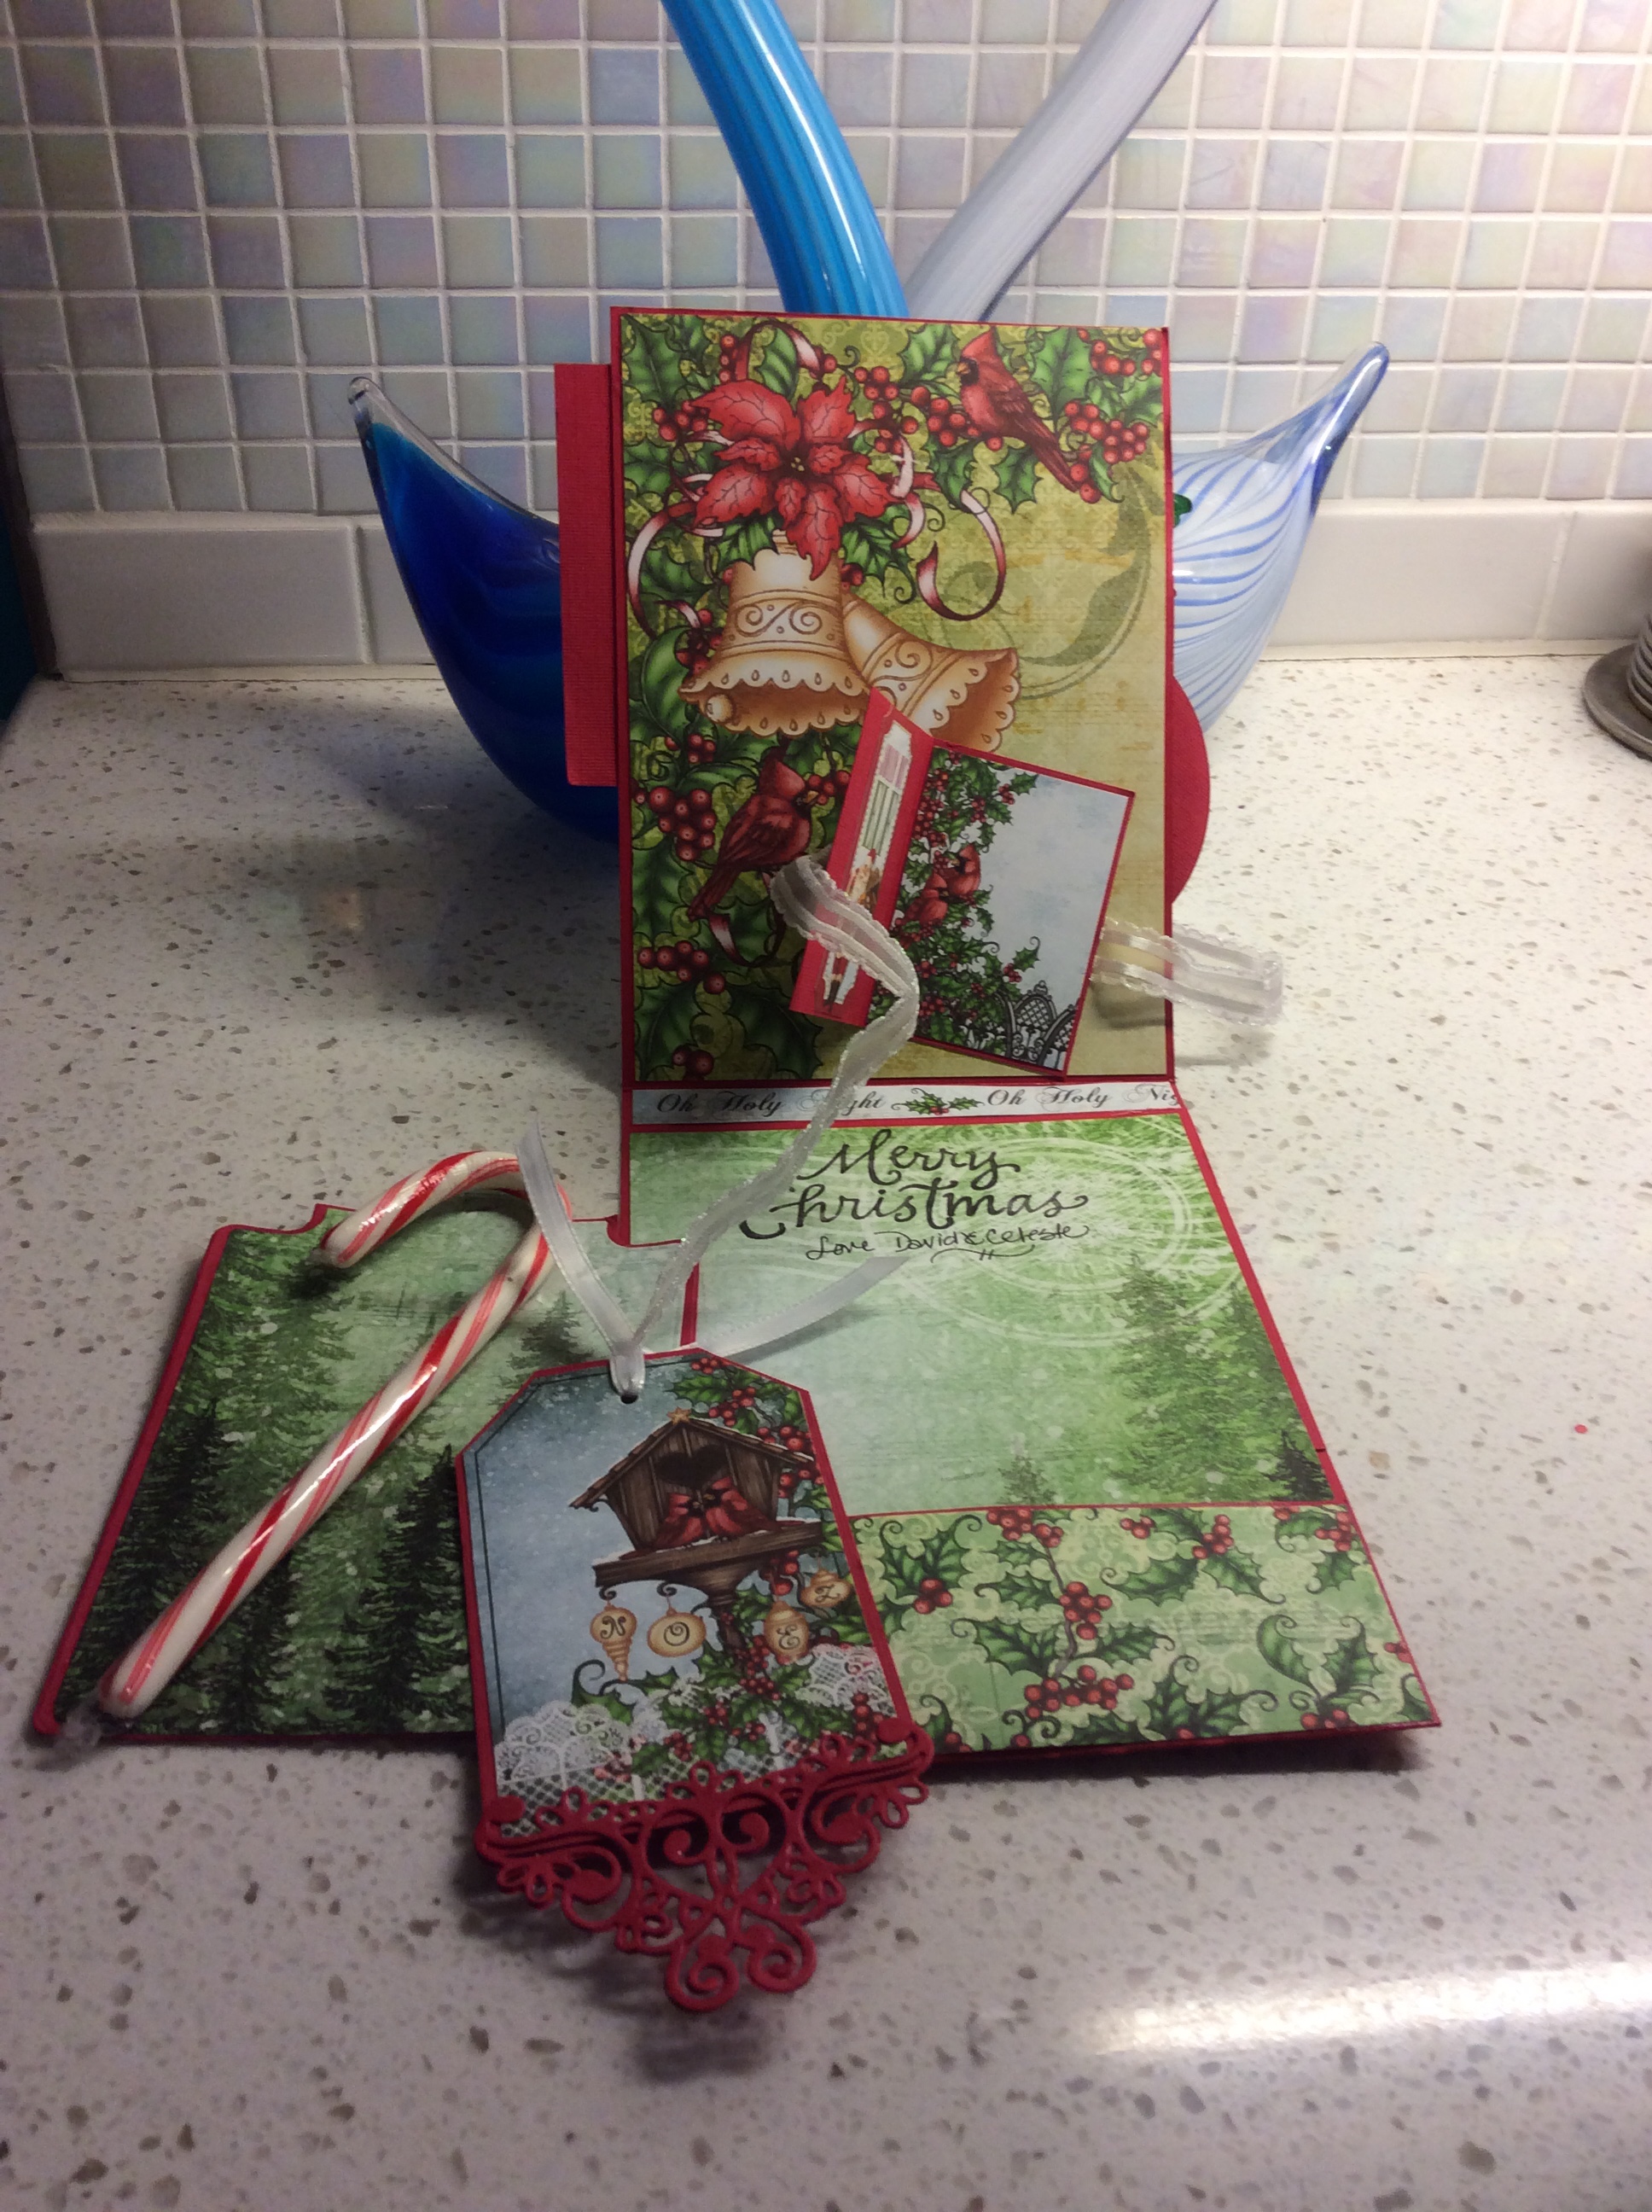
I decided to make my own Christmas cards this year, and they turned out so darn cute, I just had to share. I used Heartfelt Creations Holly Jolly paper, their poinsettia die and stamp, and the tag die as well.
Here are the first ones:
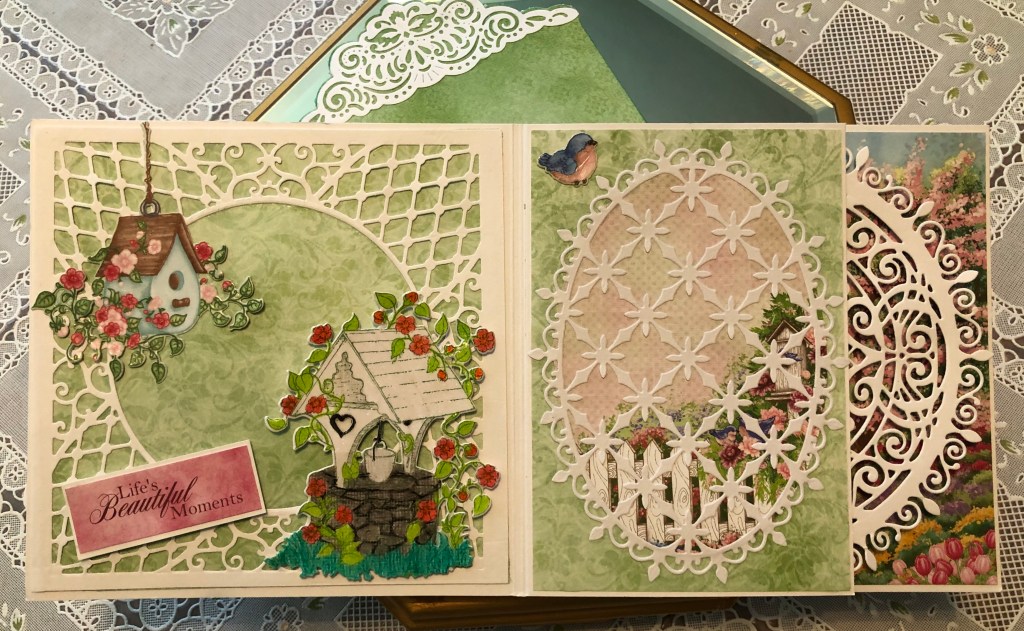
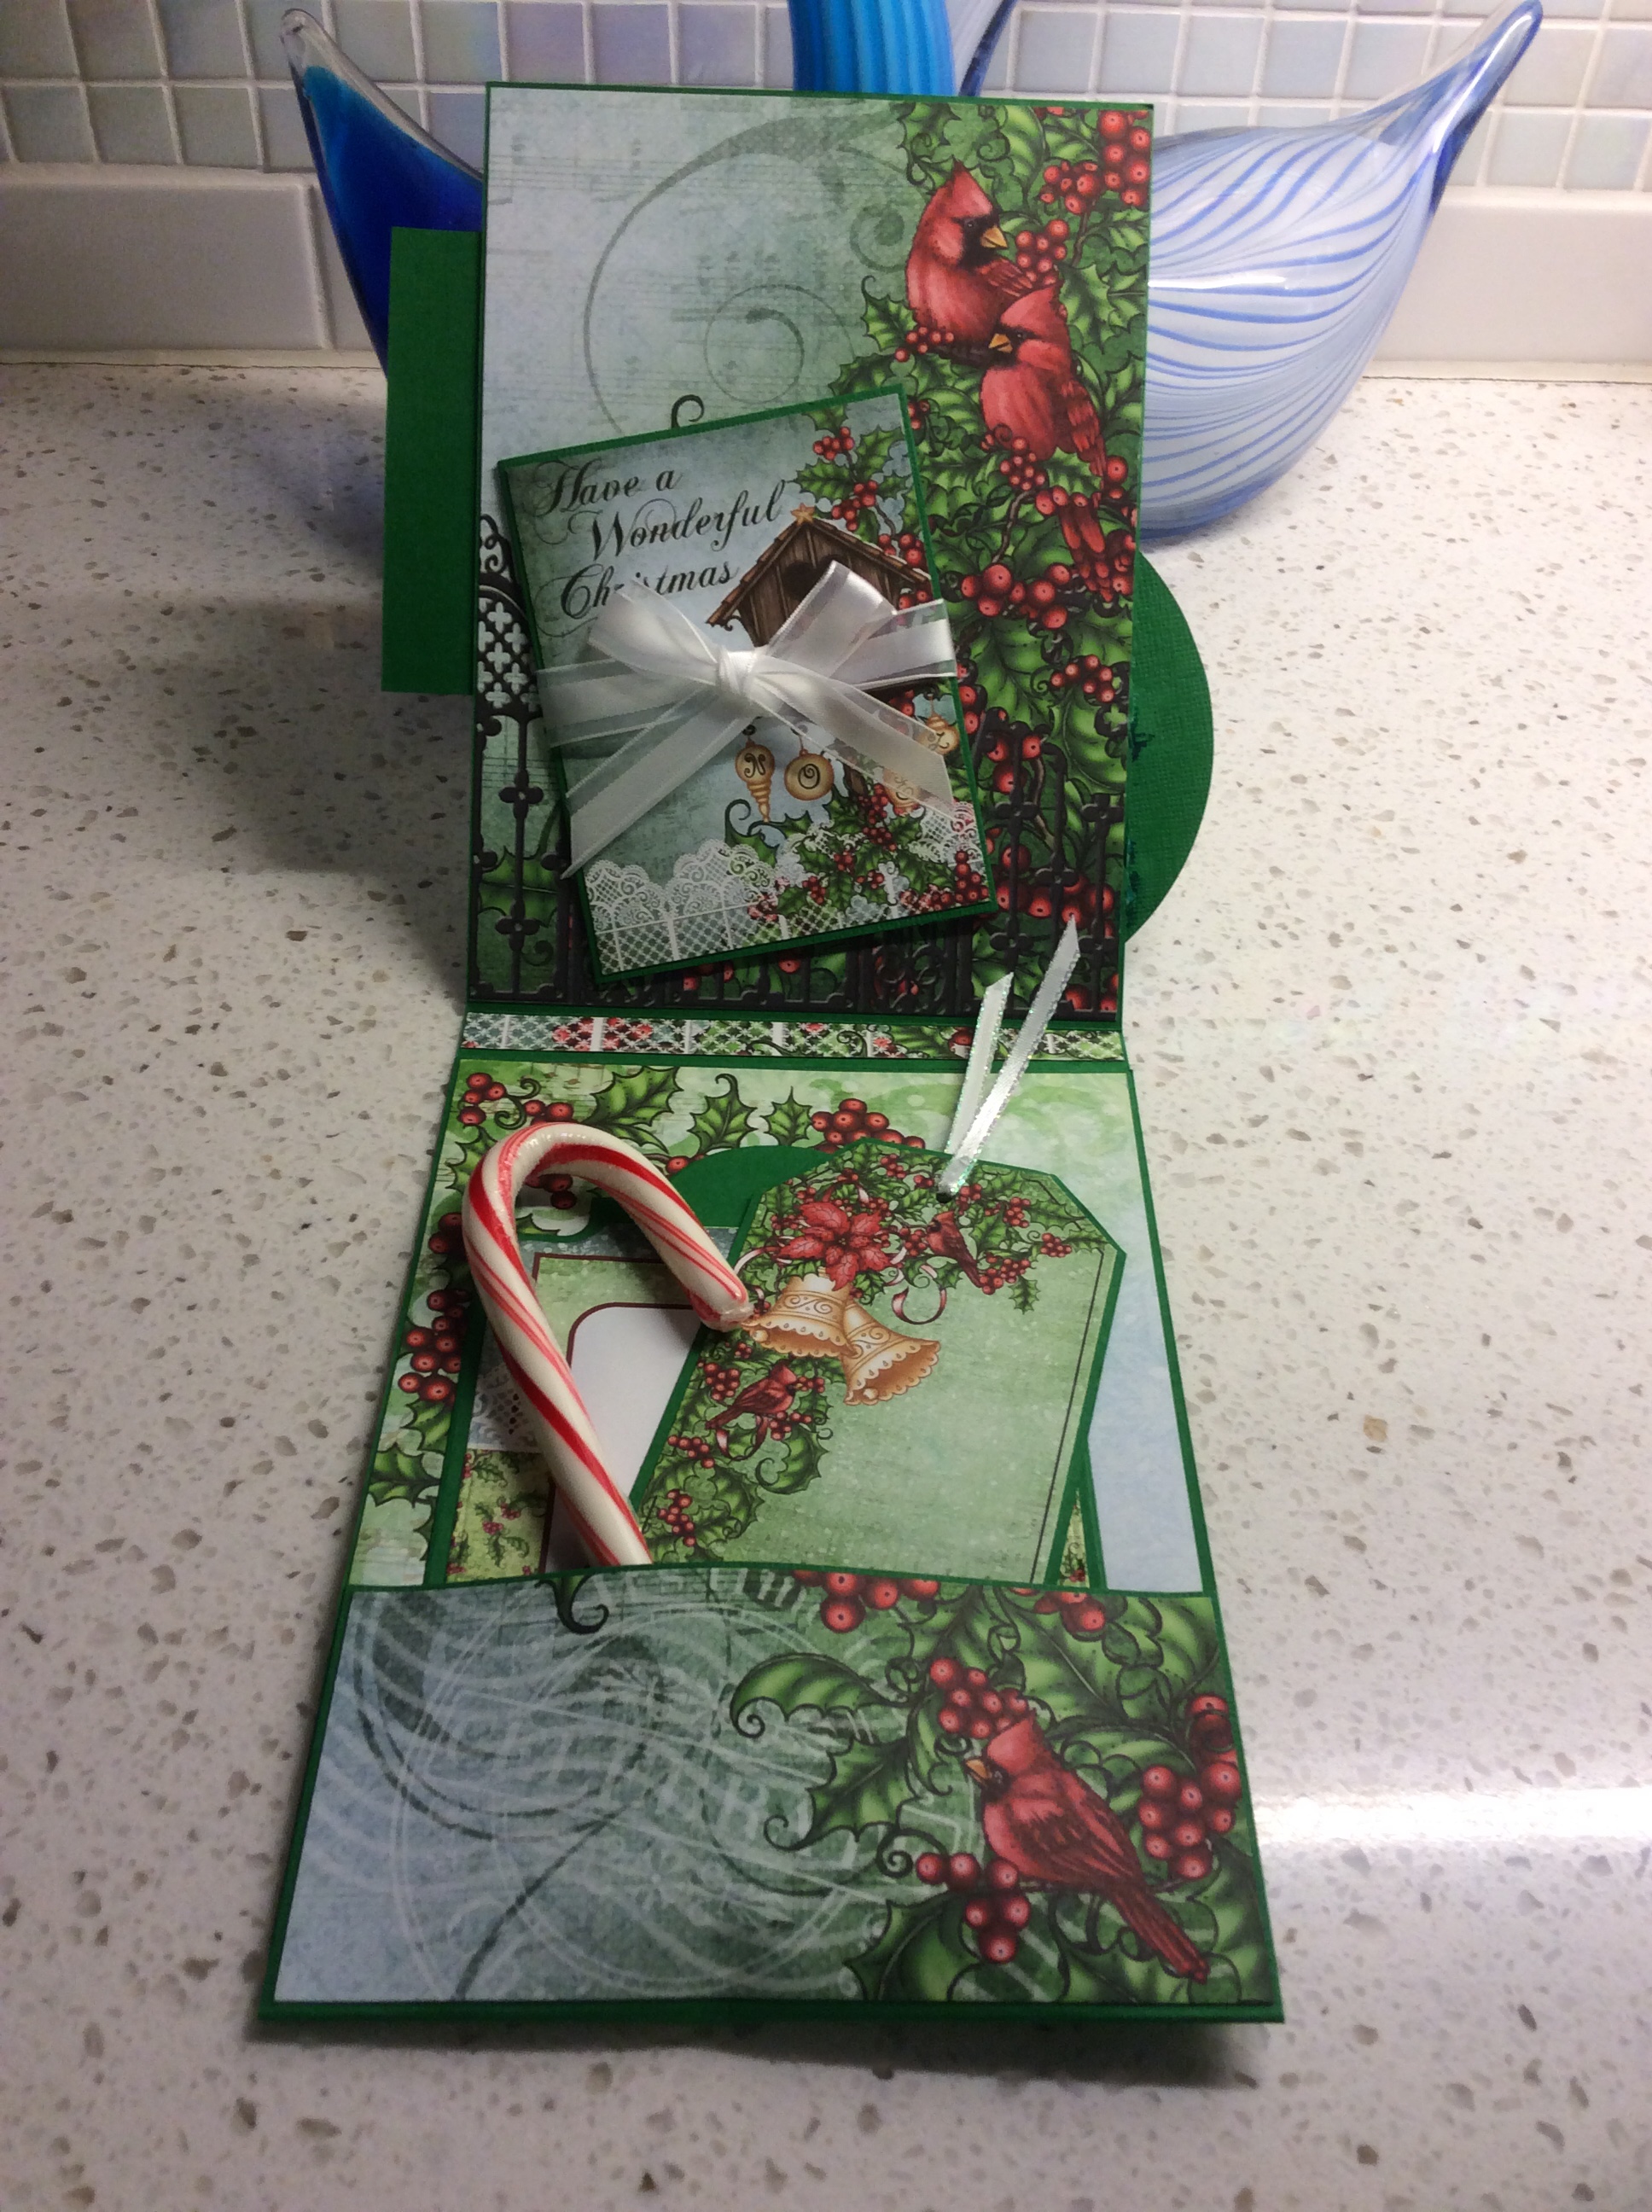
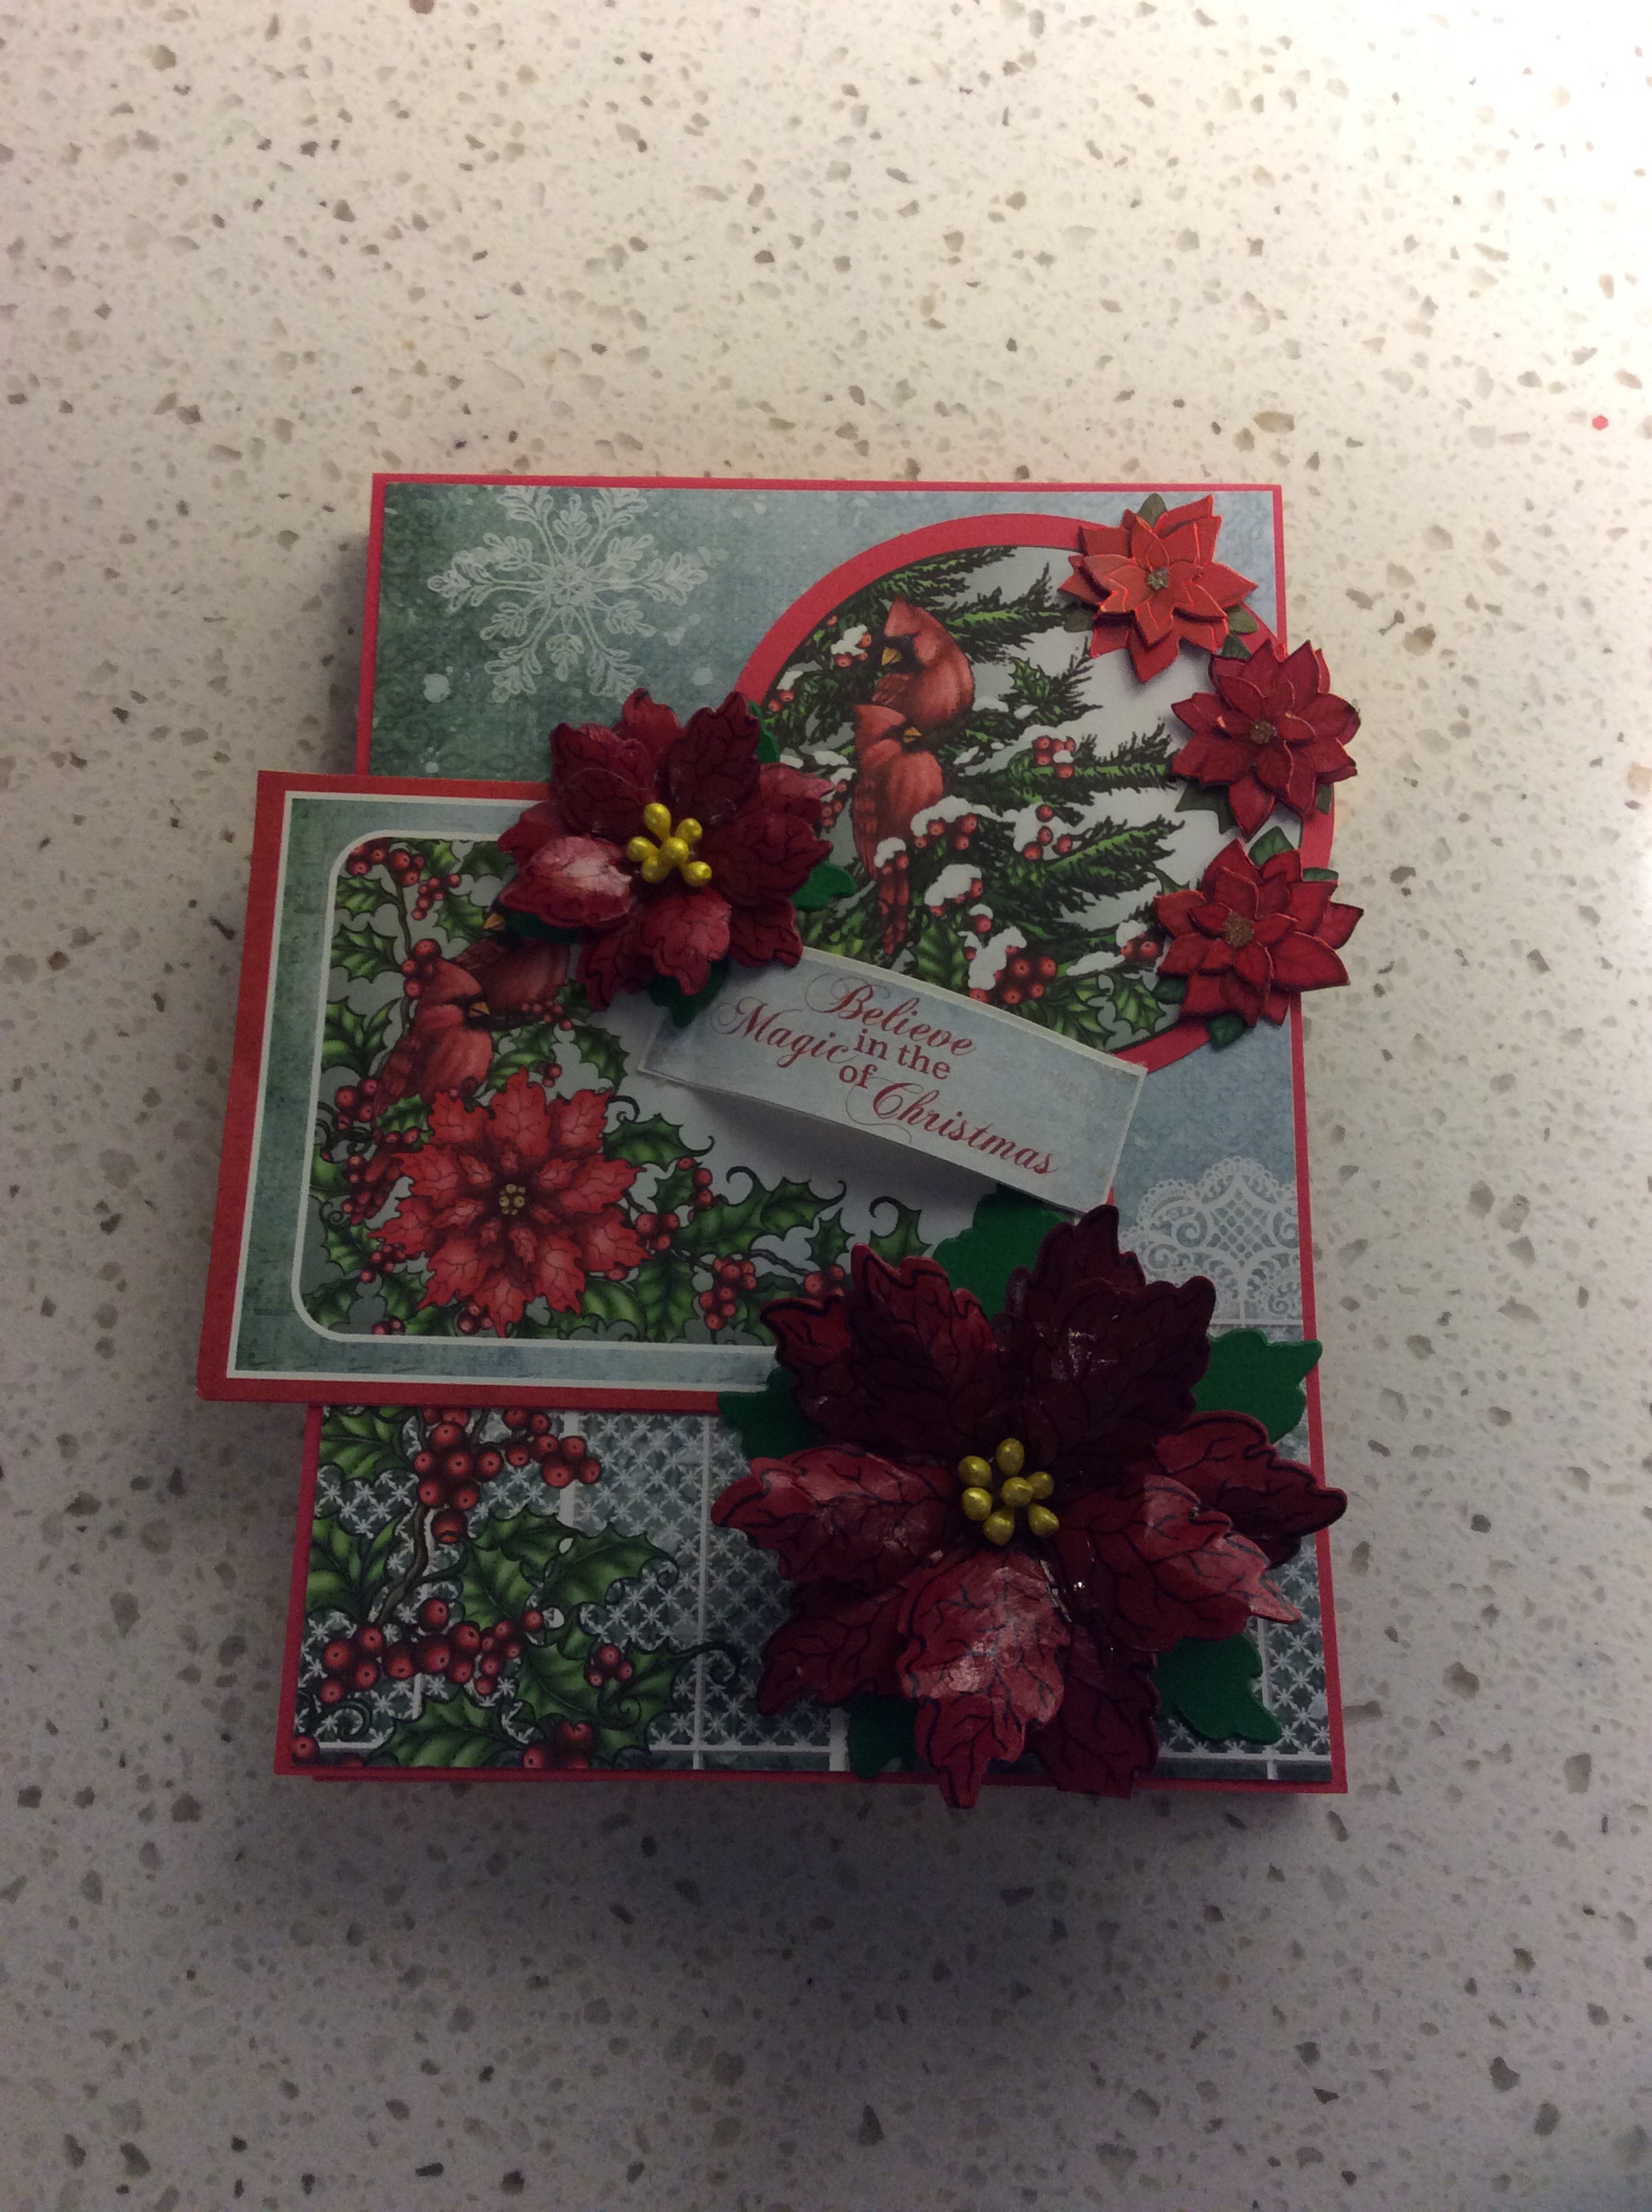
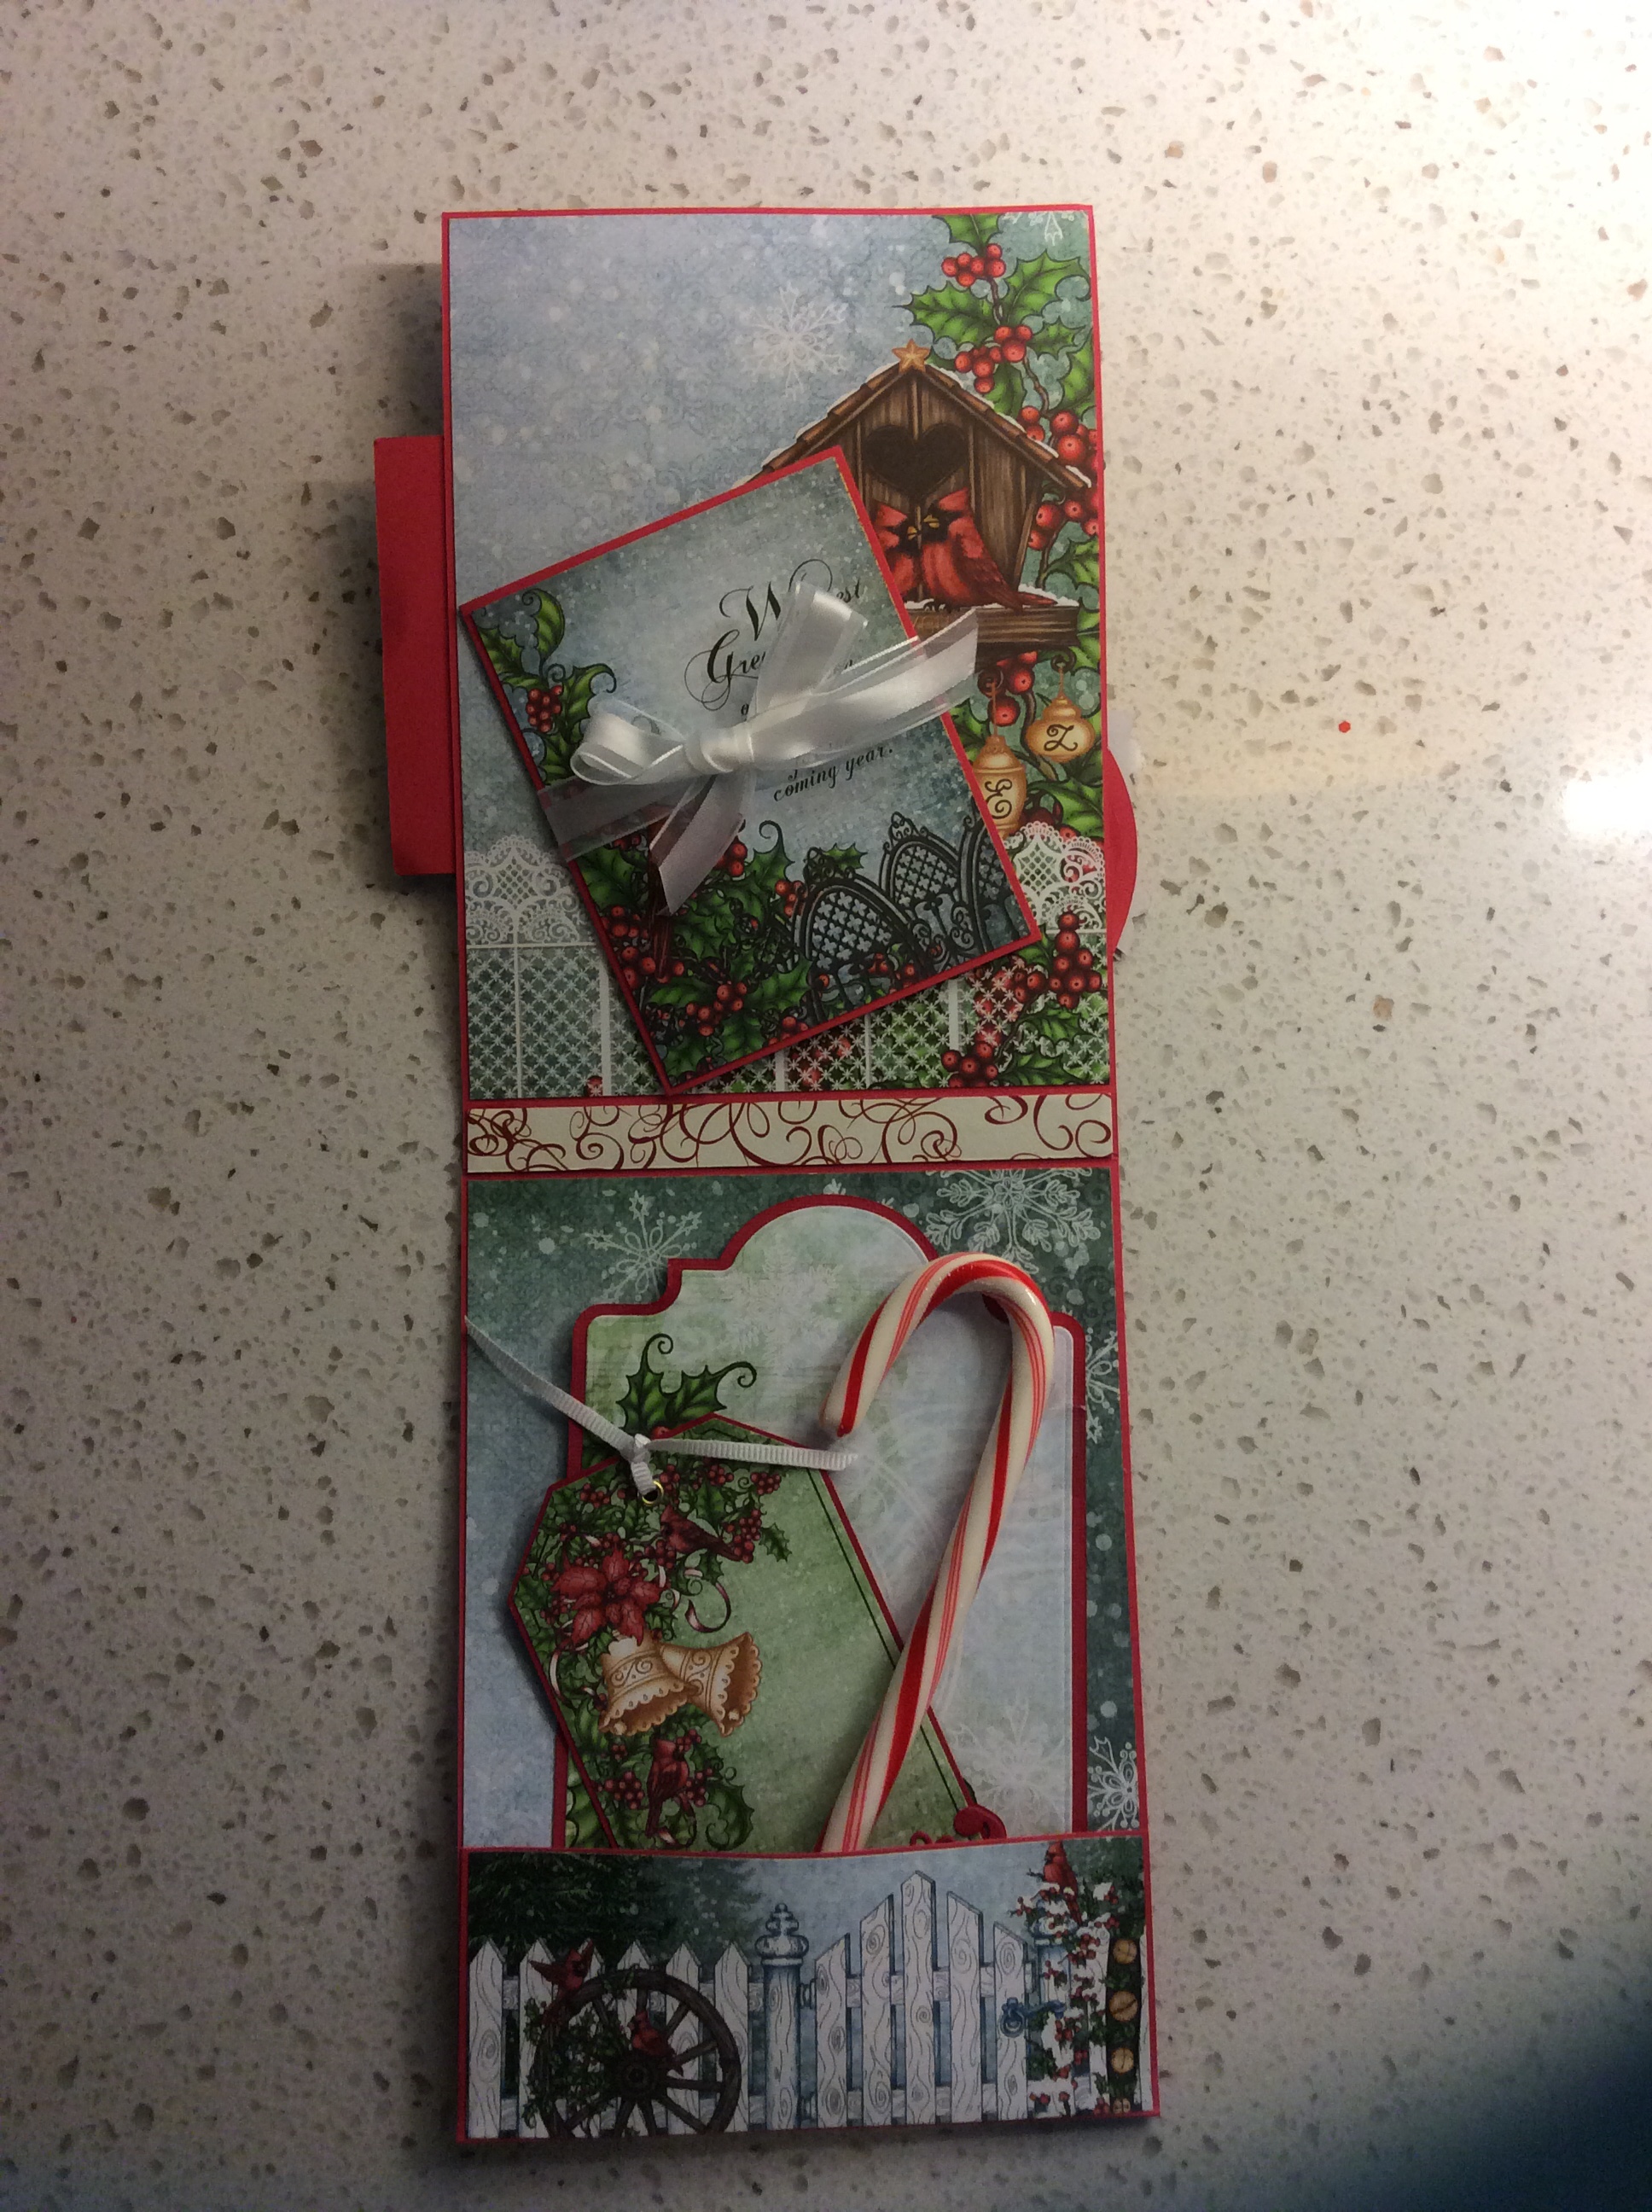
Then I decided to do a couple of folios, and I really enjoyed these!!
Look! There’s even a little gift card holder!! So cute! Gotta admit, got my idea from Kathy Clement, one of the queens of scrapbooking!!
It’s been a few months since my last post, and if anyone out there is actually following me, I’m really sorry, but I’ve been busy, busy, busy!
For some looney reason, I decided to make scrapbook albums for all the sisters in my family for Christmas gifts this last year. So in September, I got started. Each book took me about three weeks, as I could only work on them in the evenings after work, if I had any energy left after my day (which generally begins at 4:30am), and on the weekends. (If you count the cost of all the paper, embellishments and supplies, you would probably spend about $75, so if you see any of these on Etsy going for $100-$150, now you know why!!). I’ve fallen in love with Spellbinders die cutting, and Heartfelt Creations scrapbook paper & their die cuts as well.
This is a nice creative outlet for me, and I feel like it is really pretty hard to mess up. I’ve found some tutorials on You Tube via Pinterest which got me launched actually several months ago, and I’ve really grown, and have now started (eight or nine mini-albums later) to come up with creative ideas of my own, so I’m not simply copying others work. Although I must remind my mentors, that copying someone is the highest form of praise.
As I said, it’s kind of hard to mess up with scrapbooking. Unlike cake decorating, you can almost always correct a mistake, and there is a good chance no one but you will ever know. When I make cakes, it is easy for me to see my mistakes, and I will have to turn the cake “just so” or strategically place a flower or ribbon to disguise my error. Gumpaste and fondant are actually not very forgiving.
So here is the scrapbook I made for one of my nieces. I don’t really have any stills, other than of the cover, so please just follow the link over to You Tube to see the entire book. Any feedback would be appreciated.